Tired of your makeup cluttering your bag or spilling everywhere? Want a stylish and organized way to carry your essentials? Then you've come to the right place! This tutorial will guide you through creating your own adorable and functional zippered makeup pouch, perfect for keeping your cosmetics neatly contained and effortlessly chic. Forget expensive, mass-produced options; with just a few simple supplies and a little bit of time, you can sew a personalized pouch that perfectly reflects your style.
This DIY project is surprisingly easy, even for beginners! We'll walk you through each step, from choosing your fabric and cutting the pieces to sewing the zipper and finishing the seams, ensuring a beautifully crafted pouch that you'll be proud to own. Ready to get started and create your own customized makeup haven? Let's dive into the step-by-step instructions below!
Preparation and Safety Guidelines
- Two Fabrics (outer and inner)
- Sewing Machine
- Ruler
- Good Pair of Scissors
- Zipper
- Optional: Cushiony Fabric (for added structure)
- Optional: Fabric Label
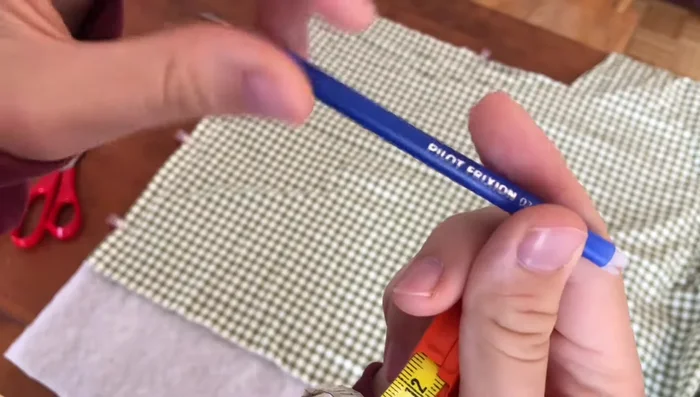
- Pilot Friction Pen (for disappearing markings)
- Always supervise children near sewing machines and sharp objects like needles and pins.
- Use caution when handling scissors and rotary cutters to avoid cuts. Keep fingers away from the blade.
- If working with fabric that may fray easily, pre-wash and pre-treat it before starting to prevent unraveling during sewing.
Step-by-Step Instructions
Prepare Materials
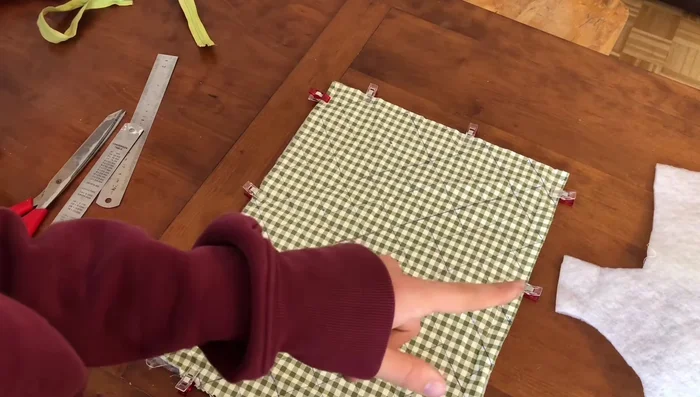
- Cut two pieces of outer fabric and inner fabric (30cm x 40cm). If using a cushiony fabric, sandwich your outer fabric between two layers of this.

Prepare Materials Prepare Outer Fabric
- Use a disappearing ink pen to mark lines on the fabric to create a quilted effect (every 5cm).
- Sew along the marked lines to create a quilted pattern.
- Iron the fabric to remove the pen markings.
Prepare Outer Fabric Attach Inner Lining
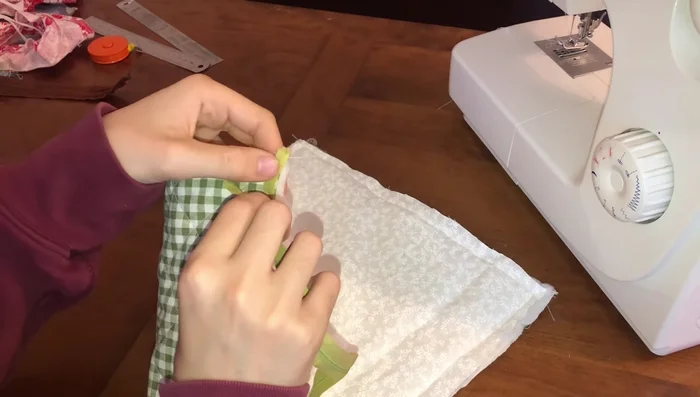
- Sew the inner lining fabric to the outer fabric (before adding the zipper).
- Add a fabric label before sewing the inner lining.
Attach Inner Lining Sew Side Seams
- Sew the side seams of the fabric together, leaving space for the zipper.
Sew Side Seams Attach Zipper
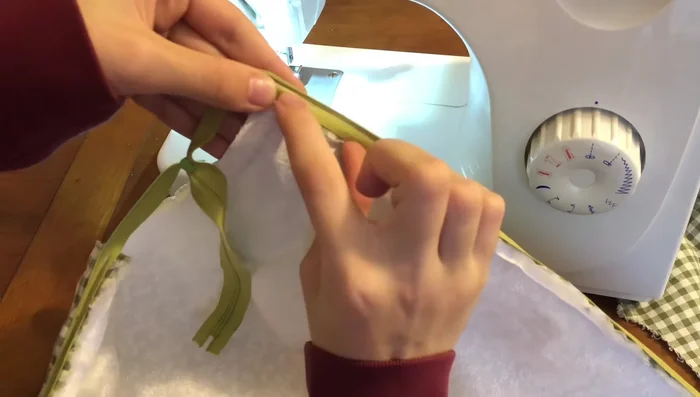
- Slightly open the zipper and position it, leaving a small gap around the edges.
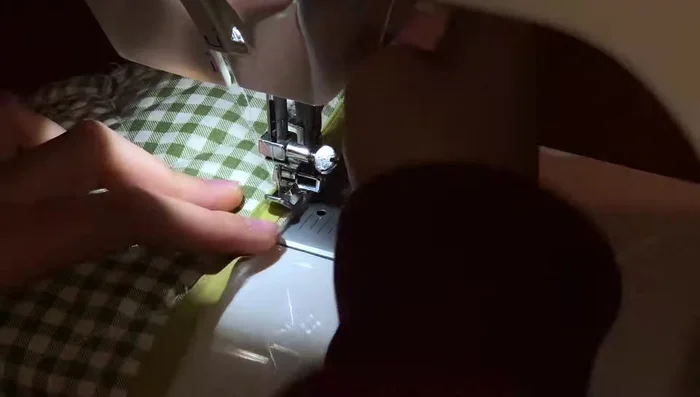
- Use a zipper foot to sew the zipper onto the fabric, keeping the stitching close to the zipper teeth.
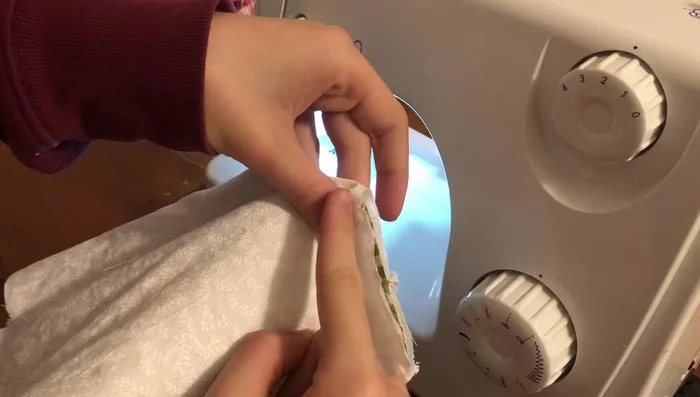
Attach Zipper Close Top and Bottom
- Sew the top and bottom of the zipper to the fabric. Don't forget to change to the regular sewing foot.
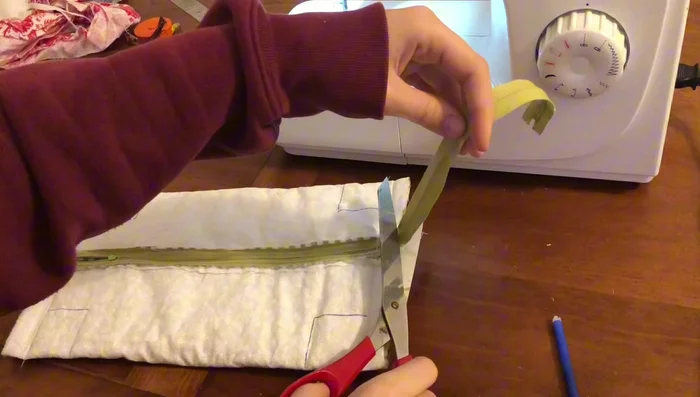
Close Top and Bottom Finish Edges
- Trim excess fabric and zipper.
- Sew straight lines along the edges to finish the seams and create a clean finish.
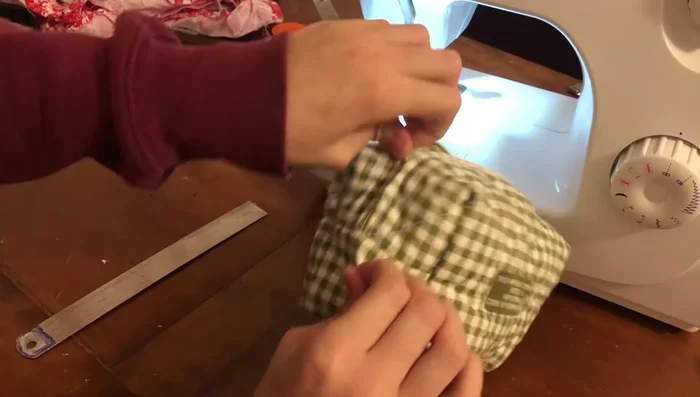
Finish Edges Turn and Finish
- Turn the pouch right side out to reveal the finished makeup pouch.
Turn and Finish


Read more: DIY Quilted Makeup Pouch Tutorial: The Easiest and Fastest Method
Tips
- Invest in a good pair of scissors for clean cuts.
- Use a disappearing ink pen for easy marking and clean results.
- Sew slowly over the zipper to avoid breaking your needle.