Protecting your valuable DSLR lenses is crucial, and while commercially available cases can be expensive, a DIY solution offers both cost savings and personalization. This tutorial guides you through creating a custom-fitted, padded lens case using simple sewing techniques and readily available materials. You'll be surprised at how easy it is to craft a protective haven for your lenses, tailored precisely to their dimensions, ensuring a snug and secure fit that surpasses many mass-produced alternatives. Forget about generic cases that don't quite fit or offer inadequate protection.
This project is perfect for beginners, requiring only basic sewing skills and a handful of supplies easily found at your local craft store. We'll walk you through each step, from measuring your lens to the final stitching, providing clear instructions and helpful images along the way. Ready to get started and create a beautifully functional lens case? Let's dive into the step-by-step instructions below!
Preparation and Safety Guidelines
- Outer fabric
- Lining fabric
- Fusible foam
- Ribbon or fabric for drawstring
- Sewing machine
- Pins or clips
- Seam ripper
- Safety pin
- Always measure your lens accurately before cutting fabric. Improper sizing can result in a case that's too tight or too loose, potentially damaging your lens.
- Use sturdy, durable fabrics and stitching to ensure adequate protection for your lens. Avoid flimsy materials that might tear easily.
- Ensure the padding material is evenly distributed within the case to provide consistent protection against impacts and shocks. Lumps or gaps in padding can leave your lens vulnerable.
Step-by-Step Instructions
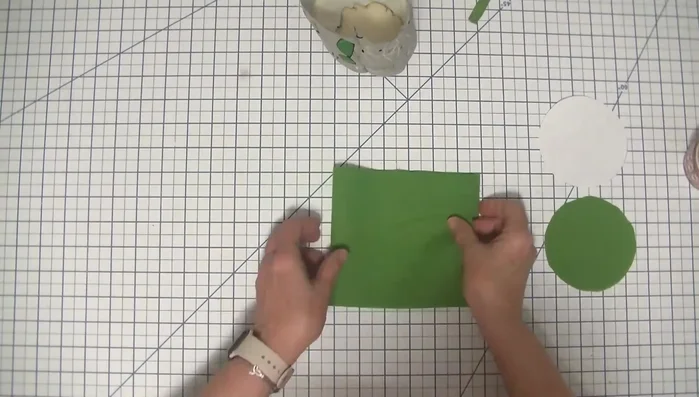
Prepare the Fabrics
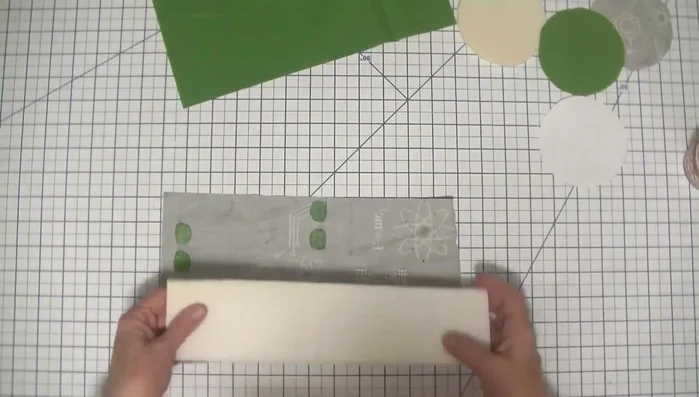
- Fuse the fusible foam to the outer fabric and bottom pattern pieces using a damp cloth to ensure proper adhesion.

Prepare the Fabrics Construct the Outer Case
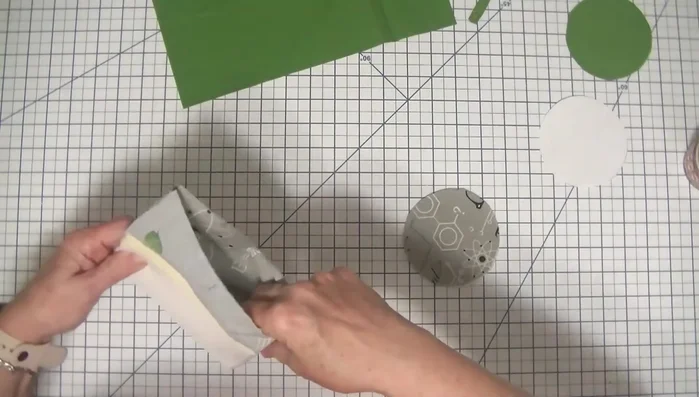
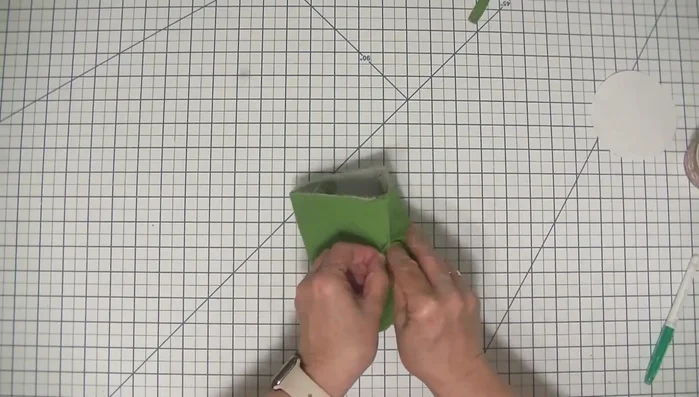
- Fold the outer fabric piece into a tube and stitch along the long side using a 1/4 inch seam allowance.
- Attach the bottom piece (with fused foam) to the tube, right sides together. Pin or clip to secure. Stitch using a 1/4 inch seam allowance, remembering to leave a 1/2 inch gap for turning. (This gap should be 1 inch from the top).
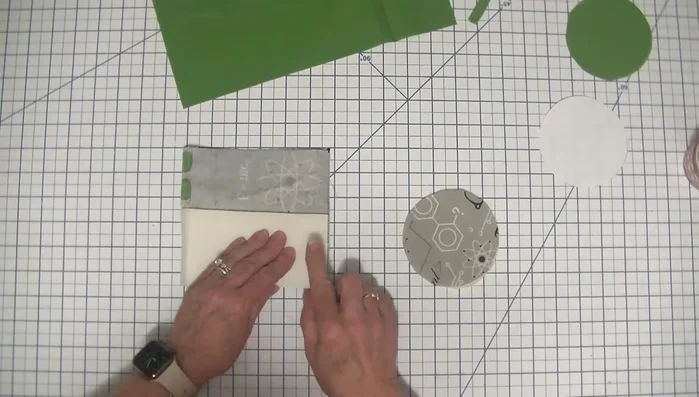
Construct the Outer Case Construct the Lining
- Repeat steps 2 and 3 with the lining fabric (without foam), remembering to leave a 1/2 inch gap for turning at the top.
Construct the Lining Join Outer and Lining
- Place the outer bag inside the lining, right sides together. Use wonder clips to secure the top edges. Stitch all the way around the top, remembering to leave a gap in the lining to turn right sides out.
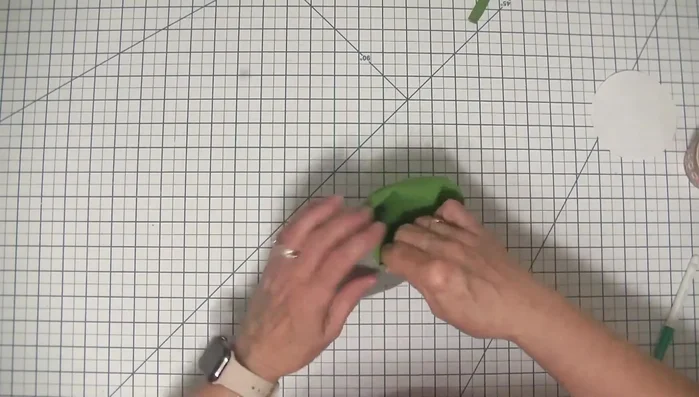
Turn and Close the Case
- Turn the bag right sides out through the gap in the lining. Close the gap using a ladder stitch or your machine.
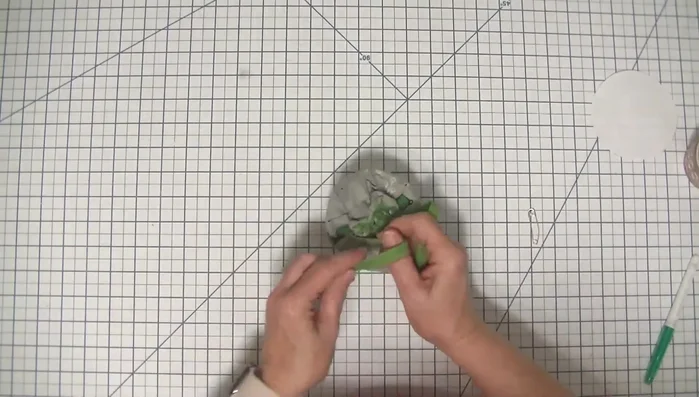
Turn and Close the Case Create Drawstring Casing
- Stitch a line around the bag just above the fusible foam and another line just below the opening at the top, creating a casing for the drawstring.
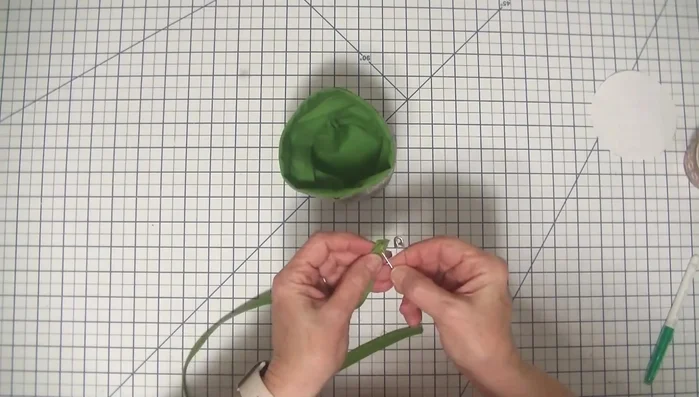
Create Drawstring Casing Insert and Tie Drawstring
- Thread the ribbon or fabric drawstring through the casing using a safety pin.
- Tie the drawstring to close the case.
Insert and Tie Drawstring
Read more: DIY Quilted Makeup Pouch Tutorial: The Easiest and Fastest Method
Tips
- Use a damp cloth while fusing the foam to the fabric to check for proper adhesion. When the damp cloth dries, the foam is fused.
- You can make the foam smaller than the fabric, but it might be more difficult to manage. Using the same size is recommended.
- Take your time when stitching around the bulk of the foam.
- Use notches on your sewing machine throat plate as a guide when stitching blind seams.