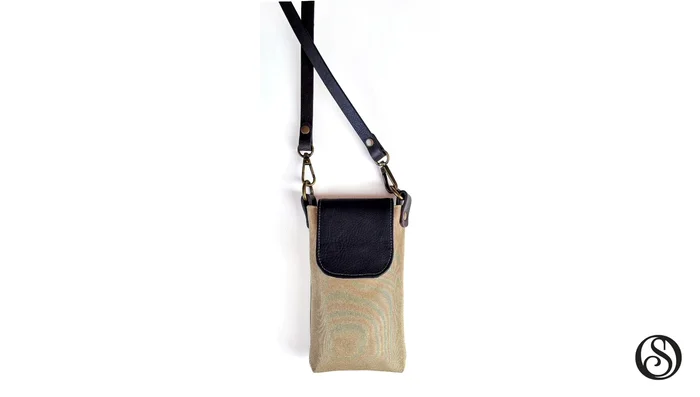
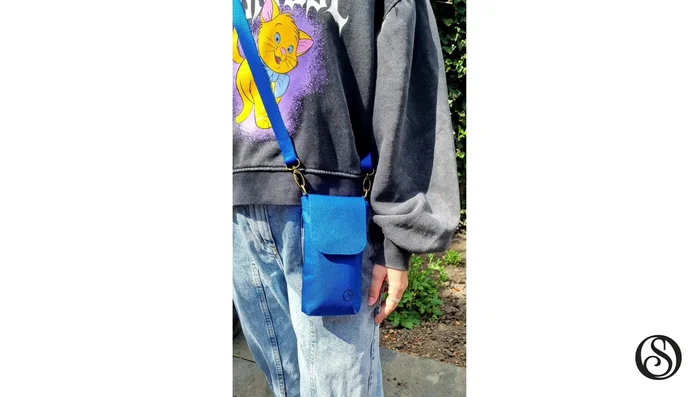
Are you ready to craft a stylish and practical crossbody bag? This guide will walk you through the creation of a Mighty Mini Crossbody Foam Bag, a perfect project for both beginner and experienced sewists. Its compact size makes it ideal for carrying everyday essentials while its unique foam construction offers a delightful, structured finish that's surprisingly easy to achieve. Forget flimsy fabric bags; this pattern delivers a durable and eye-catching accessory that you'll be proud to carry. The charming mini size is perfect for festivals, nights out, or simply adding a touch of personality to your daily outfit.
This pattern utilizes readily available materials and simple techniques, making it an accessible project for all skill levels. You’ll learn how to work with foam, a material that provides excellent structure and stability, without requiring complicated sewing skills. Prepare to be amazed by how quickly and easily this adorable bag comes together! Let's dive into the step-by-step process, guiding you from pattern cutting to the final, satisfying stitching.
Preparation and Safety Guidelines
- Domestic sewing machine
- Fabric (light to medium weight)
- Webbing or materials for strap
- Magnetic snap or twist lock
- A4 or US letter-sized paper
- Always use sharp sewing machine needles and sharp fabric scissors for clean cuts and precise stitching. Dull tools increase the risk of injury and inaccurate sewing.
- Handle your sewing machine with care. Keep your fingers away from the needle and moving parts while the machine is in operation.
- Before cutting into your main fabric, test your sewing machine settings and stitches on scrap fabric of similar material. This helps avoid mistakes on your project.
Step-by-Step Instructions
Prepare the Pattern
- Download and print the instant download pattern.
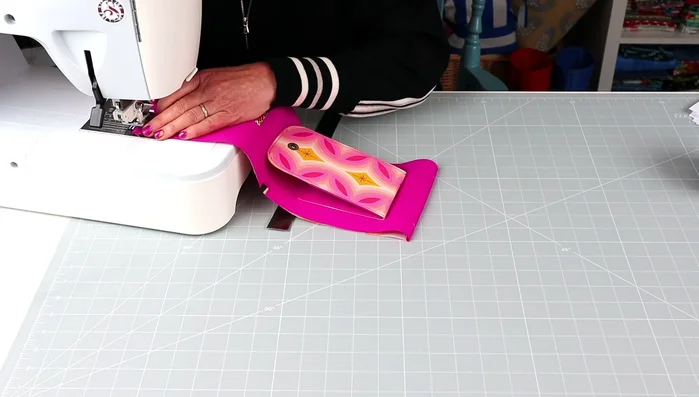
Assemble the Main Structure
- Follow the full written instructions and detailed color photos provided in the pattern.
- Utilize the sew-along video for a step-by-step visual guide.
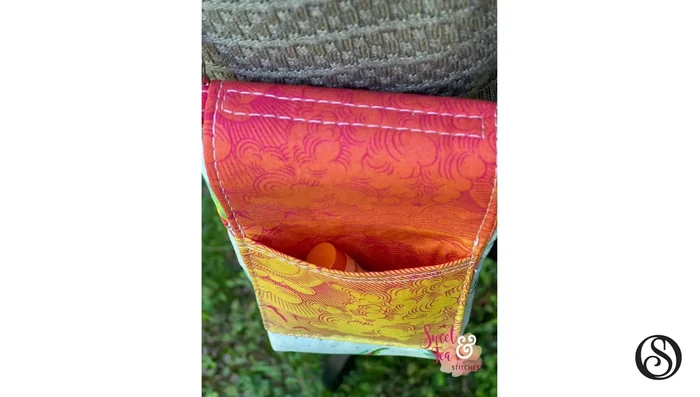
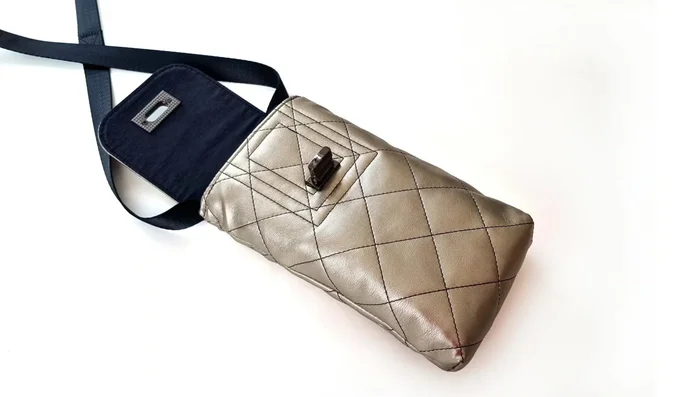
- Employ the ingenious folding and stitching technique to create the firm back spine, adding strength and structure to the bag while forming a slip pocket.

Assemble the Main Structure Create Pockets
- Construct the slip pocket on the back, the secret inner card pocket, and the second credit card pocket inside the bag.
Create Pockets Attach the Strap
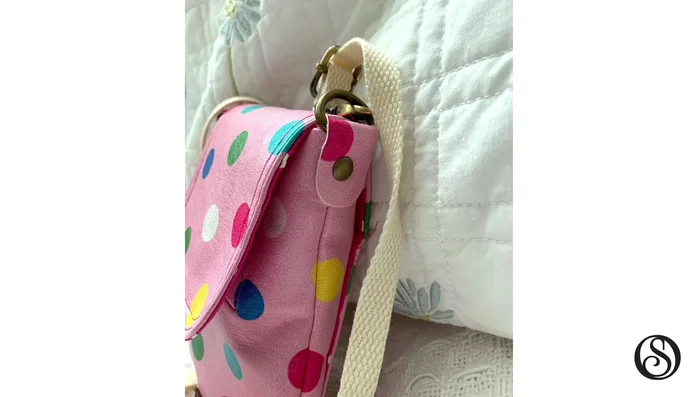
- Create the crossbody strap using webbing or by making your own, choosing from various adjustable strap options (fixed, removable, or rivet-on).
Attach the Strap Add Closure
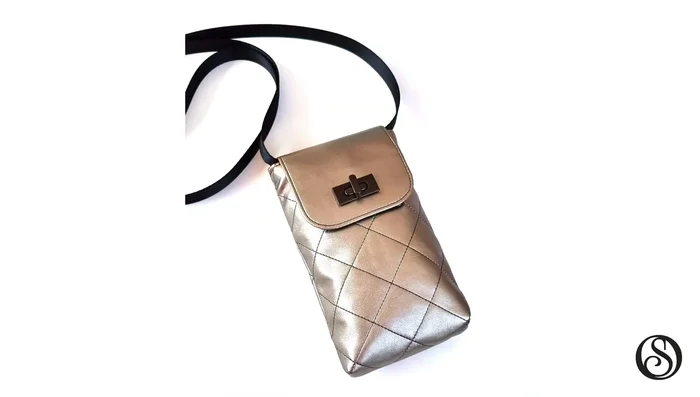
- Attach the magnetic snap or twist lock closure to the strengthened areas on the bag.
Add Closure Enhance the Bag (Optional)
- Quilt the bag body for a more glamorous look.
- Customize the bag with quilting, appliqué, embroidery, or rivets.
Enhance the Bag (Optional)
Read more: DIY Quilted Makeup Pouch Tutorial: The Easiest and Fastest Method
Tips
- Use light to medium-weight fabrics such as quilt-weight cotton, waterproof canvas, oil skin canvas, and denim.
- The bag has three pockets: a back slip pocket, a hidden card/cash pocket under the flap, and an inside slip pocket for credit cards, plus the main compartment.