Tired of your makeup rolling around in a messy bag? Yearning for a cute and organized way to carry your essentials? Then get ready to whip up your own adorable quilted makeup pouch – quickly and easily! This tutorial will guide you through the simplest, fastest method for creating a stylish and practical pouch perfect for travel or everyday use. No complex sewing techniques or expensive materials are required; just basic sewing skills and a touch of creativity are all you need to transform scraps of fabric into a personalized treasure.
Forget those complicated, time-consuming tutorials! This method prioritizes speed and simplicity without sacrificing style. We'll be utilizing a straightforward design that minimizes seams and maximizes efficiency, resulting in a beautiful quilted pouch in a fraction of the time it takes with other methods. Let's dive into the step-by-step instructions and start crafting your perfect quilted makeup pouch today!
Preparation and Safety Guidelines
- Fabric (two squares: one for inside, one for outside)
- Fluffy quilting material
- Zipper (approx. 25cm)
- Sewing machine
- Pins or clips
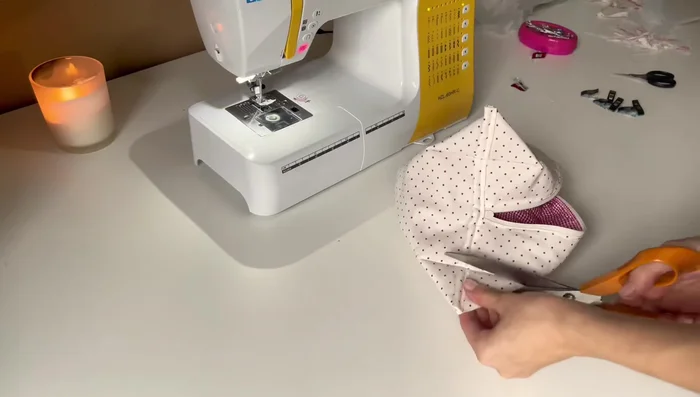
- Scissors
- Fabric marker or chalk (optional)
- Always use a rotary cutter and cutting mat to prevent accidental cuts. Keep fingers clear of the blade at all times.
- If using a sewing machine, be mindful of your fingers and keep them away from the needle. Use a slow speed, especially when working with small pieces.
- When working with pins, always point them away from you to avoid accidental pricks. Be extra careful when handling pins around children or pets.
Step-by-Step Instructions
Prepare Fabric and Quilting Material
- Cut out fabric squares. Two squares are needed, one for the inside and one for the outside. Each square should be approximately 32cm wide and 50cm long.
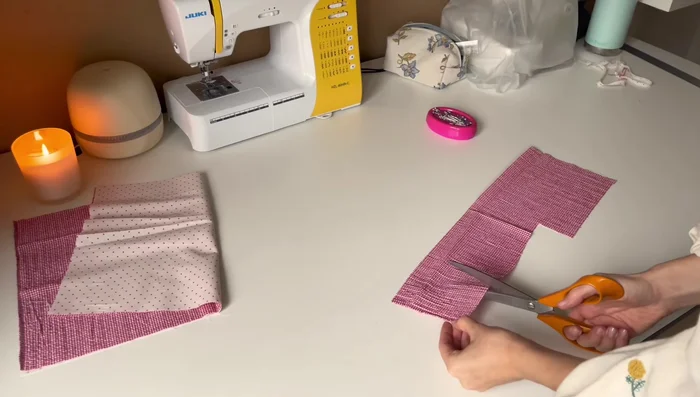
- Cut out a small optional square from the outside fabric. This will be used later for a decorative element.
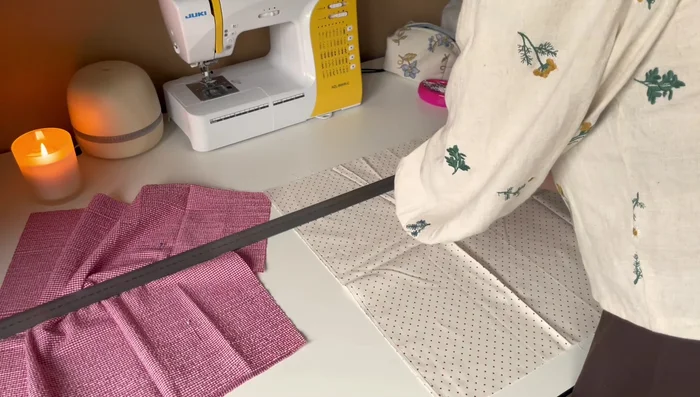
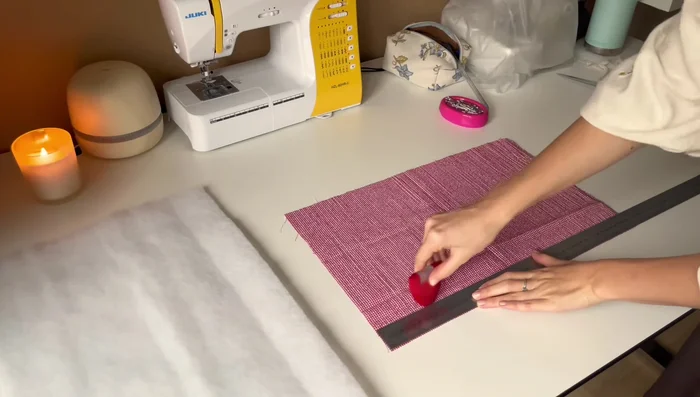
- Cut out the fluffy quilting material slightly larger than the fabric squares to allow for mistakes and sliding during quilting.

Prepare Fabric and Quilting Material Quilt the Outer Fabric
- Quilt the fluffy material to the outer fabric square. Use vertical lines approximately 4cm apart. Pin the distances if your marker doesn't work on the fabric.
Quilt the Outer Fabric Attach Zipper to Outer Fabric
- Attach the zipper. Place the right side of the zipper onto the right side of the outer fabric, aligning outer edges. Leave approximately 1cm between the zipper stop and the fabric end. Sew, starting with the zipper open, then closing it to sew past the zipper stop. Repeat for the other side.
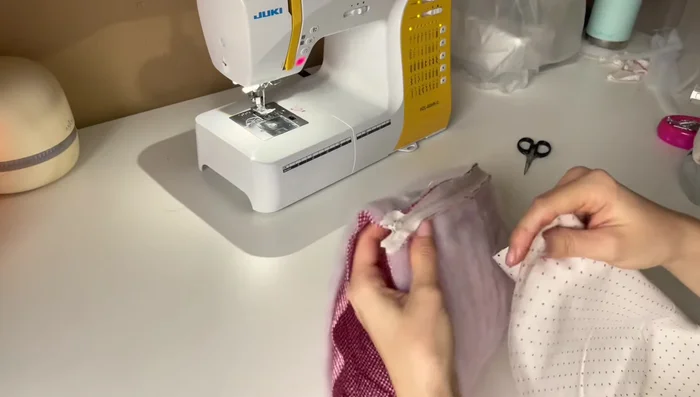
Attach Inner Fabric to Zipper
- Attach the inner fabric to the zipper. Put the right side of the inner fabric to the wrong side of the zipper. Sew with an open zipper, pausing to close and reopen it to sew past the zipper stops.
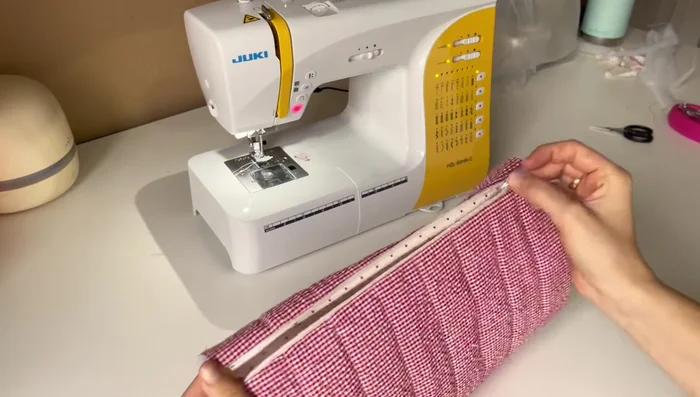
Attach Inner Fabric to Zipper Sew Pouch Sides and Secure Zipper
- Sew the sides of the pouch together. Form a tube with the right sides of the fabric together, aligning the zipper in the middle. Sew close to the zipper, stretching the fabric slightly to avoid bunching.
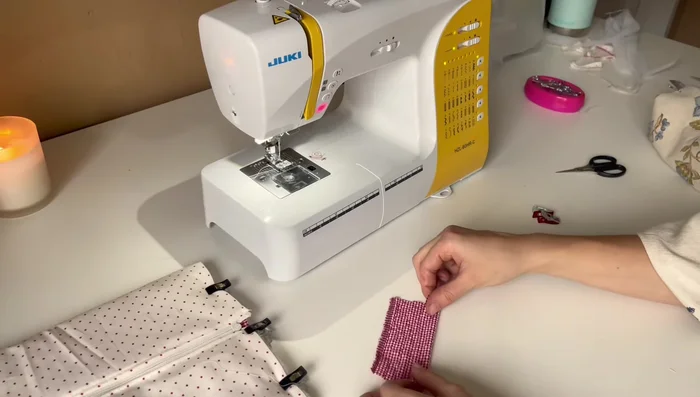
Sew Pouch Sides and Secure Zipper Attach Decorative Fabric
- Prepare and attach the decorative fabric strip. Fold the edges of the small fabric square to the middle twice to create bias binding. Place it inside the pouch, centered on the zipper stop, and sew it in place.
Attach Decorative Fabric Create Boxy Shape
- Create boxy shape. Fold the pouch, aligning the edges and sew 6cm seams (or your preferred distance) along all four sides.
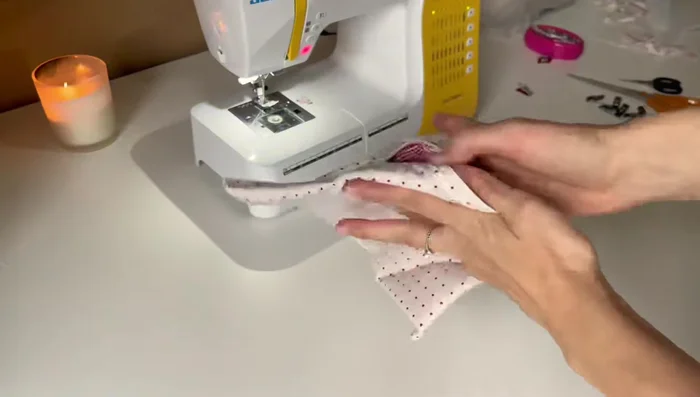
Create Boxy Shape Finish Inside Edges
- Finish the inside edges. Cut and sew a 5cm wide fabric strip to the inside edges of the pouch, encasing the raw edges for a clean finish.
Finish Inside Edges
Read more: Sew a Waterproof Drawstring Gym Bag: Back-to-School Ready!
Tips
- Use a normal zipper instead of an invisible zipper for a better result.
- If using pins, use safety pins to secure fabric layers.
- When sewing near the zipper, take breaks to open the zipper and avoid breaking your needle.
- Sew slowly and carefully when working near the zipper to prevent needle breakage.
- Leave the zipper slightly open to easily turn the pouch right side out.