Back-to-school season is upon us, and with it comes the need for reliable, practical gear. Forget flimsy plastic bags that rip at the seams – this year, elevate your gym bag game with a durable, waterproof drawstring bag you can sew yourself! This project is perfect for beginners, requiring minimal sewing experience and readily available materials. Imagine the satisfaction of carrying your books, sneakers, and gym clothes in a stylish, custom-made bag that can withstand even the most torrential downpours. Say goodbye to soggy textbooks and hello to organized, dry essentials.
This DIY project empowers you to create a personalized gym bag that reflects your unique style while ensuring your belongings remain protected from the elements. We'll guide you through each step of the process, from choosing your fabric to adding the finishing touches. Ready to get started? Let's dive into the step-by-step instructions to sew your own waterproof drawstring gym bag!
Preparation and Safety Guidelines
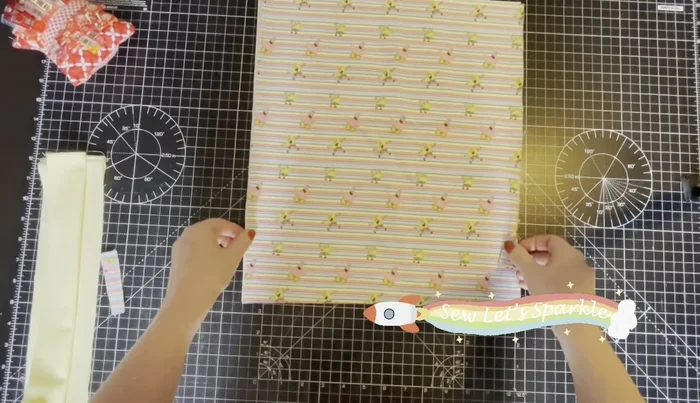
- Outer fabric (16x14 inches)
- Lining fabric (16x14 inches)
- Two 3-inch fabric squares (tabs)
- Four 3x13.5 inch fabric pieces (drawstring casing)
- Drawstring cord (at least 2 meters)
- Always use a waterproof fabric designed for this purpose. Regular fabrics treated with waterproofing sprays may not be durable enough for repeated use and washing.
- Ensure all seams are well-sealed to prevent leaks. Consider using waterproof seam tape in addition to stitching.
- Exercise caution when using a sewing machine with waterproof fabrics, as they can sometimes be difficult to feed through. Use a new needle and reduce your sewing machine's speed.
Step-by-Step Instructions
Create Drawstring Cases
- Sew two 3x13.5 inch pieces right sides together with a 1/4 inch seam allowance. Repeat for the other two pieces. Press open the seams, flip right side out, press again, and fold over to create the casing. Press and set aside.

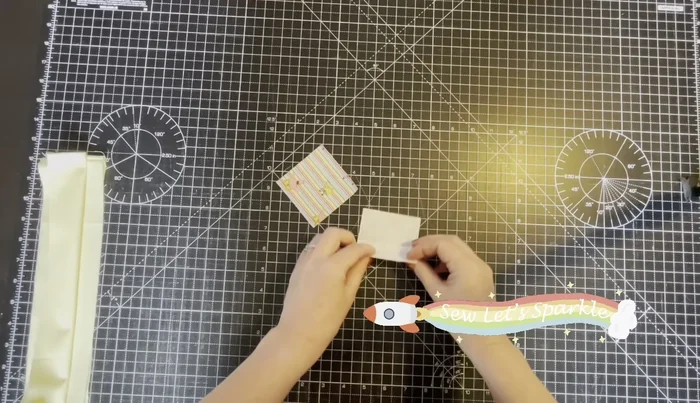
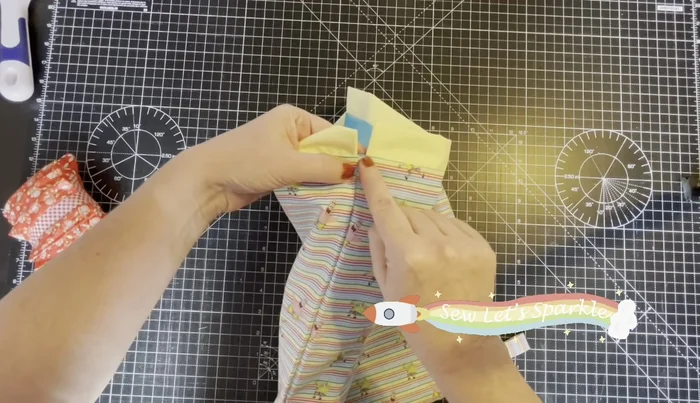
Create Drawstring Cases Make Tabs
- Fold each 3-inch square in half, open, then fold in half again. Repeat for the other side. Fold over the top and sew close to the edge on both sides.
Make Tabs Attach Tabs to Outer Fabric
- Fold the tabs in half. Measuring one inch from the bottom of your outer fabric, place the tabs, one on each side, and baste in place using a long stitch.
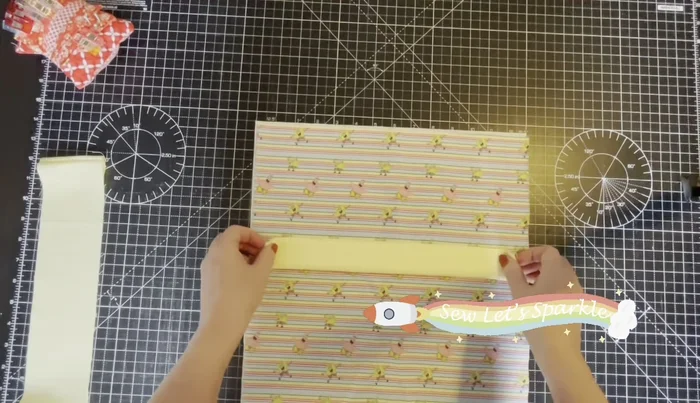
Attach Tabs to Outer Fabric Attach Drawstring Cases to Outer Fabric
- Centralize the drawstring cases on top of the outer fabric, leaving about a half-inch gap on each side. Baste the cases close to the edge. Repeat for the other outer fabric piece.
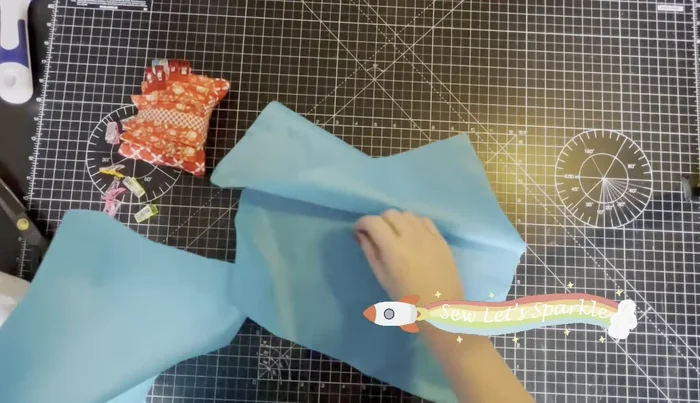
Attach Drawstring Cases to Outer Fabric Sew Outer Fabric Pieces Together
- Place the two outer fabric pieces right sides together, aligning all seams. Clip the edges together. Using a 1/4 inch seam allowance, sew all the way around, backstitching at the beginning and end. No need to leave a gap.
Sew Outer Fabric Pieces Together Sew Lining Fabric
- Sew the lining pieces right sides together, leaving a 4-inch gap at the bottom for turning. Use clips, not pins, if using waterproof fabric.
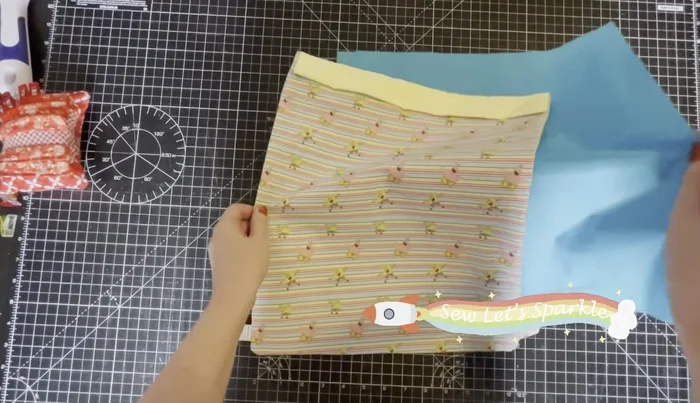
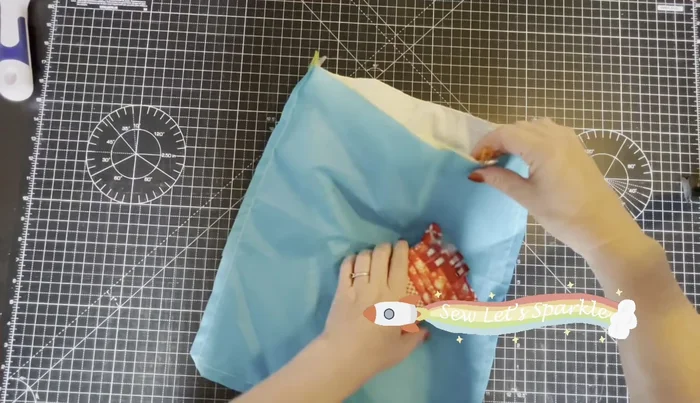
Sew Lining Fabric Insert Outer into Lining
- Turn the outer bag right side out and the lining inside out. Insert the outer bag into the lining, aligning seams and clipping together. Nest the seams.
Insert Outer into Lining Sew Lining to Outer
- Sew all the way around the edge with a 1/4-inch seam allowance, backstitching at the beginning and end. Close the 4-inch gap in the lining afterward. Press the finished bag (use a pressing cloth for waterproof fabric).
Sew Lining to Outer Topstitch
- Top stitch all the way around the outer edge of the bag to secure the lining and outer fabrics together.
Topstitch Insert Drawstrings
- Use a safety pin or bodkin to thread the drawstrings through the drawstring channels. Knot the ends securely, or leave them loose for adjustable length.
Insert Drawstrings


Read more: DIY Quilted Makeup Pouch Tutorial: The Easiest and Fastest Method
Tips
- Use clips instead of pins with waterproof fabric to prevent holes.
- Use a pressing cloth when ironing waterproof fabric to prevent melting.
- When inserting drawstrings, pushing one through the top and one through the bottom can make the process smoother.
- Adjust the dimensions to create different sized bags. Remember to adjust the drawstring channel width accordingly.