Are you tired of desk clutter and searching endlessly for your favorite writing instrument? Transform those stray scraps of fabric into something useful and aesthetically pleasing with this quick and easy DIY pencil holder sewing tutorial! This project is perfect for beginners, requiring minimal sewing skills and utilizing materials you likely already have on hand. No more unsightly plastic containers marring your workspace; instead, create a charming and personalized pencil holder that reflects your unique style. You can tailor the size and fabric to perfectly match your desk décor, making it a fun and rewarding craft project.
Forget complicated patterns and hours of tedious stitching. This tutorial guides you through creating a simple, yet effective pencil holder in just minutes. Ready to get organized and add a touch of handmade charm to your desk? Let's dive into the step-by-step process and create your own beautiful and functional pencil holder!
Preparation and Safety Guidelines
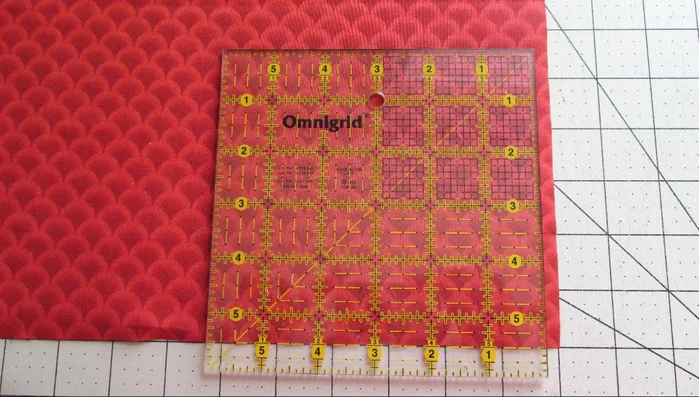
- Main fabric (11in x 18in, heavier weight like canvas)
- Lining fabric (11in x 18in)
- Fusible fleece (10 1/2in x 17 1/2in)
- Elastic (27in, 1in wide)
- Hair tie or elastic for loop
- Button with shank
- Always use sharp scissors to prevent injury and ensure clean cuts. Keep them away from children.
- Supervise children closely if they are participating in any part of the project. Sewing needles and pins can be dangerous.
- If using a sewing machine, always follow the manufacturer's safety instructions and ensure the machine is properly maintained.
Step-by-Step Instructions
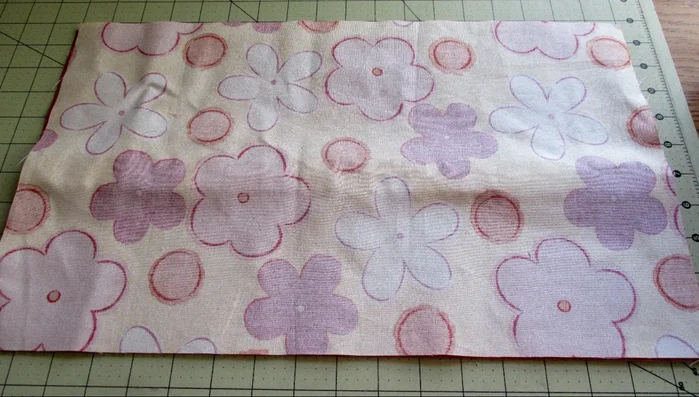
Prepare the Lining Fabric
- Fuse fleece to lining fabric.
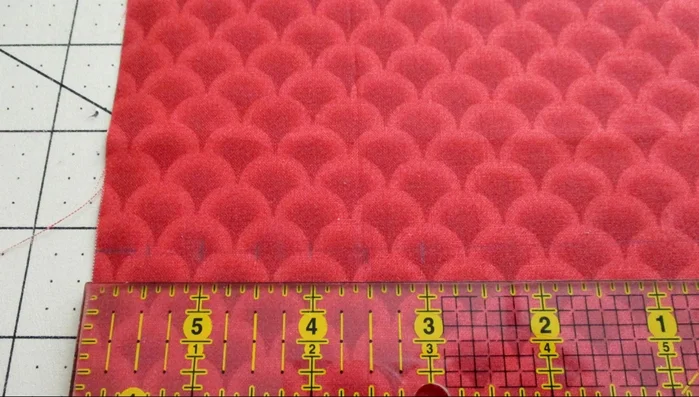
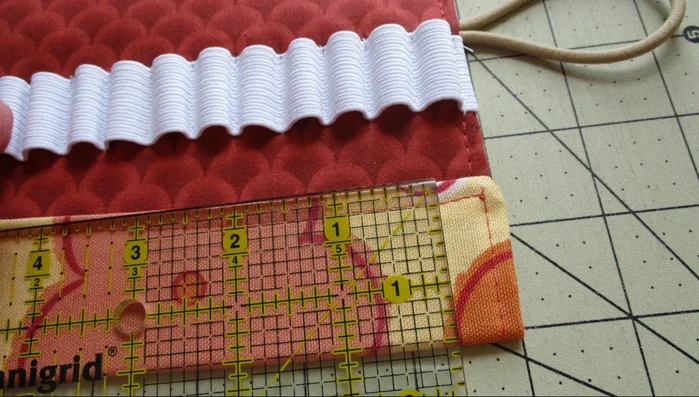
- Mark 5 1/2 inches up from the bottom on both sides of the fused fabric. Draw a straight line connecting the marks.
- Mark the line with 1/2 inch intervals.

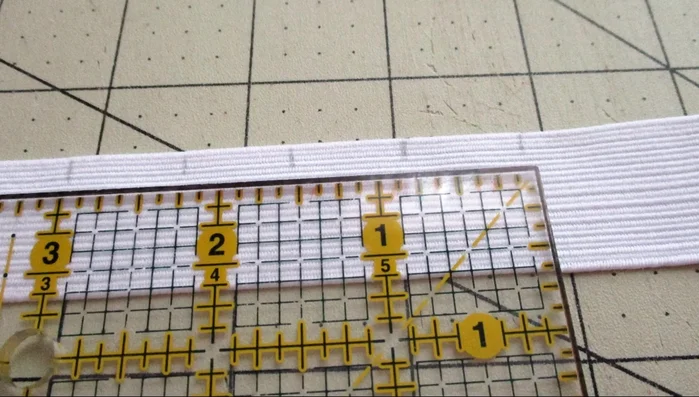
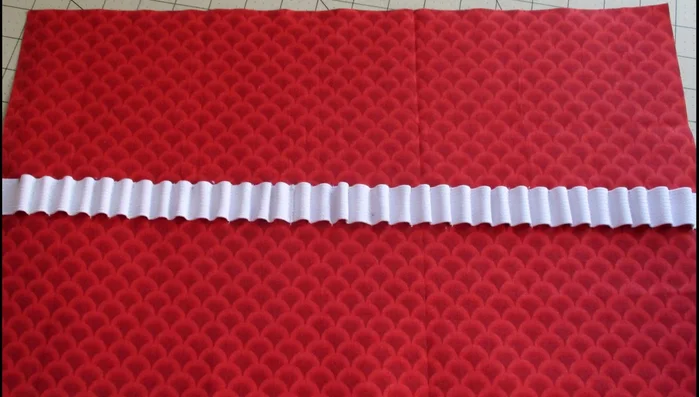
Prepare the Lining Fabric Attach Elastic
- Mark the elastic with 3/4 inch intervals.
- Match up elastic and fabric markings, stitching the elastic to the fabric at each marked point. Back tack at the beginning and end of each stitch.
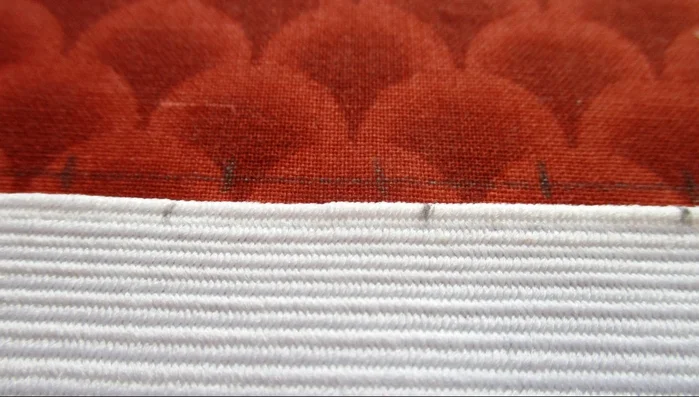
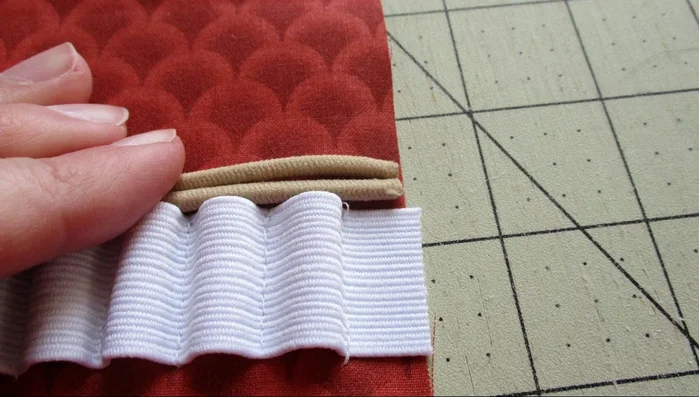
Attach Elastic Add Elastic Loop & Finish Lining
- leave threads for added stability)
- Attach elastic loop to the top edge of the stitched elastic.
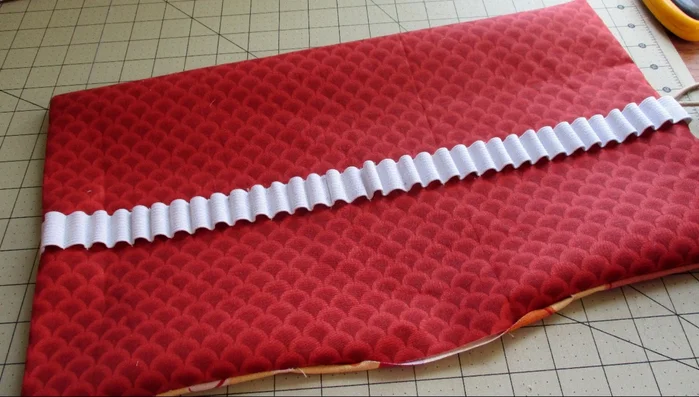
Add Elastic Loop & Finish Lining Sew Main Fabric to Lining
- Place main fabric right side down onto lining, center, and pin.
- Stitch all around with a 1/2 inch seam allowance, leaving a space at the bottom for turning. When stitching near the elastic loops, pull the main fabric over to match edges before stitching.
Sew Main Fabric to Lining Turn and Topstitch
- Clip corners, turn right side out, fold bottom edges under 1/2 inch, press, and topstitch around the entire piece, closing the bottom opening.
Turn and Topstitch Create Pencil Pocket
- Fold the bottom of the fabric up 1 1/2 inches (or 2 inches), pin, and stitch to create a pocket. Repeat on the other side. Stitch down the middle of the pocket to close the gap.
Create Pencil Pocket Attach Button
- Insert pencils, roll up the holder, and secure the elastic. Mark button placement and hand-sew the button.
Attach Button


Read more: DIY Quilted Makeup Pouch Tutorial: The Easiest and Fastest Method
Tips
- Use a darker fabric for easier marking if you're using a pencil.
- Don't worry about perfectly precise markings on elastic or fabric; close is good enough.
- Leave extra threads on the back for extra stability.
- Cutting the elastic loop and putting raw edges together before sewing makes it easier.