Creating beautiful and well-fitting garments starts with understanding the fundamental principles of pattern drafting. This guide delves into the art of crafting a bust top pattern featuring a captivating yolk detail, a design element that adds both style and interest to any garment. We'll explore the techniques involved in accurately measuring and calculating the necessary dimensions to ensure a perfect fit tailored to your specific body measurements. The yolk itself, a charming detail often found in vintage-inspired pieces, adds a touch of elegance and sophistication while also providing a structural element to the bodice.
This detailed, step-by-step guide will walk you through each stage of the process, from initial measurements and basic block construction to the precise shaping and placement of the yolk. Prepare to learn how to confidently draft your own unique bust top pattern, empowering you to create stunning, custom-made pieces that perfectly complement your style and figure. Let's begin!
Preparation and Safety Guidelines
- Pattern paper
- Ruler
- Curve ruler
- Pencil
- Measuring tape
- Accurate measurements are crucial. Take your bust measurements carefully and precisely following the instructions provided in your chosen pattern. Inaccurate measurements will result in a poorly fitting garment.
- Use a stable, lightweight fabric. Avoid overly stretchy or drapey fabrics for your first attempt, as these can be more challenging to work with and may distort the yolk shape.
- Test your pattern before cutting into your final fabric. Create a muslin (test garment) to check the fit and make any necessary adjustments before committing to your chosen fabric.
Step-by-Step Instructions
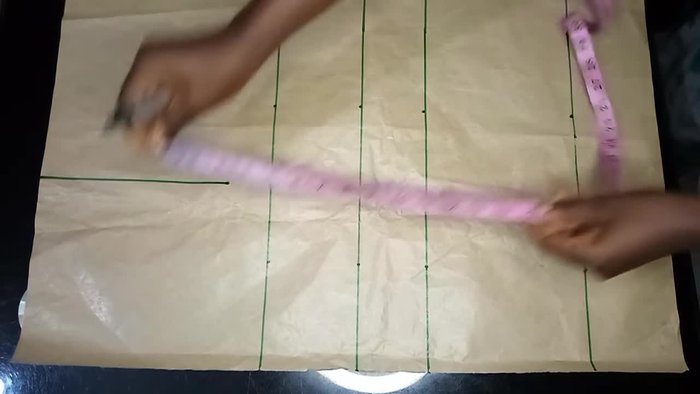
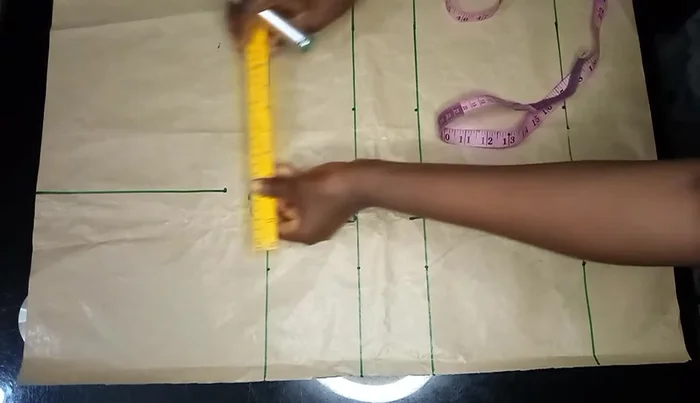
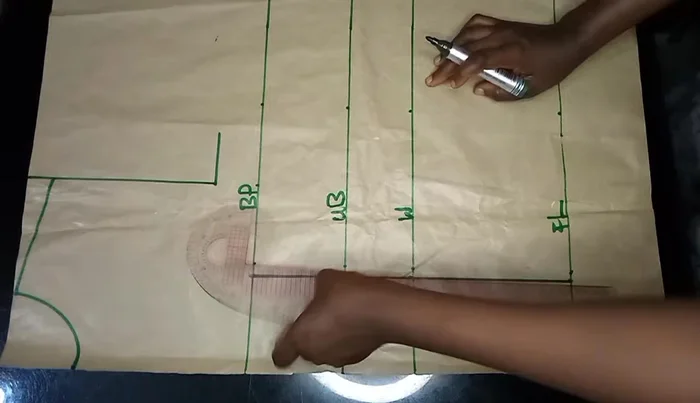
Initial Pattern Layout
- Shoulder to nipple (10in), shoulder to underbust (14in), shoulder to waist (17in), full length (24in), shoulder width (8in).
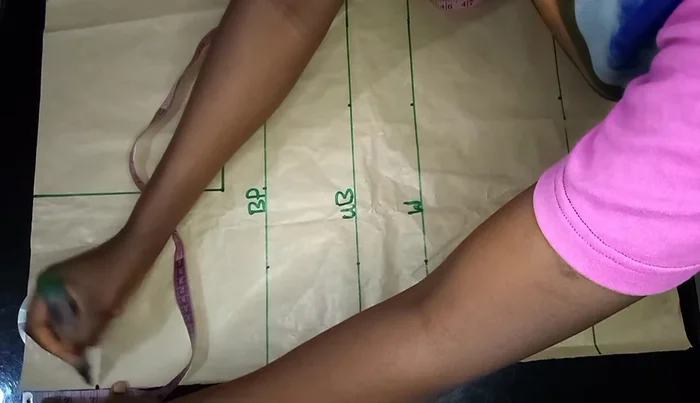
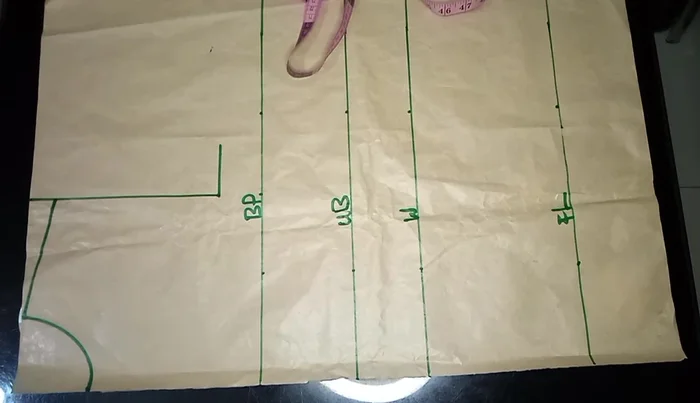
- Mark bust point and add 2 inches for the neckline.
- Create neckline using curve ruler (3 1/2in x 3in).
- Determine shoulder slope (1 inch down).

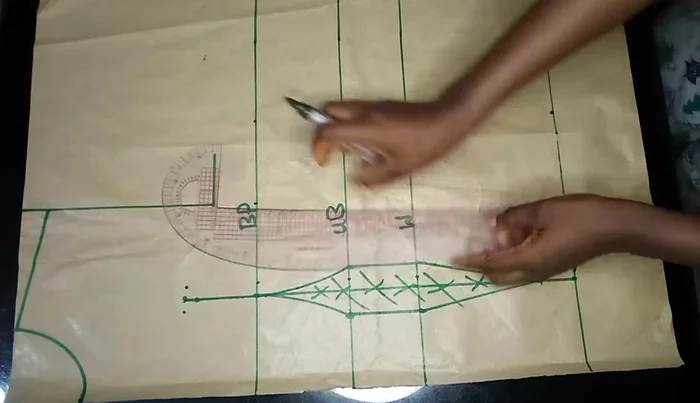
Initial Pattern Layout Front Dart Construction
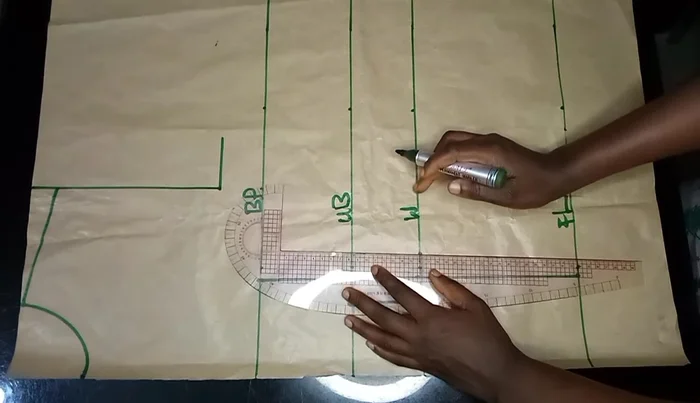
- Mark nipple-to-nipple measurement, divide by two (8in / 2 = 4in), and mark this measurement down to the full length.
- Use a stretch ruler to create the dart lines.
- Take 1 inch in on both sides at the waistline and underbust.
- Shape the bust dart by curving down approximately 4 inches from the bust point using a curve ruler.
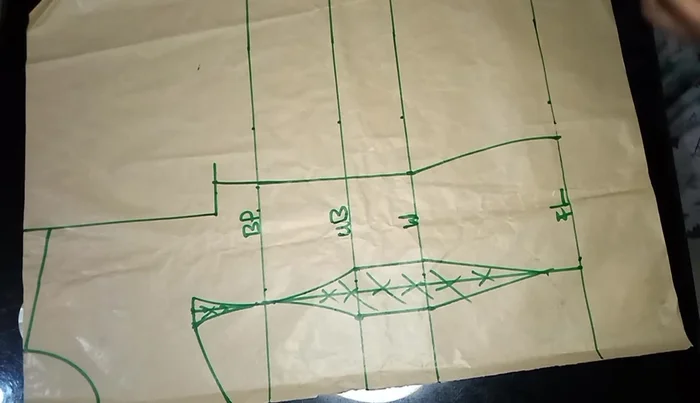
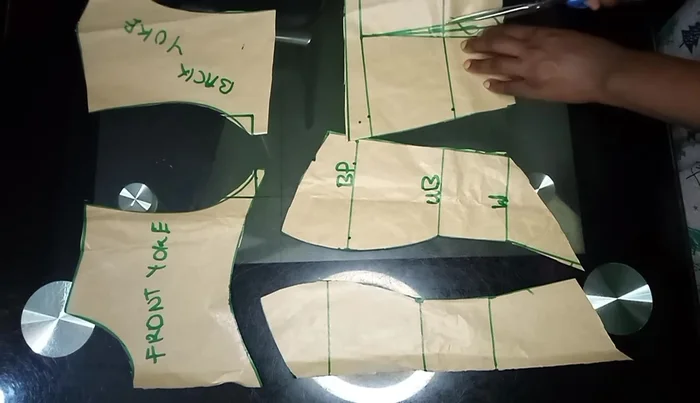
Front Dart Construction Front Yoke Creation
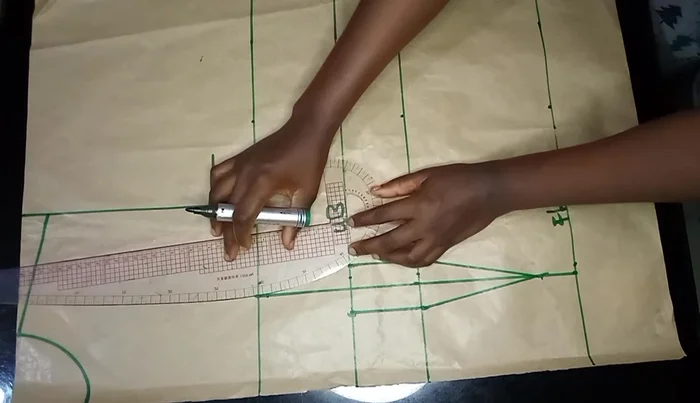
- Extend the 4-inch line upward by 3 inches from the bust point (adjust based on desired bust openness).
- Mark half an inch on either side of the 3-inch line and curve this area.
- Determine the yoke height (1 1/2 inches) and connect lines to complete the yoke.
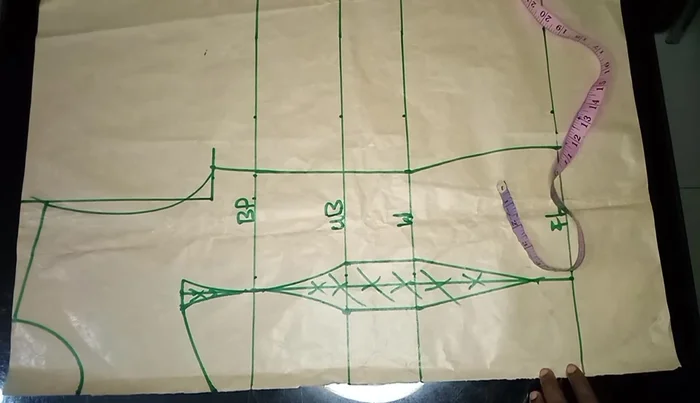
Front Yoke Creation Side Seam and Hip Shaping
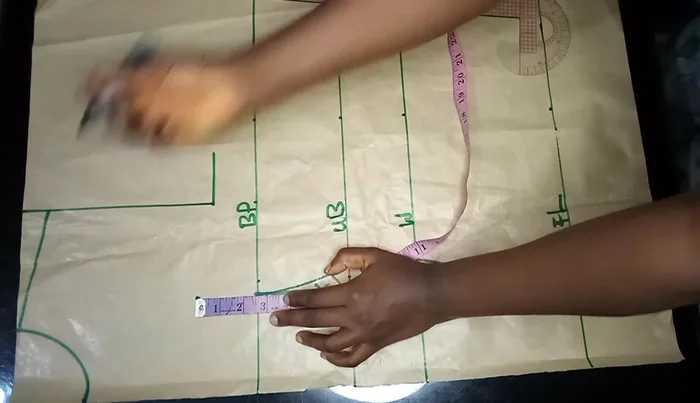
- Mark bust point measurement (divided by 4) on bust point and chest line, and waist measurement plus 2-inch allowance on waistline.
- Mark hip measurement and curve using a curve ruler.
- Connect chest line to bust point and waist using a stretch ruler for side seam.
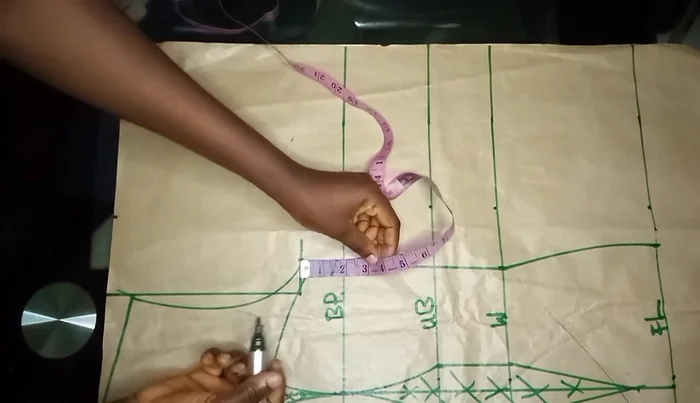
Side Seam and Hip Shaping Armhole Definition
- Take armhole measurement from bust point to shoulder slope.
Armhole Definition Back Pattern Construction
- Neckline (3 1/2 inches x 1 inch).
- Add shoulder measurement (8 inches), chest line (add 2 inches as in front).
- Connect the back pattern pieces, adding the dart measurements as previously done for the front.
Back Pattern Construction Final Pattern Adjustments and Cutting
- Add seam allowances and cut out the pattern pieces.
Final Pattern Adjustments and Cutting

Read more: Raglan Sleeve Sewing Tutorial: A Step-by-Step Guide
Tips
- Take your time and carefully mark all measurements.
- Remember to add seam allowances to your fabric before cutting.
- Plan out your sewing process before you start to make the work faster and more efficient.