Raglan sleeves, with their distinctive diagonal seam from neckline to underarm, offer a comfortable and stylish alternative to set-in sleeves. This unique construction allows for greater ease of movement and a more relaxed fit, making them a popular choice for everything from sweatshirts and sweaters to dresses and coats. Their distinctive shape, however, can seem intimidating to sew for beginners. Fear not! This seemingly complex design is surprisingly achievable with the right guidance.
This tutorial demystifies the raglan sleeve, providing a clear and comprehensive step-by-step guide, perfect for both novice and experienced sewists. Whether you're a seasoned pro looking to refine your technique or a beginner tackling your first raglan project, this guide will equip you with the knowledge and confidence to create beautifully finished garments. Let's dive into the process, beginning with the essential pattern preparation and fabric selection.
Preparation and Safety Guidelines
- sewing machine
- straight pins
- iron
- Always use sharp sewing machine needles and sharp fabric shears for clean cuts and to prevent fabric from stretching or fraying.
- Before starting to sew, test your stitch length and tension on a scrap of fabric that is the same type as your project fabric. This will help you avoid mistakes on your final garment.
- Pin your fabric carefully to secure the layers, especially when sewing curved seams. Use plenty of pins to prevent shifting and ensure accurate stitching.
Step-by-Step Instructions
Prepare the Sleeve
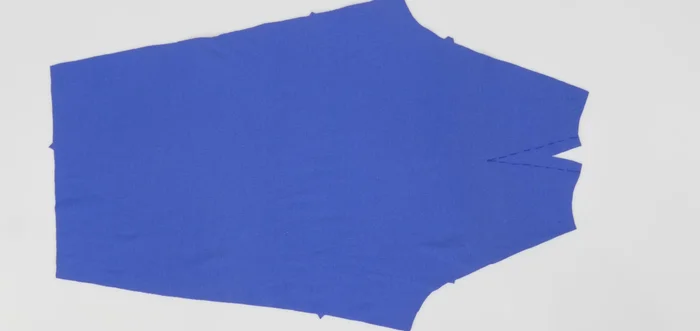
- Cut out the sleeve pattern pieces. Note that a Raglan sleeve pattern differs from traditional sleeve patterns.
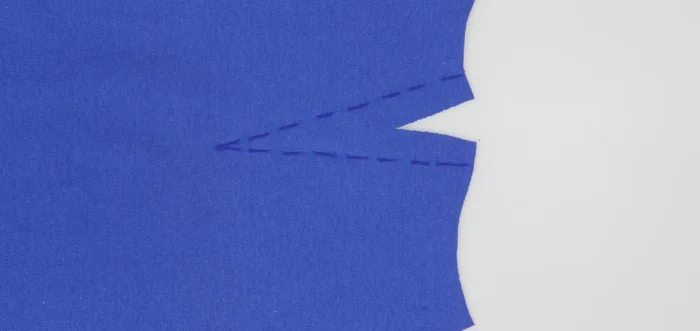
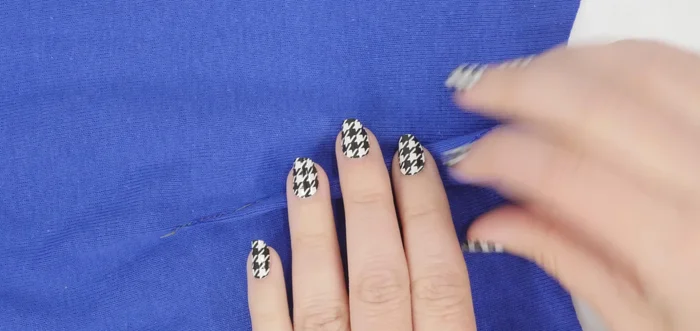
- Transfer dart markings from the pattern to the wrong side of the sleeve fabric.
- Create the dart by pinching the fabric together at the marked points and pinning.
- Sew the dart using a regular straight stitch, starting at the widest point and sewing towards the point. Secure the end by hand-tying a knot instead of backstitching.

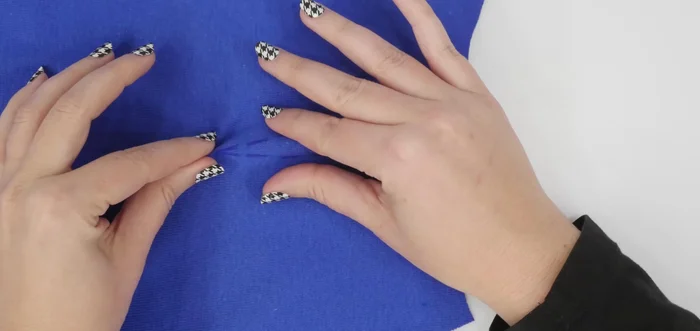
Prepare the Sleeve - Press the dart flat.
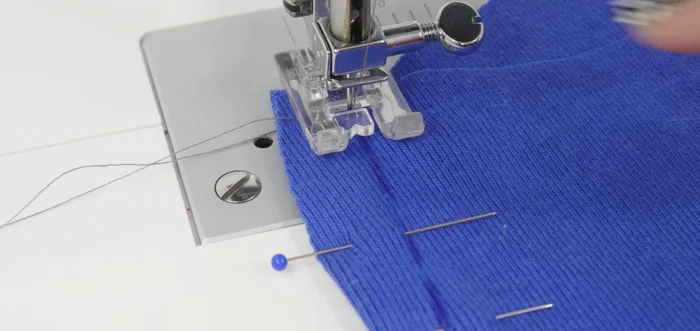
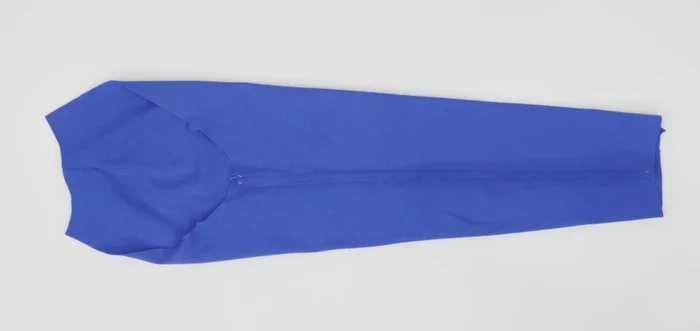
Prepare the Sleeve Sew the Underarm Seam
- Bring the underarm seams together (right side to right side), matching notches and aligning the top and bottom of the sleeve. Sew using a double stitch (or zig-zag stitch for knits) for added durability.
- Trim the seam allowance close to the second stitch if using a double stitch and press towards the back.
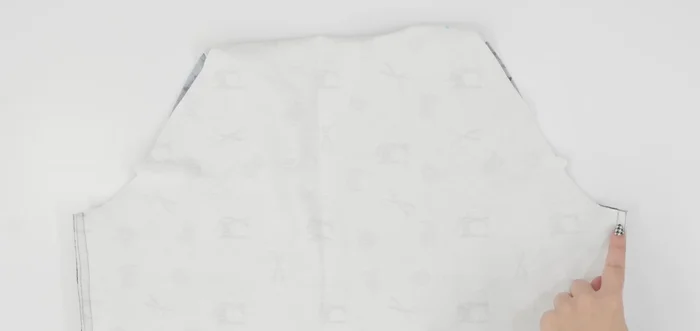
Sew the Underarm Seam Prepare the Bodice
- Attach the front and back bodice pieces together at the side seams using a double stitch (for knits).
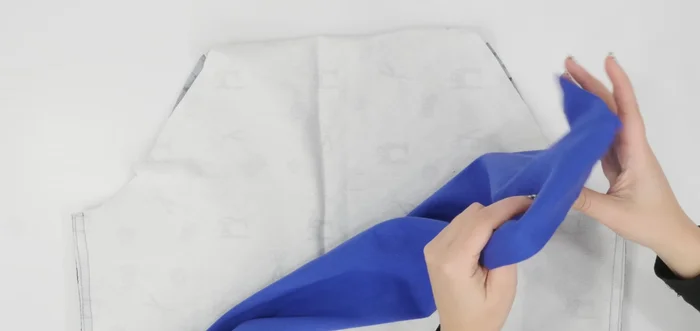
Prepare the Bodice Attach the Sleeve to the Bodice
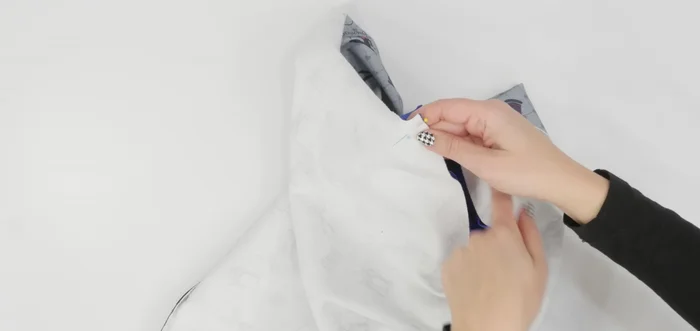
- Insert the sleeve (right side out) between the bodice pieces (right sides together), matching the top of the sleeve to the neckline and the underarm seam to the side seam. Pin, ensuring a 'U' shape.
- Sew the sleeve to the bodice using a double stitch. Trim the seam allowance.
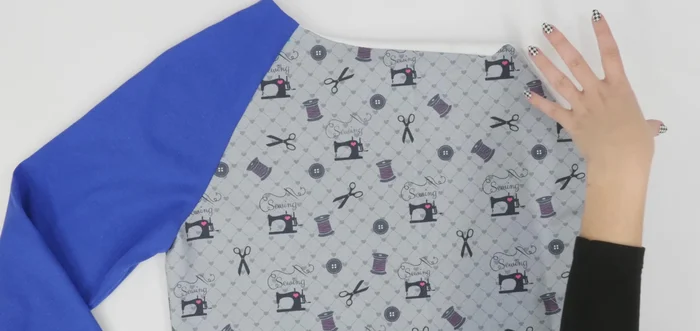
Attach the Sleeve to the Bodice Finish Garment
- Finish the bottom of the sleeves and neckline.
Finish Garment

Read more: DIY Bias-Cut Slip Skirt: A Beginner's Guide to Sewing Your Own
Tips
- Transfer all markings from the pattern to the fabric before sewing.
- Use a double stitch for knit fabrics to prevent stretching.
- Press your darts flat for a clean finish.
- Use notches to match the sleeve to the bodice correctly.
- A stay stitch around the neckline helps prevent stretching.