Corsets, symbols of timeless elegance and alluring curves, have transcended their historical context to inspire modern fashion. Their structured silhouette, once a foundation garment, now serves as a powerful design element, lending a unique sophistication to contemporary dresses. The dramatic cinching and flattering shape of a corset-inspired dress are highly sought after, but achieving that perfect drape can seem daunting. Fear not, aspiring fashionistas! This isn't about intricate boning or complicated lacing.
This guide demystifies the art of draping a corset-inspired dress, offering a simplified approach that delivers stunning results. We'll walk you through a straightforward method, perfect for both beginners and experienced sewists, using readily available materials. Let's begin with a step-by-step process that will empower you to create your own breathtaking, corset-inspired masterpiece.
Preparation and Safety Guidelines
- Draping tape (3mm wide)
- Pins
- Scissors
- Measuring tape
- Cotton fabric
- Marker
- Fashion fabric
- Cotton canvas (interlining)
- Lining fabric
- Boning
- Bias binding tape
- Ruffles
- Bra wires
- Sewing machine
- Iron
- Avoid over-tightening the corset portion of the dress. Excessive tightness can restrict breathing and blood flow. Listen to your body and loosen the lacing if you feel discomfort.
- Be mindful of undergarments. Seamless or smooth undergarments will prevent visible lines under the corset and create a smoother silhouette. Avoid bulky or heavily textured underwear.
- If you are new to wearing corsets, start with shorter periods of wear to allow your body to adjust. Gradually increase the duration as you become more comfortable.
Step-by-Step Instructions
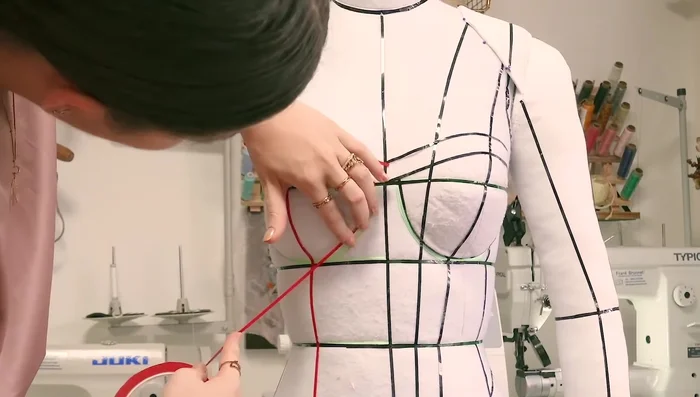
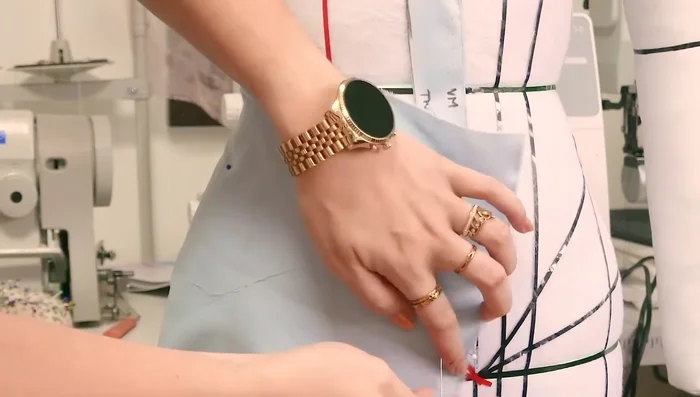
Prepare the Dress Form
- Mark guidelines on the dress form using draping tape. Mark the apex line, side seams, center front, center back, bust, waist, and hip lines.

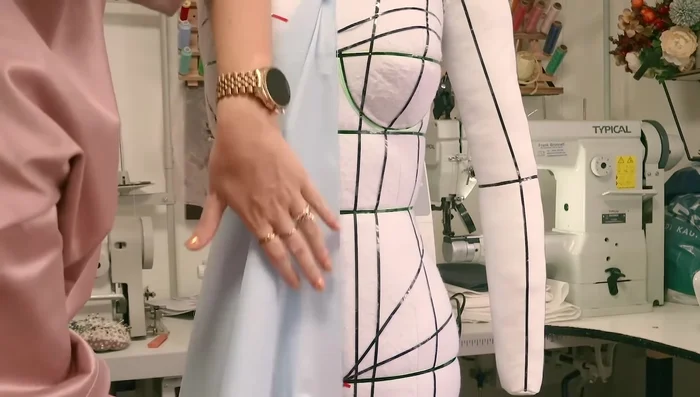
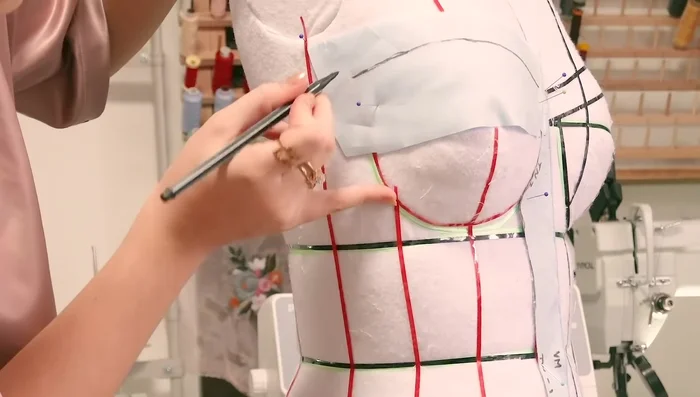
Prepare the Dress Form Design and Mark Neckline and Additional Lines
- Decide on the neckline (e.g., sweetheart). Highlight cup areas with tape.
- Add design lines as needed. Create a hemline, potentially adding a hip piece for comfort.
Design and Mark Neckline and Additional Lines Cut and Prepare Fabric
- Measure the height of the fabric panels needed and cut cotton fabric panels to those lengths.
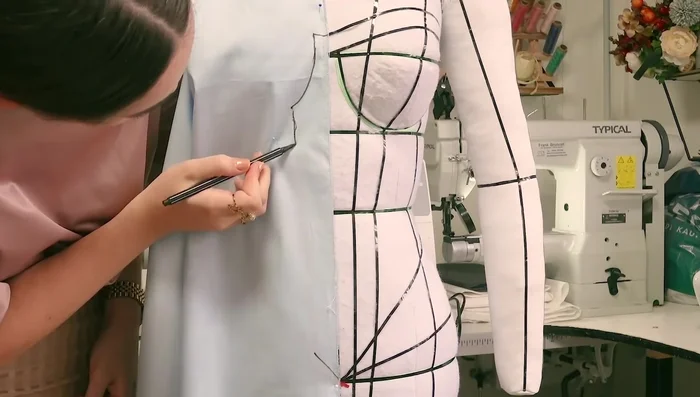
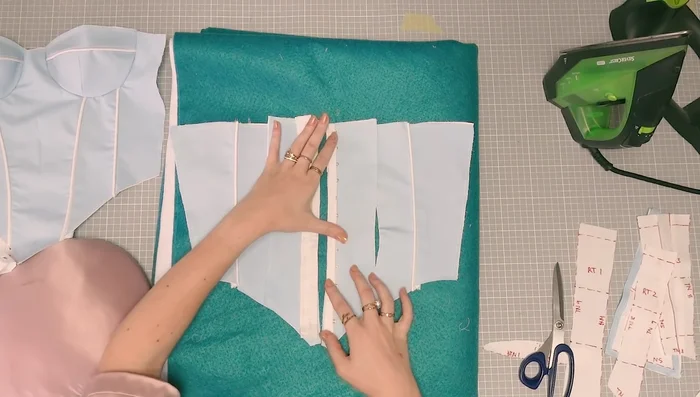
Cut and Prepare Fabric Drape the Front Panel
- Start draping from the center front, following vertical lines. Ease the fabric into place and mark the lines of the first piece on the fabric.
- Name and draw all notches on each pattern piece as you drape.
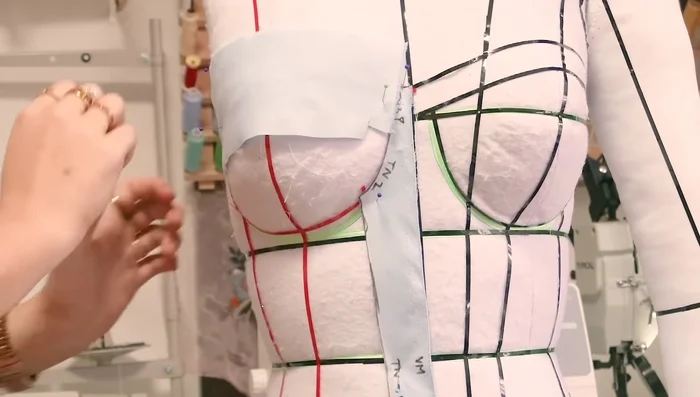
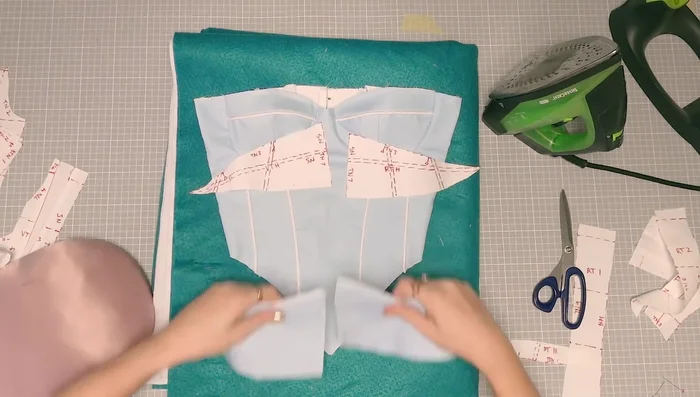
Drape the Front Panel Drape the Cups
- Drape the cup pieces (top, middle, bottom), ensuring smooth fabric and following apex lines. Note the slight angle for better draping on curves.
Drape the Cups Drape the Hip
- Drape the hip portion as a long, moon-shaped piece, potentially adding a side seam.
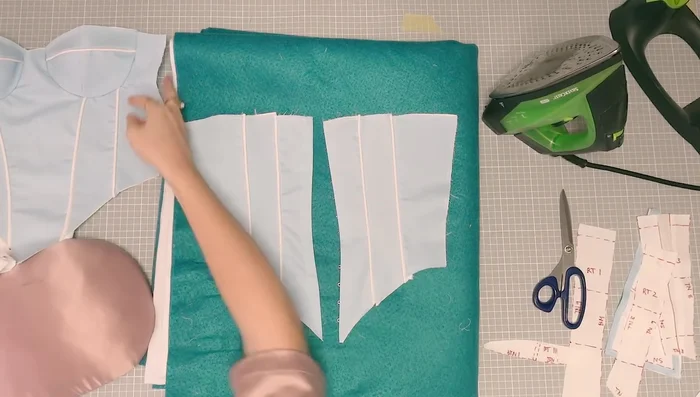
Drape the Hip Drape Remaining Panels
- Repeat the center front draping process for the remaining panels.
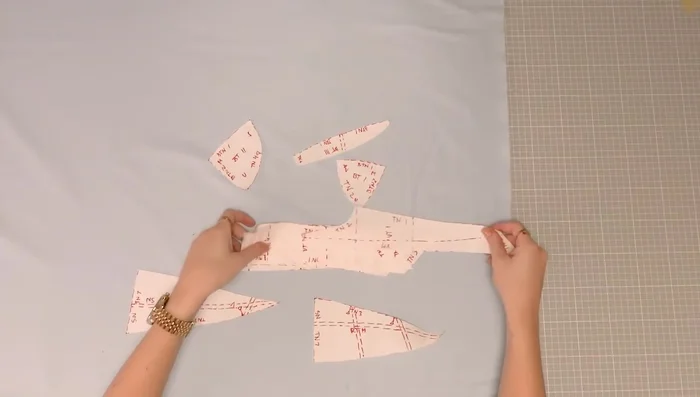
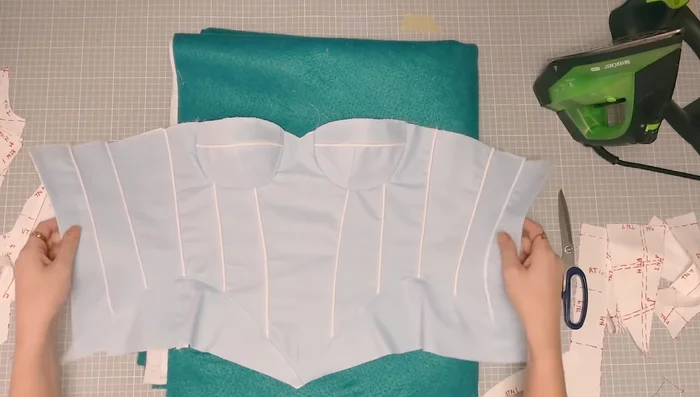
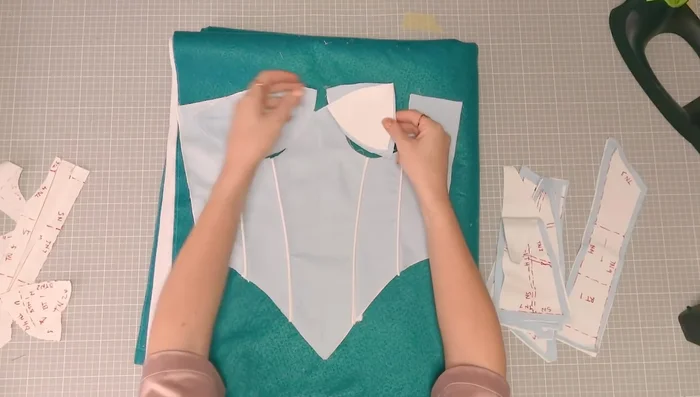
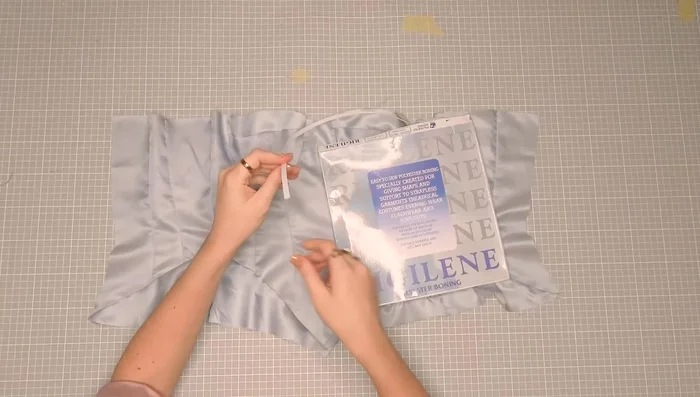
Cut Fabric and Interlining
- Cut out all draped pattern pieces to check measurements and make corrections if needed.
- Cut pattern pieces from fashion fabric and interlining.
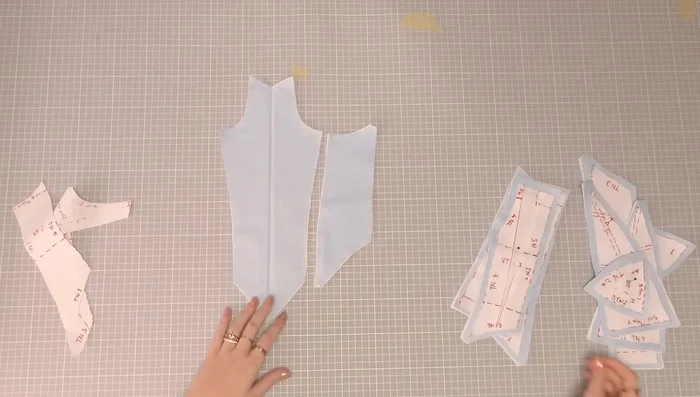
Cut Fabric and Interlining Assemble the Lining
- Sew together the lining pieces, adding bias piping to seams and ironing open.
- Assemble the lining.
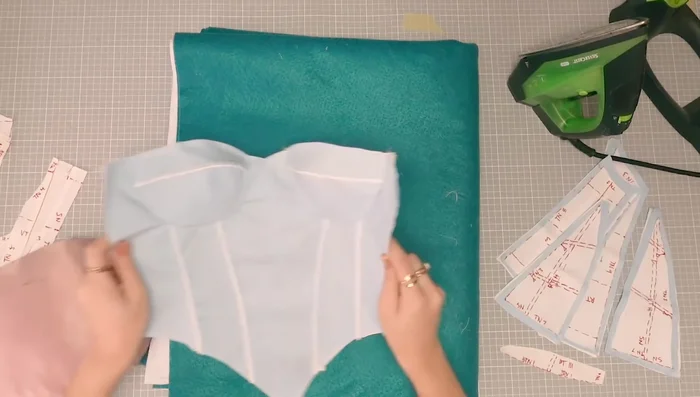
Assemble the Lining Assemble the Front
- Assemble the cup pieces, sewing the triangular side seams together, then attaching the top piece with piping.
Assemble the Front Assemble the Back
- Assemble back pieces, same as the front, including piping and ironing.
- Add hooks and eyes for closures to center back pieces.
- Sew the back pieces together.
Assemble the Back Assemble the Corset Body
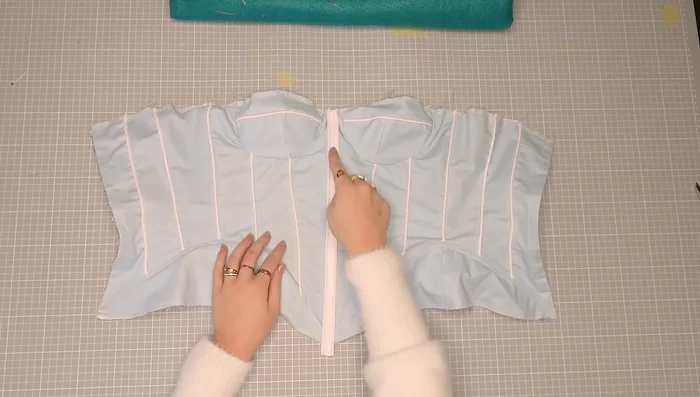
- Sew the front and back pieces together.
Assemble the Corset Body Assemble the Hip Pieces
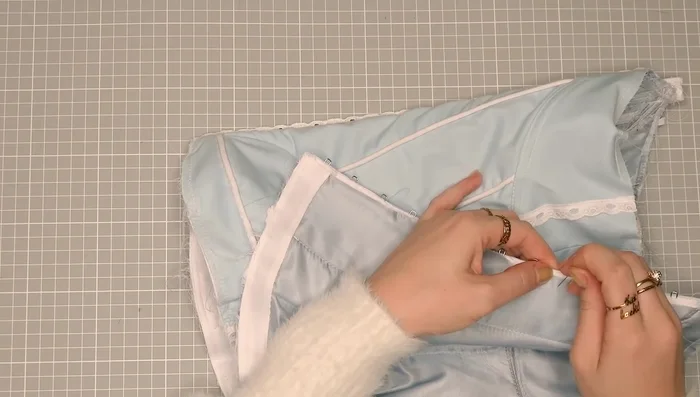
- Sew and finish the hip pieces. Attach to the corset.
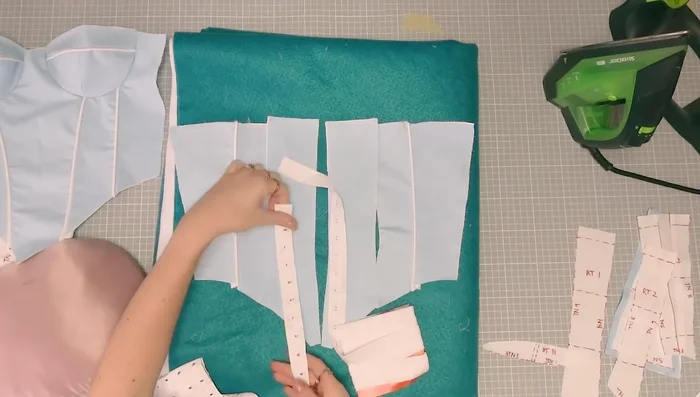
Assemble the Hip Pieces Add Boning and Underwire Channels
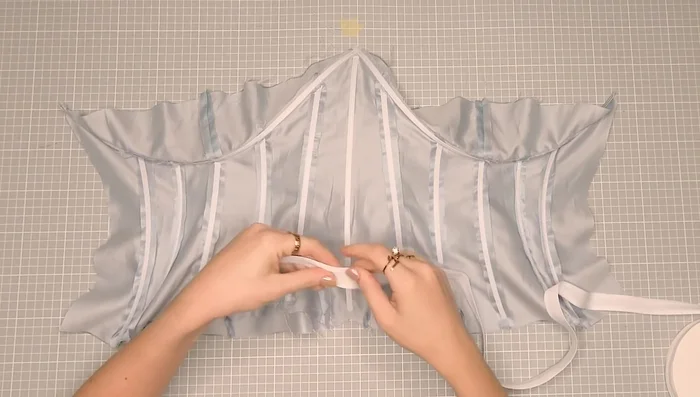
- Add boning to the seams, alternating direction for a straight result. Stitch boning directly onto seams.
- Create channels for underwire using bias tape.
Add Boning and Underwire Channels Join Outer and Lining
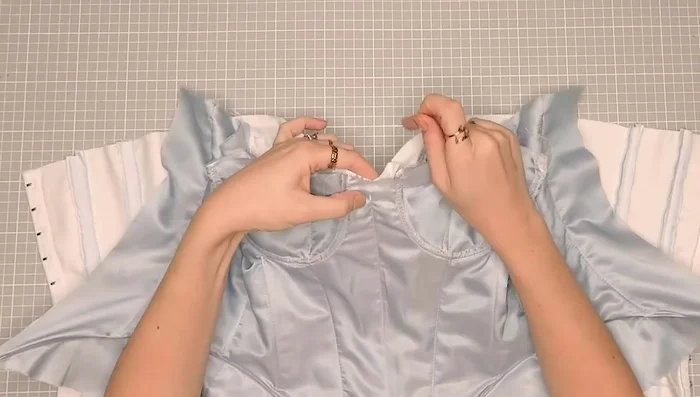
- Sew the outer layer and lining together at the neckline, hem, and hip curve. Top stitch to fuse layers.
Join Outer and Lining Add Additional Boning (if needed)
- Add extra boning to the center front if needed to reduce wrinkles.
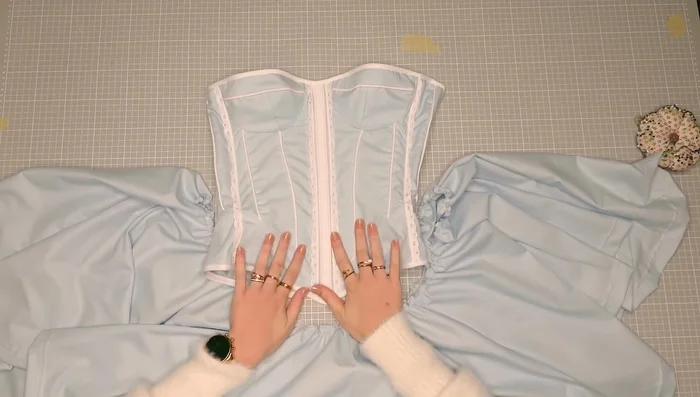
Add Additional Boning (if needed) Finish the Corset
- Topstitch the neckline and hem. Add trim if desired.
Finish the Corset Create and Attach the Skirt
- Create and attach the half-circle skirt. Gather the waistline for a fitted look.
- Sew zipper into the skirt.
Create and Attach the Skirt


Read more: Raglan Sleeve Sewing Tutorial: A Step-by-Step Guide
Tips
- Use a dress form close to your measurements or pad it to achieve the best fit.
- Measure and adjust pattern pieces as needed to ensure a precise fit.
- If adding boning channels, make sure the boning pieces are rounded to prevent problems.