The bias-cut slip skirt: a whisper of silk against your skin, a fluid drape that moves with effortless grace. It's a garment that exudes timeless elegance, often associated with high-fashion runways and sophisticated wardrobes. But what if we told you this coveted piece could be yours, made entirely by your own hands? This beginner's guide will demystify the process of creating a beautiful, bias-cut slip skirt, proving that sewing this seemingly complex item is entirely achievable, even for those just starting their sewing journey. Forget expensive boutiques and complicated patterns; we'll empower you to craft a unique and flattering garment tailored to your exact measurements and personal style.
This project is perfect for anyone with a basic understanding of sewing; we’ll walk you through each step, from selecting the right fabric to mastering the art of the bias cut. We’ll cover essential techniques clearly and concisely, providing helpful tips and tricks along the way. Ready to transform a simple piece of fabric into a stunning, wearable masterpiece? Let's dive into the step-by-step process and begin creating your very own bias-cut slip skirt!
Preparation and Safety Guidelines
- satin fabric (approx. 2 meters)
- invisible zipper
- bias tape
- fabric scissors
- matching thread
- pencil or chalk
- pins
- sewing machine
- Always use sharp fabric scissors to prevent fraying and ensure clean cuts. Dull scissors can lead to uneven edges and make sewing more difficult.
- Use caution when working with pins and needles. Keep them away from children and store them securely when not in use. Always point pins downwards to avoid accidental pricks.
- Before starting to sew the bias cut fabric, pre-wash and dry your fabric to prevent shrinkage after the garment is finished. This helps ensure a proper fit.
Step-by-Step Instructions
Taking Measurements
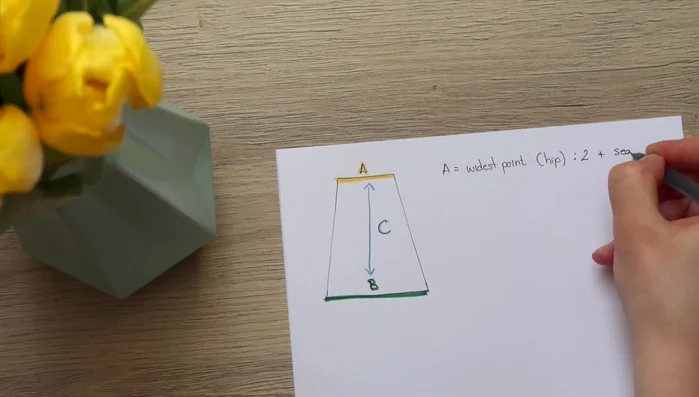
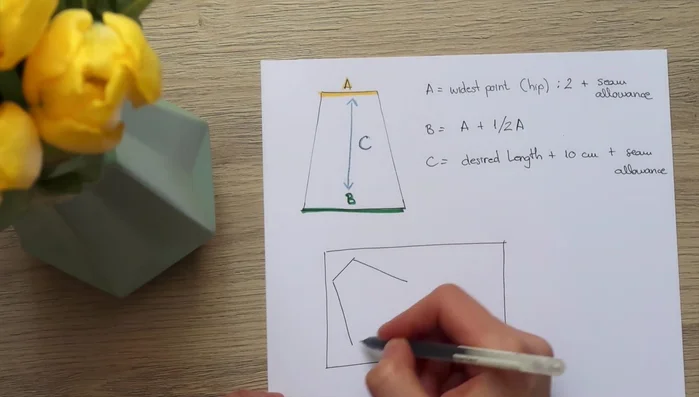
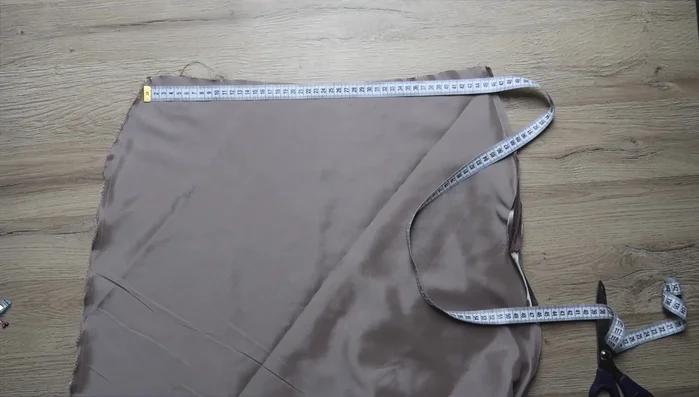
- Measure your hip circumference (A), desired skirt width at the bottom (A + A/2 = B), and desired skirt length (C). Add seam allowance and extra length for hemming.

Taking Measurements Creating and Cutting the Pattern
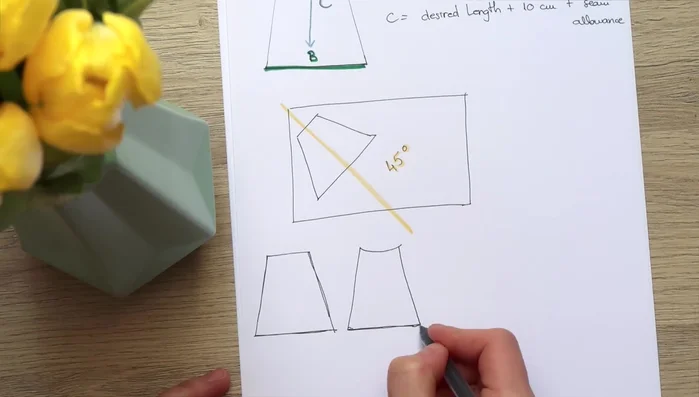
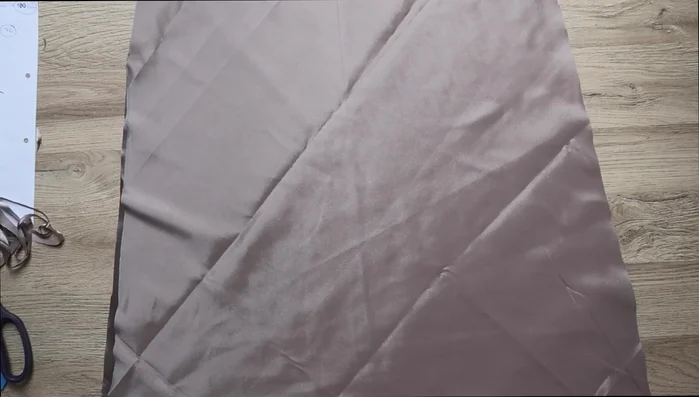
- Cut two pieces of fabric on the bias (45-degree angle).
Creating and Cutting the Pattern Adjusting the Pattern
- Round the waistband and bottom edges slightly. Round the top side seams to create a more fitted silhouette.
Adjusting the Pattern Sewing the Side Seams
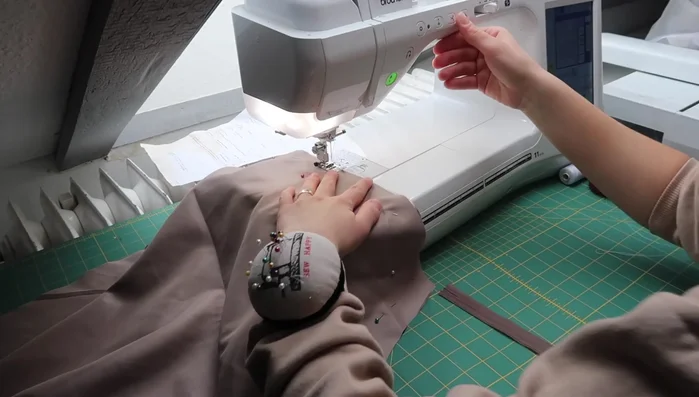
- Sew one side seam, leaving an opening for the zipper.
Sewing the Side Seams Inserting the Zipper
- Sew the invisible zipper in place, stitching as close to the zipper teeth as possible.
Inserting the Zipper Fitting and Adjusting the Waist
- Try the skirt on inside out. Pin the back waist to determine how much fabric to take in for a perfect fit.
Fitting and Adjusting the Waist Creating and Sewing Darts
- Create and sew two inverted triangular darts at the back waist to achieve a fitted shape.
Creating and Sewing Darts Attaching the Waistband
- Use bias tape to create the waistband, folding and sewing it neatly around the top edge.
Hemming the Bottom
- Hem the bottom of the skirt to the desired length.
Hemming the Bottom


Read more: Raglan Sleeve Sewing Tutorial: A Step-by-Step Guide
Tips
- Add extra fabric to your measurements to allow for ease of movement and hemming.
- Cutting fabric on the bias allows the skirt to drape better.
- Take in the sides of the skirt more than 3 centimeters for a better fit, avoiding overly large darts.
- When sewing the invisible zipper, sew close to the zipper teeth for a clean finish.
- When sewing darts, avoid sewing back and forth at the end to prevent bulkiness. Instead, tie off the threads.