Zipper hoodies are a staple in many wardrobes, offering a blend of comfort and style. But what happens when you find the perfect hoodie, only to wish for the added functionality of a zipper? Instead of searching endlessly for the ideal garment, why not take matters into your own hands? This guide provides a straightforward approach to transforming your favorite hoodie, whether it's a plain pullover or a more intricate design, into a zipped-up marvel. Adding zippers might seem daunting, but with the right tools and a bit of patience, it's a surprisingly accessible project.
This quick guide demystifies the process of adding zippers to your hoodies, transforming them from simple pullovers into practical and stylish garments. We'll walk you through the necessary steps, offering clear instructions and tips to ensure a professional-looking finish. Ready to elevate your hoodie game? Let's dive into the step-by-step process and get started on your personalized zipper hoodie modification.
Preparation and Safety Guidelines
- sewing machine
- seam ripper
- heat erasable pen
- ruler
- zipper
- safety pin
- new drawstring
- Always use sharp, high-quality sewing scissors or rotary cutter to prevent fabric damage and ensure clean cuts. Dull blades can cause fraying and make sewing more difficult.
- Before sewing, test your zipper on a scrap of the same fabric to ensure proper stitch length and tension. This prevents potential damage to your hoodie.
- Pin the zipper securely in place before sewing to avoid shifting and ensure accurate placement. Use plenty of pins, especially around curves.
Step-by-Step Instructions
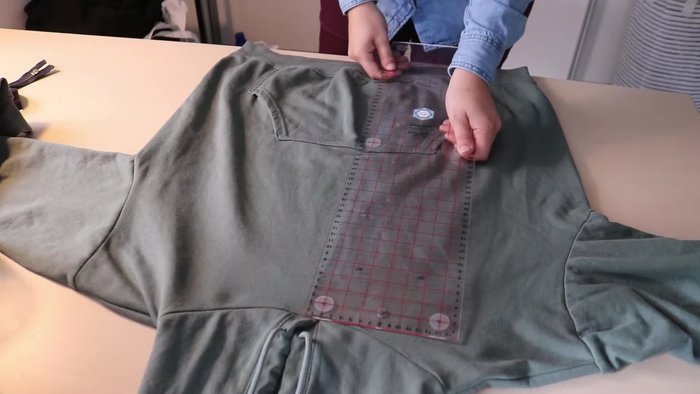
Prepare the Hoodie
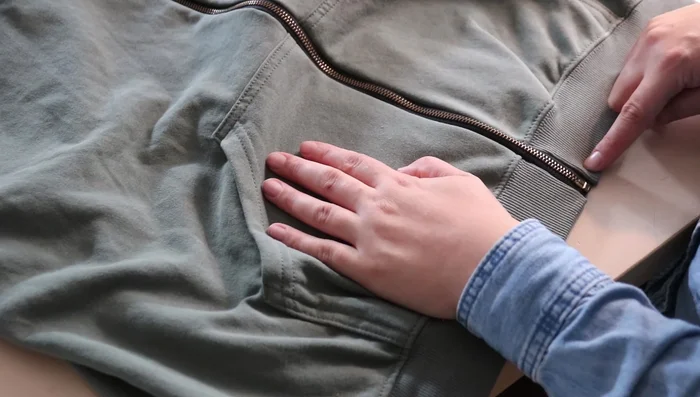
- Mark the center front of the hoodie with a heat erasable pen and ruler.
- Cut up the hoodie to prepare for zipper insertion.
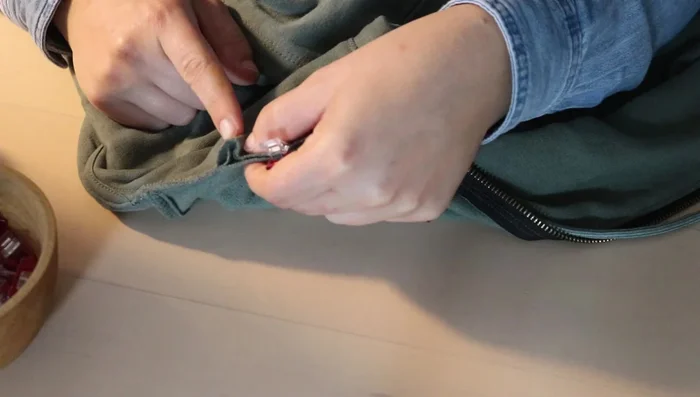
- Use a seam ripper to undo the stitches holding the hood in place at the front.

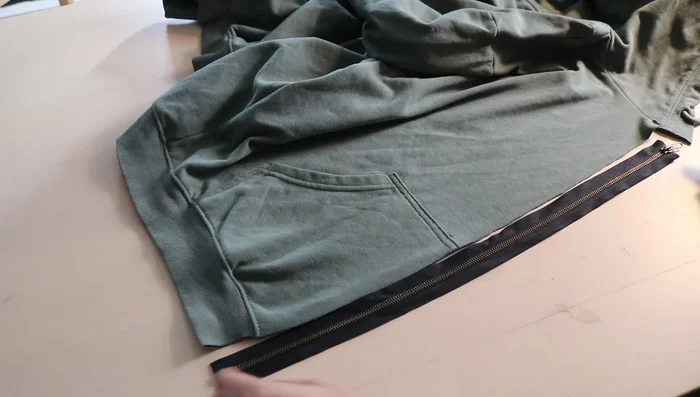
Prepare the Hoodie Attach the Zipper
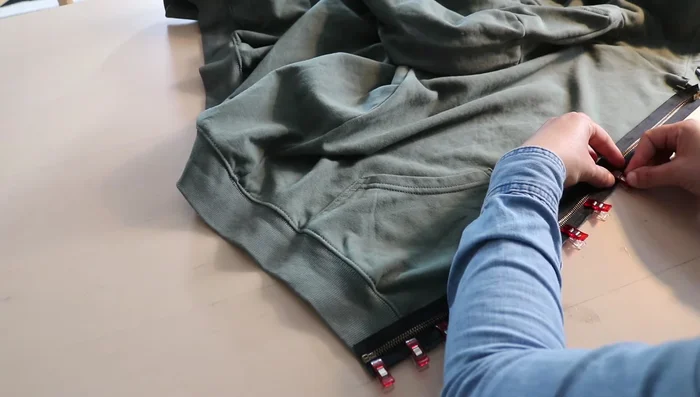
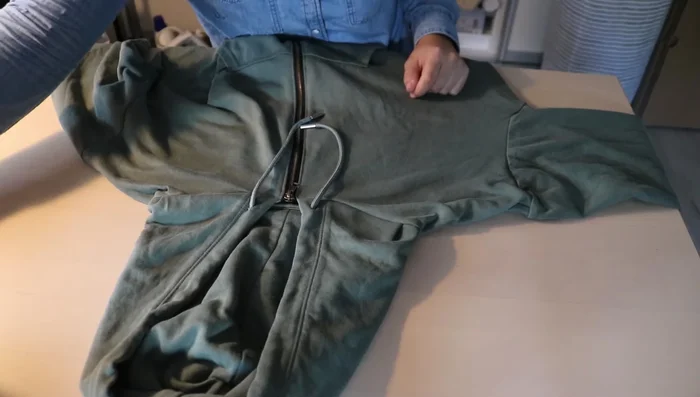
- Place the zipper (right sides together) onto the front of the hoodie, ensuring top and bottom align. Clip it in place.
- Use a zipper foot to sew close to the zipper teeth on one side.
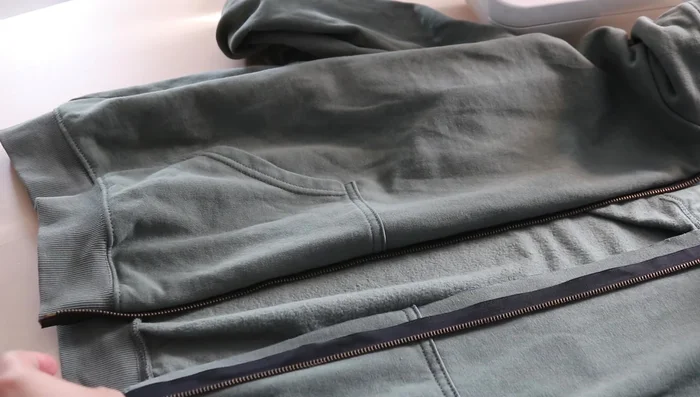
- Repeat step 5 on the other side.
- Flip the zipper inside the hoodie and sew a second line of stitching close to the fabric edge to keep the zipper flat.
Attach the Zipper Adjust the Hood
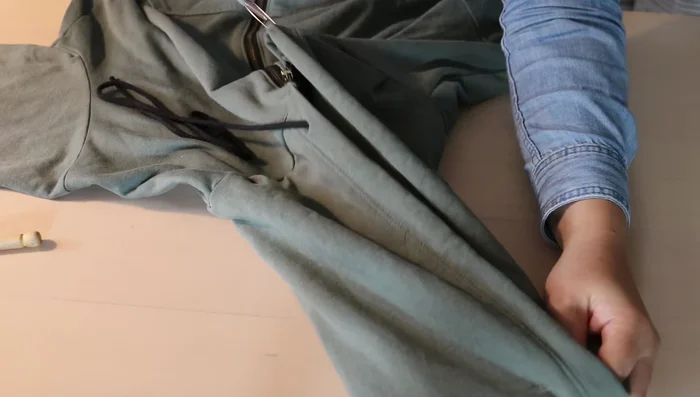
- Open up the front seams and add a pleat in the hood on both sides to adjust for the added zipper and maintain a neat fit.
Adjust the Hood Replace the Drawstring
- Replace the drawstring with a black one to match the new zipper.
- Use a safety pin and the old drawstring to pull the new one into place, adding nuts to the ends.
Replace the Drawstring


Read more: Raglan Sleeve Sewing Tutorial: A Step-by-Step Guide
Tips
- Use a heat erasable pen for marking to avoid permanent marks.
- Stretchy fabric won't unravel easily, so no extra protection is needed during seam ripping.