Peplum tops, with their flattering, waist-cinching peplums, are a timeless wardrobe staple that effortlessly blend style and sophistication. They offer a touch of vintage charm while remaining incredibly versatile, perfect for dressing up or down depending on the occasion and your chosen accessories. Whether you prefer a sleek, minimalist design or something more embellished, a self-sewn peplum top allows for complete creative control, resulting in a garment uniquely yours. This empowers you to choose the fabrics, colors, and embellishments that perfectly reflect your personal style.
This detailed guide will walk you through each step of creating your own stunning peplum top, from selecting the right materials to mastering the final stitch. Prepare to be amazed at how easily you can transform fabric into a beautiful and flattering garment. Let's begin!
Preparation and Safety Guidelines
- sewing machine
- scissors
- pins
- iron
- serger (optional)
- Always use sharp sewing machine needles and pins to prevent fabric damage and ensure clean stitches. Dull needles can cause skipped stitches and breakages.
- Before cutting your fabric, pre-wash and iron it to prevent shrinkage and ensure accurate measurements. This will avoid fitting issues after completion.
- When using a rotary cutter and mat, always keep your fingers away from the blade to prevent cuts. Be mindful of the blade's sharpness at all times.
Step-by-Step Instructions
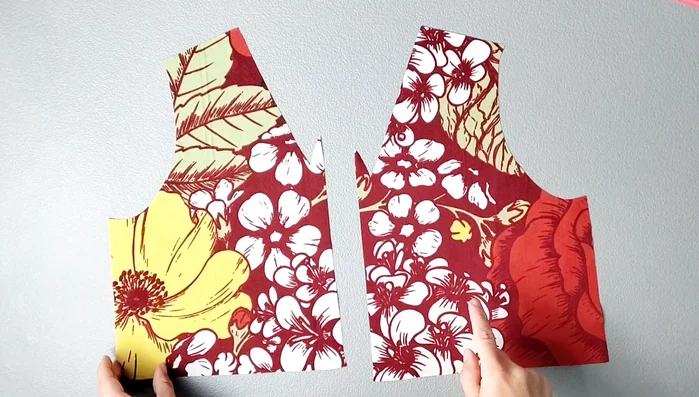
Sew Back Seam
- Place back pieces right sides together, pin the center seam, and sew with a 5/8 inch seam allowance. Serge and press the seam open.

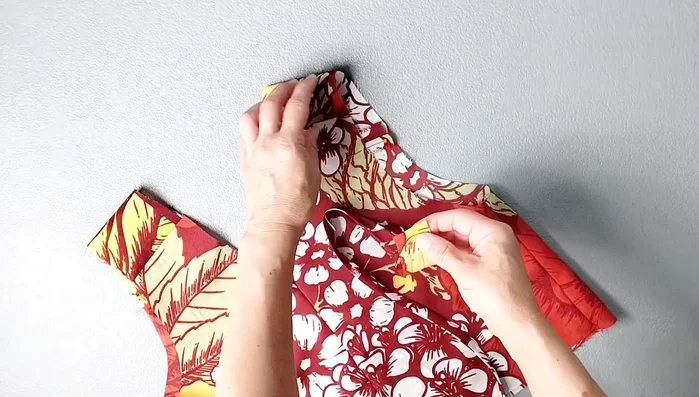
Sew Back Seam Attach Shoulders
- Attach shoulder panels to the front piece, matching notches. Sew, serge, and press seams open.
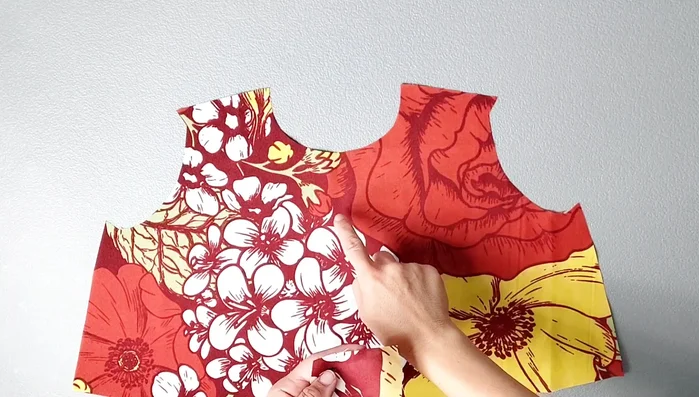
Attach Shoulders Attach Shoulder Straps
- Attach shoulder straps to the back piece, matching notches. Sew, serge, and press seams open.
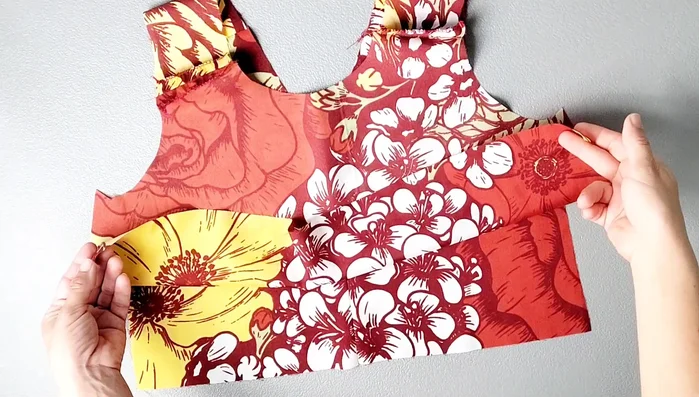
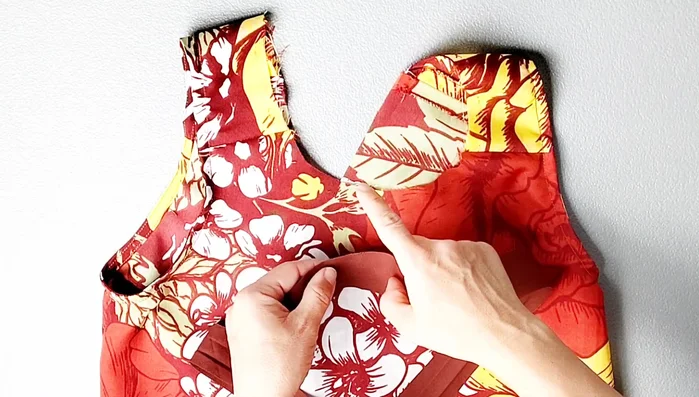
Attach Shoulder Straps Sew Side Seams
- Place front and back bodice right sides together, pin side seams, and sew with a 5/8 inch seam allowance. Serge and press seams open.
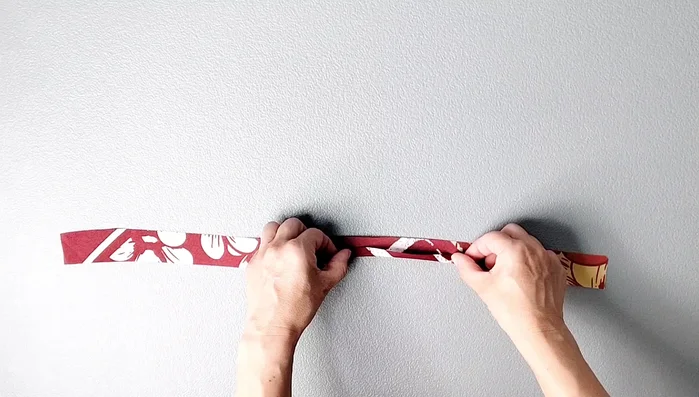
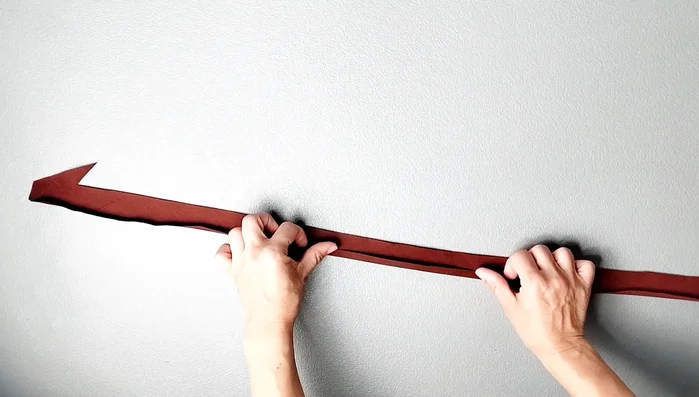
Sew Side Seams Prepare Armhole Binding
- Fold long edges 3/8 inch, one short edge 5/8 inch. Repeat for both pieces.
Prepare Armhole Binding Attach Armhole Binding
- Place binding right sides together with armhole, starting about 1.5 inches below shoulder seam. Pin, sew with 3/8 inch seam allowance. Understitch, trim seam allowance, and turn binding to inside. Pin and edgestitch.
Attach Armhole Binding Prepare Neck Binding
- Fold lower raw edge 3/8 inch, then top raw edge 3/8 inch. Sew short edges together with 5/8 inch seam allowance, press open. Fold in half, clip a small notch at the top.
Prepare Neck Binding Attach Neck Binding
- Place binding right sides together with bodice, matching notches. Pin, sew with 3/8 inch seam allowance. Clip into V seam allowance, trim, understitch, turn, pin, and edgestitch.
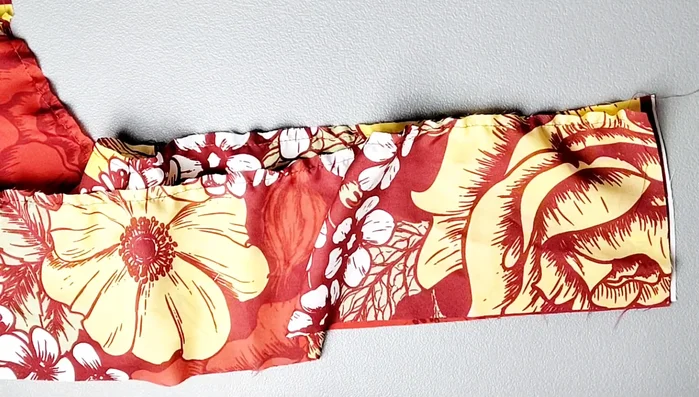
Attach Neck Binding Prepare Peplum
- Sew gathering stitches along top edge of front and back peplum pieces, leaving tails of thread. Gather to fit bodice.
Prepare Peplum Attach Peplum
- Place peplum pieces right sides together, sew short edges, serge. Pin peplum to bodice, matching notches. Gather and pin evenly, sew with 5/8 inch seam allowance. Serge seam.
Attach Peplum Hem Bottom
- Press bottom raw edge 1/4 inch, fold again and pin. Edgestitch.
Hem Bottom


Read more: Raglan Sleeve Sewing Tutorial: A Step-by-Step Guide
Tips
- Adding length to the bodice is easy if you prefer a longer top.
- Ensure notches are marked accurately for precise seam alignment.
- Use a 3/8 inch seam allowance for binding application and understitching.
- The clip in the V of the neck binding allows for smooth understitching.
- Evenly distribute gathers for a neat and professional finish.