Wrap dresses are timeless classics, effortlessly chic and endlessly versatile. Their flattering silhouette and adaptable style make them a wardrobe staple, suitable for everything from casual daytime wear to elegant evening occasions. But what if you could elevate this already iconic garment with a unique and stylish twist? This guide will show you how to sew a stunning wrap dress featuring alternative flounce sleeves, adding a touch of playful sophistication to your personal style. The graceful movement and charming detail of the flounce sleeves will transform your wrap dress from simple to spectacular.
Forget frumpy or predictable – prepare to create a truly exceptional piece. We'll walk you through each step of the process, from selecting your fabric and taking accurate measurements to mastering the flounce sleeve construction and finishing touches. Let's dive into this exciting sewing project and discover how easily you can sew a stunning, unique wrap dress with unforgettable flounce sleeves! Follow along with our comprehensive step-by-step guide below.
Preparation and Safety Guidelines
- sewing machine
- scissors
- pins
- iron
- styling ruler
- fabric
- pattern (Victory Patterns Trina)
- Always use sharp scissors and pins to prevent fabric slippage and injury. Handle your sewing machine needles with care and unplug it when not in use.
- Before cutting your fabric, double-check your measurements and pattern pieces. Incorrect cutting can significantly impact the final garment fit and require significant rework.
- When working with delicate fabrics or intricate details like the flounce sleeves, take your time and pay close attention to each step. Rushing can lead to mistakes and frustration.
Step-by-Step Instructions
Create the Flounce Sleeves
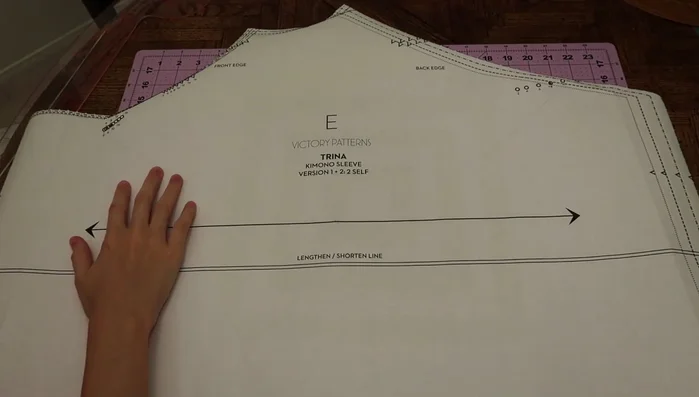
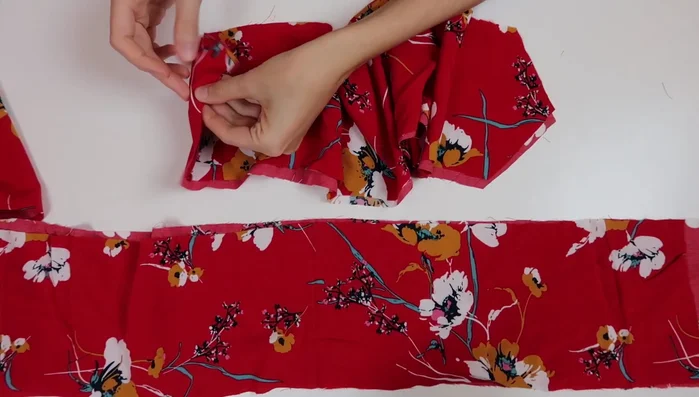
- Create the alternative flounce sleeve pattern by folding the original sleeve pattern in half, marking the center, and drafting a 5/8 inch flounce on either side.

Create the Flounce Sleeves Cut Fabric Pieces
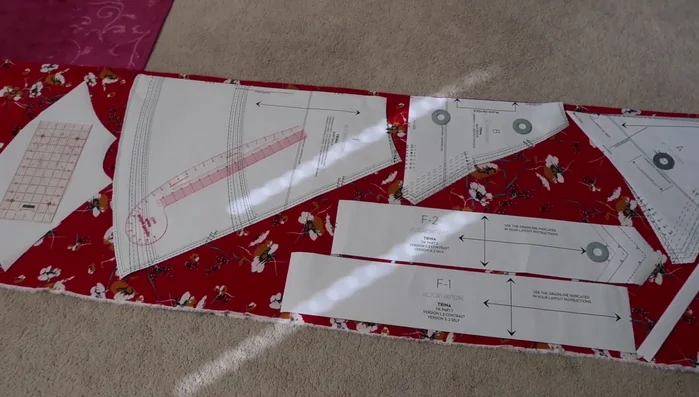
- Cut out all fabric pieces using the provided cutting layout to minimize fabric waste.
Cut Fabric Pieces Prepare Bodice
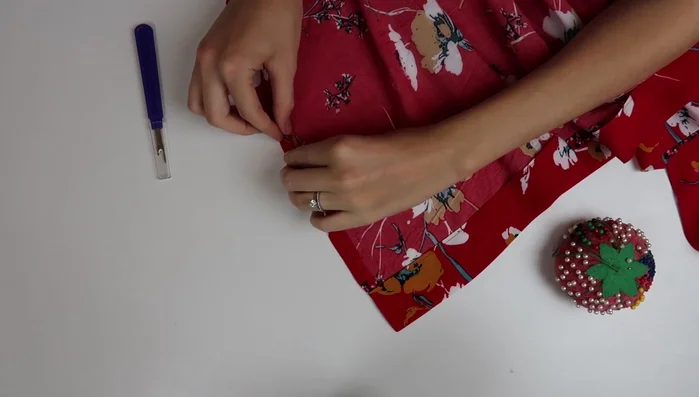
- Stay stitch all bodice pieces where indicated, paying attention to the sewing direction.
- Apply interfacing to the indicated sections of the bodice pieces.
- Baste stitch the curved portion of the bodice for gathering.
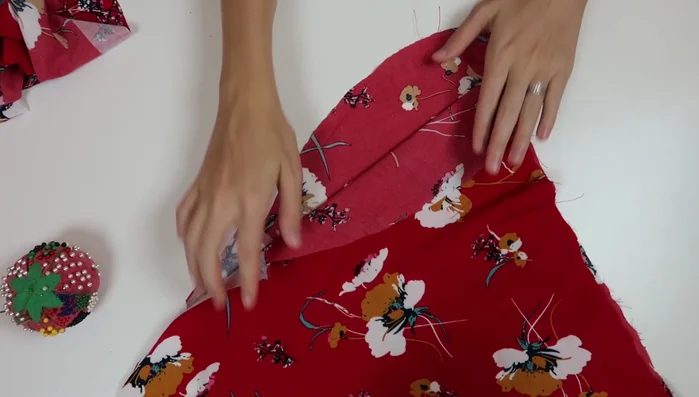
Prepare Bodice Attach Sleeves to Front Bodice
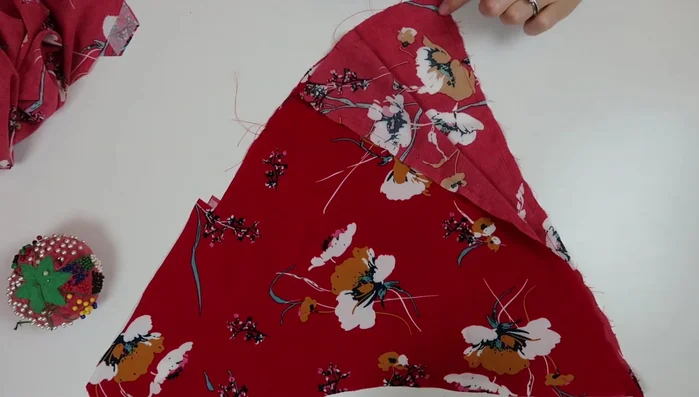
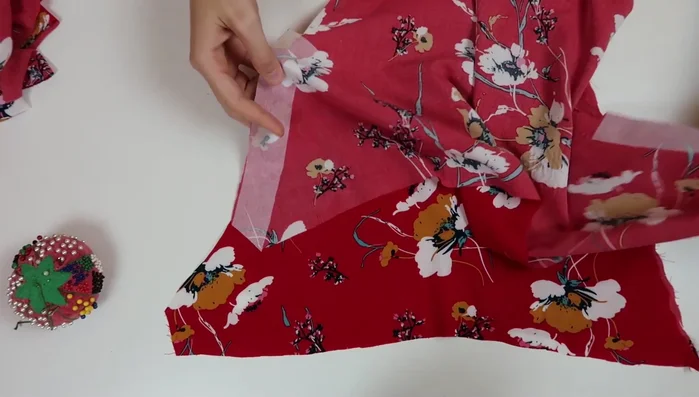
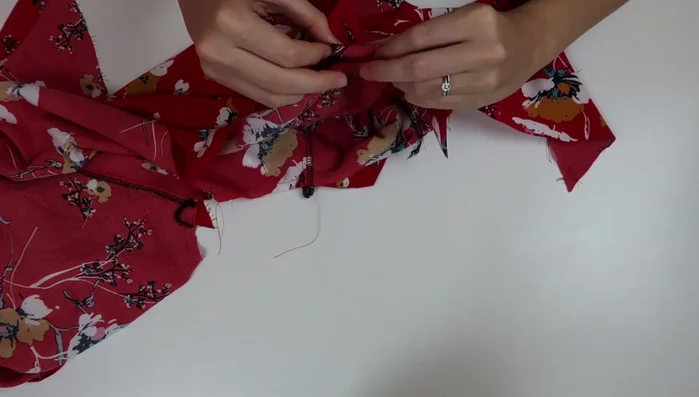
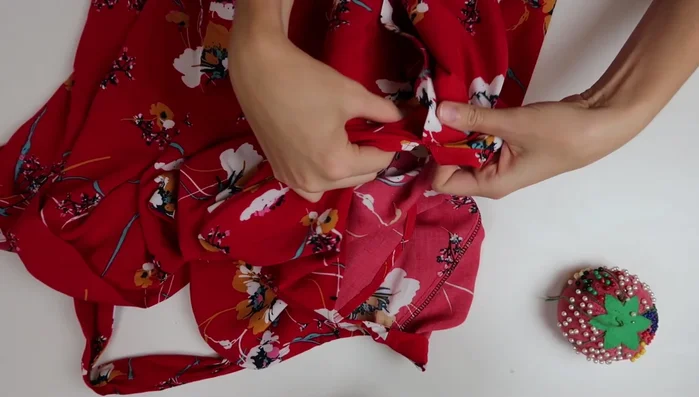
- Attach the sleeves to the front bodice, matching points and evenly distributing gathers.
- Serge and seam finish the sleeve seams.
Attach Sleeves to Front Bodice Attach Sleeves to Back Bodice
- Repeat step 7 for the other side, ensuring the sleeve doesn't extend below the marked point.
- Attach the sleeves to the back bodice, matching points.
- Serge and seam finish the back bodice sleeve seams.
Attach Sleeves to Back Bodice Finish Bodice Seams
- Topstitch the bodice seams after ironing allowances toward the sleeves.
Finish Bodice Seams Prepare and Attach Neckline Facing
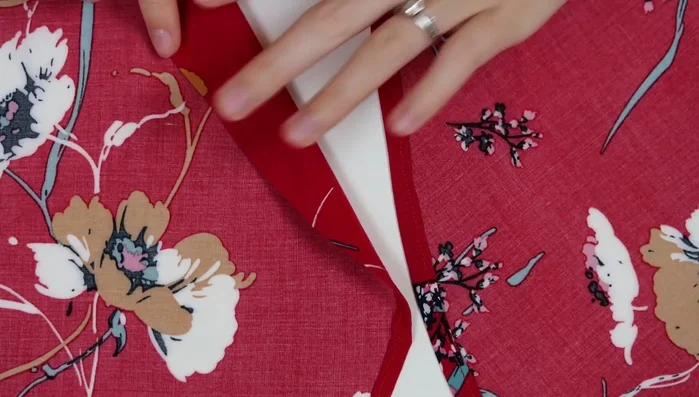
- Fold and stitch the interfaced neckline edges.
- Prepare the neck facing by connecting both bias pieces, ironing one side, and pinning to the neckline.
- Stitch the neck facing, snip curves for a smooth finish, understitch, and top stitch.
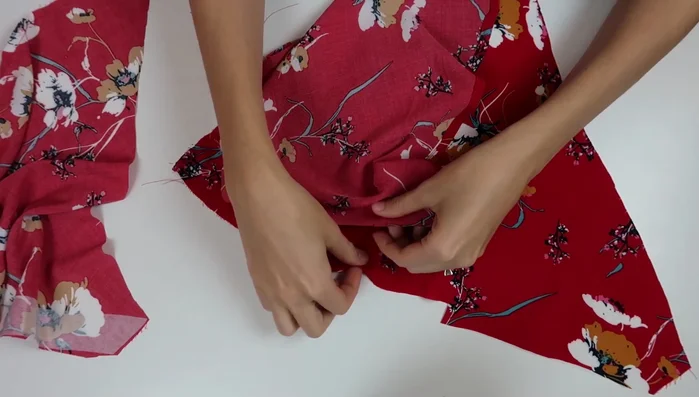
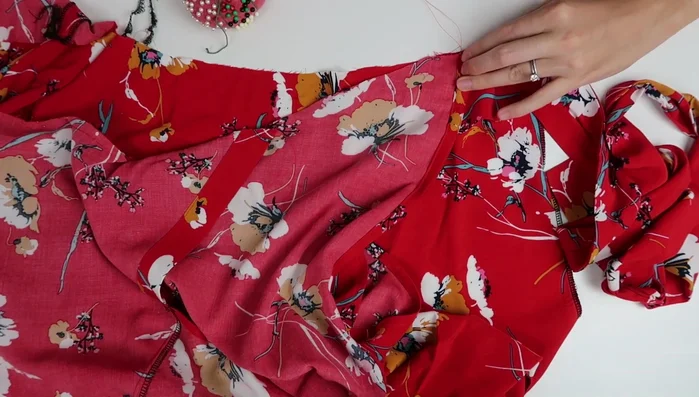
Prepare and Attach Neckline Facing Prepare and Attach Waist Ties
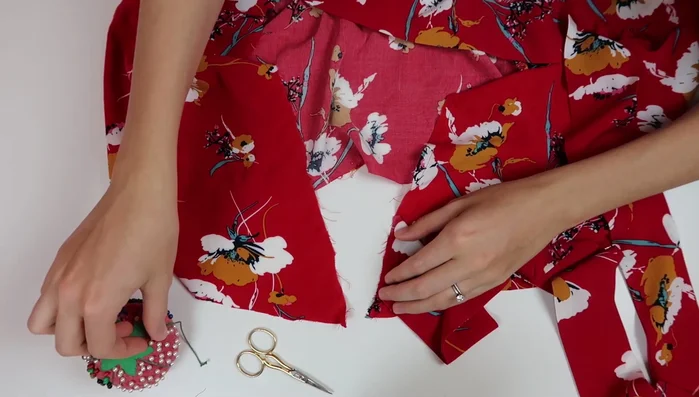
- Overlap and pin the front and back bodice pieces, with the front bodice on top, creating the wrap opening.
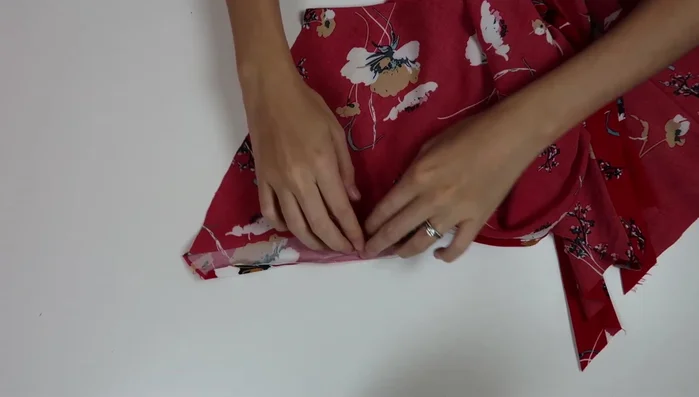
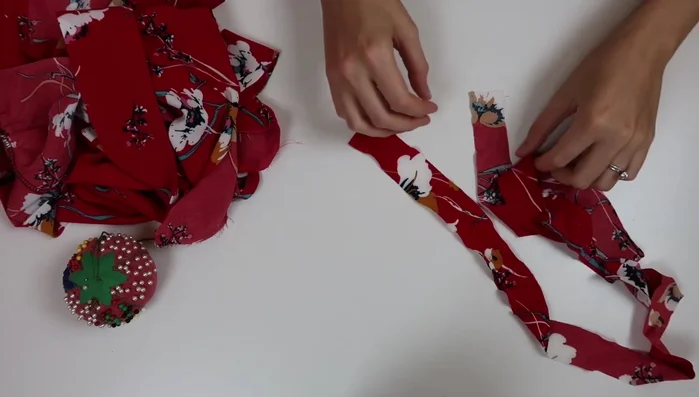
- Prepare the waist ties by stitching together both pieces, turning right side out, and pressing.
- Attach the waist ties to the bodice, ensuring they are horizontal when turned.
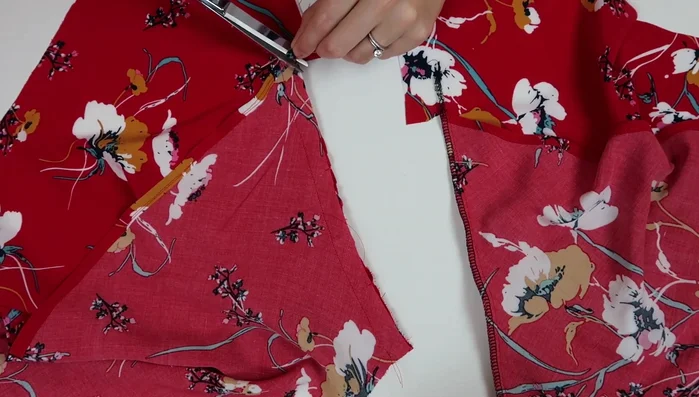
Prepare and Attach Waist Ties Prepare and Attach Skirt
- Surge the skirt pieces, stitch them together, and match to the bodice.
- Stitch the skirt to the bodice, distributing evenly.
- Fold and stitch the skirt edges.
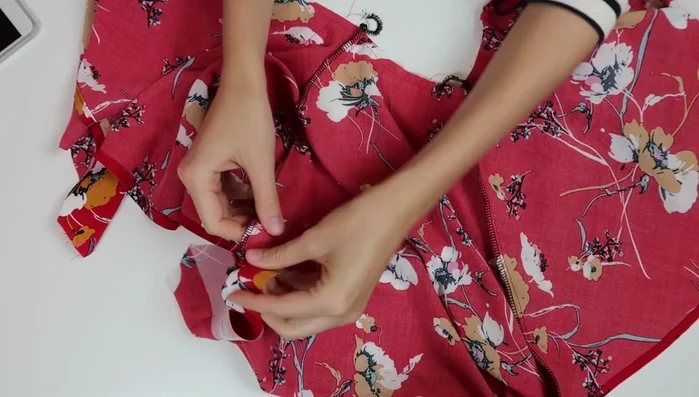
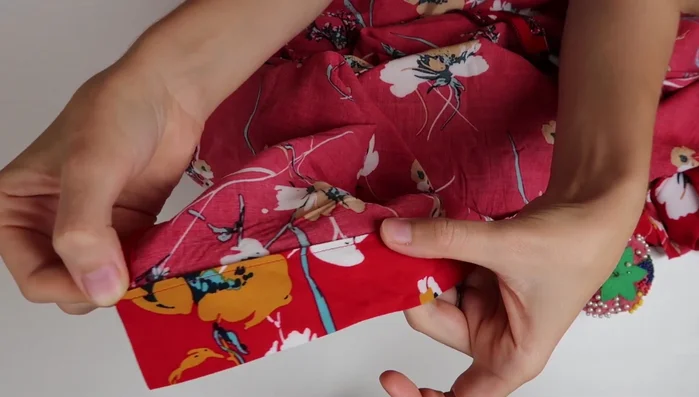
Prepare and Attach Skirt Attach Skirt Extension
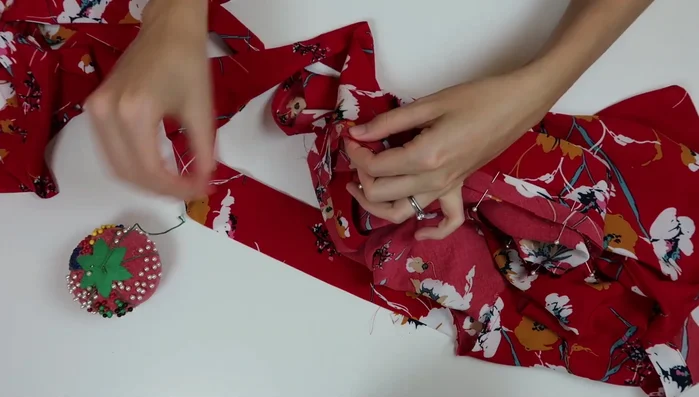
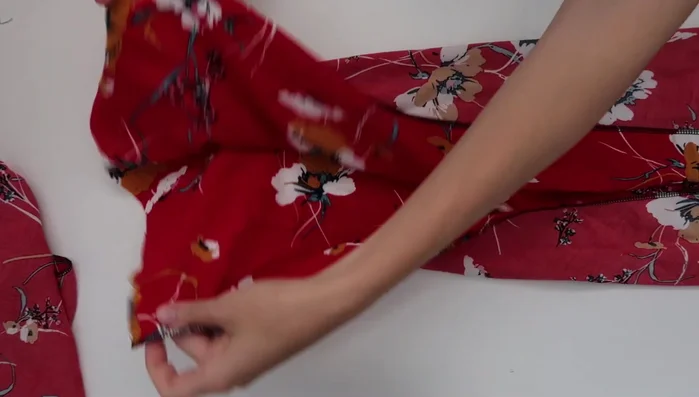
- Attach the skirt extension to the waist tie, turn right side out, and stitch.
- Hand or machine stitch the skirt extension.
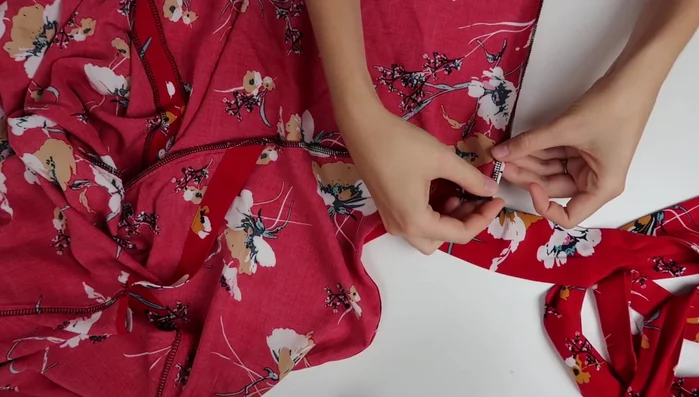
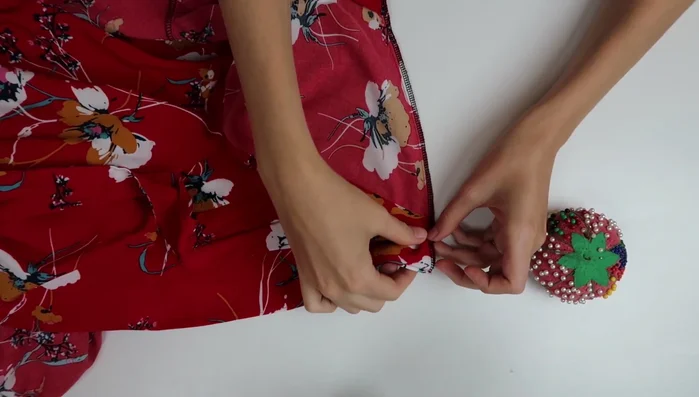
Attach Skirt Extension Hem and Finish
- Hem the sleeves.
- Hem the skirt.
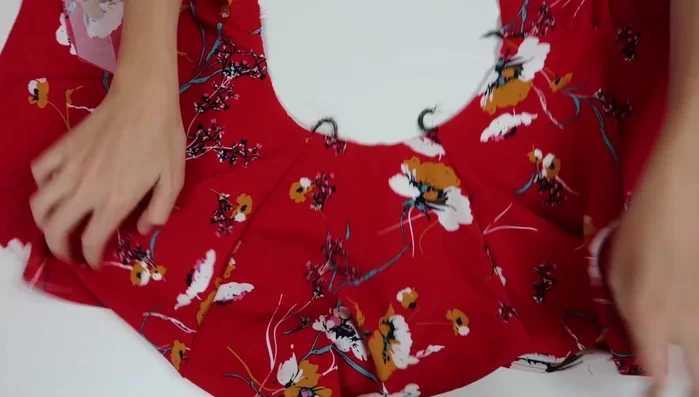
- Tack the sleeves and sew snaps to the neckline for closure.
Hem and Finish


Read more: Raglan Sleeve Sewing Tutorial: A Step-by-Step Guide
Tips
- Use a cutting layout to save fabric.
- Precisely match markings when attaching sleeves.
- Snip notches carefully near seams for clean finishing.
- Tuck surging threads into interfaced edges for a neat finish.