The timeless elegance of a wool blazer transcends fleeting trends, offering a versatile piece that elevates any wardrobe. From smart casual Fridays to sophisticated evening events, a well-tailored blazer projects confidence and style. But what if you could create your own, perfectly fitted and uniquely stylish, wool blazer? This seemingly daunting task is achievable with the right guidance and a touch of patience. Forget expensive boutiques and limited options; the power to design your dream blazer rests in your hands.
This step-by-step guide will empower you to sew your very own, expertly crafted wool blazer, from selecting the perfect fabric to mastering the final stitch. We'll break down the process into manageable sections, providing clear instructions and helpful tips along the way, ensuring a successful project even for intermediate sewists. Let's begin!
Preparation and Safety Guidelines
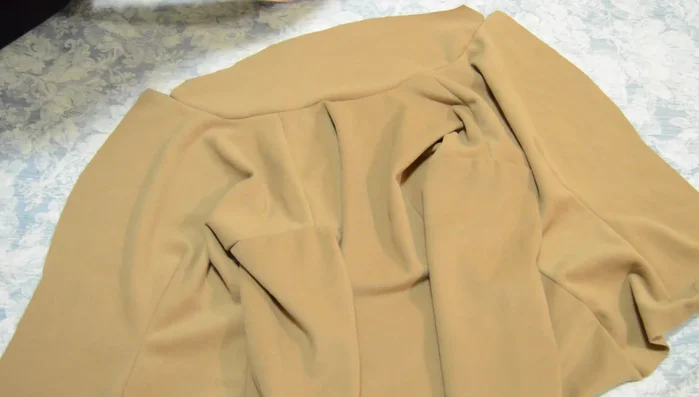
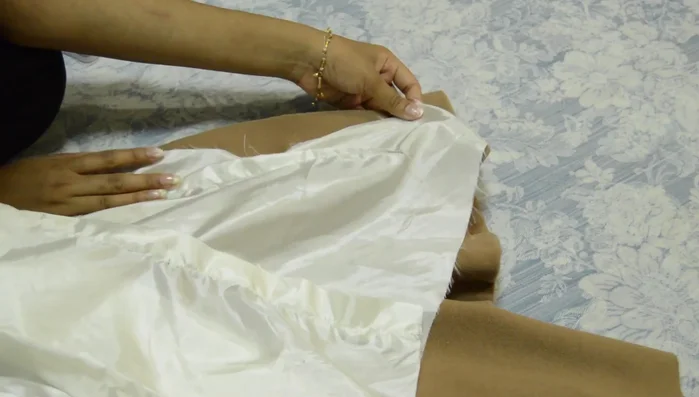
- Fabric (camel colored wool, white lining)
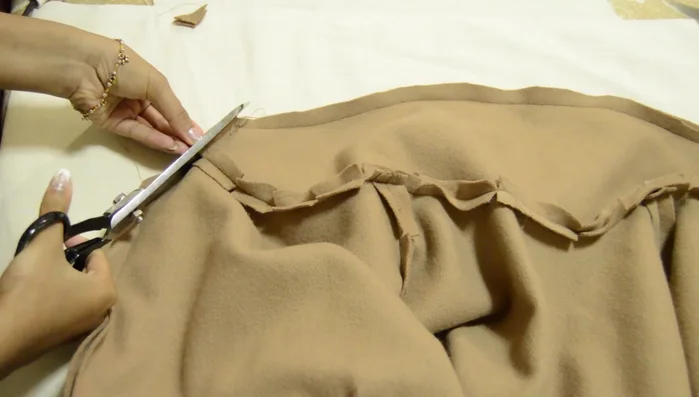
- Scissors
- Sewing machine
- Iron
- Pattern pieces
- Shoulder pads (optional)
- Belt (optional)
- Always use sharp sewing machine needles and pins appropriate for wool fabric to prevent skipped stitches and fabric damage. Dull needles can cause breakage and injury.
- Wool can fray easily. Use a zig-zag stitch or pinking shears to finish all seam allowances to prevent unraveling.
- Test your chosen stitch length and tension on a scrap piece of the same wool fabric before sewing your blazer. Wool fabrics can react differently to various stitch settings.
Step-by-Step Instructions
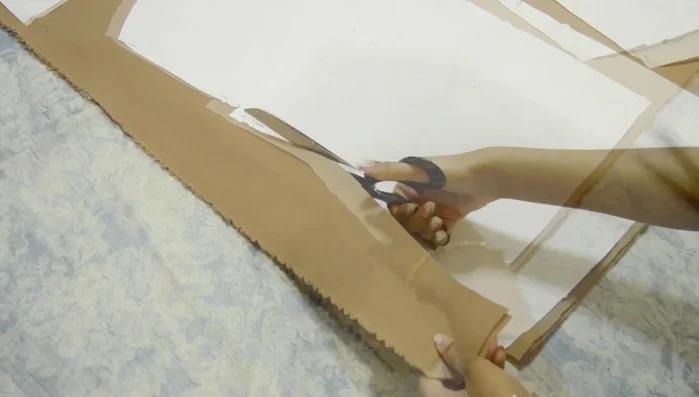
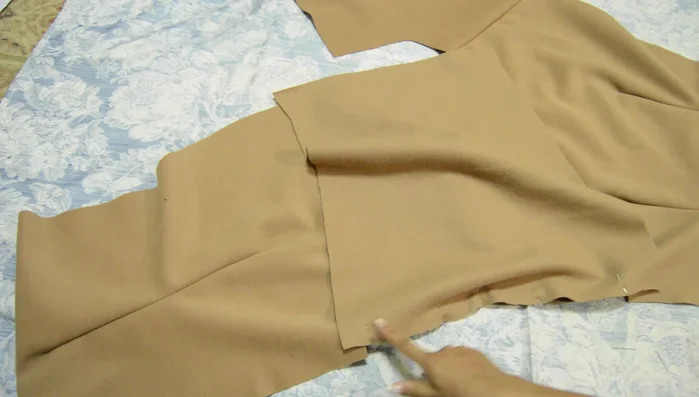
Cutting and Preparation
- Cut out pattern pieces from fabric and lining.
- (Optional) Attach shoulder pads to shoulder seam allowances.

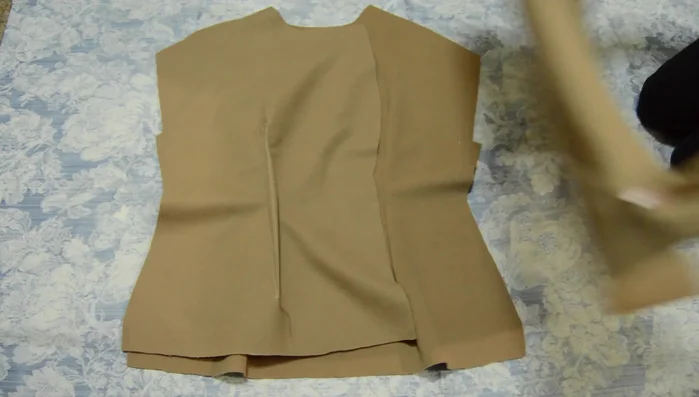
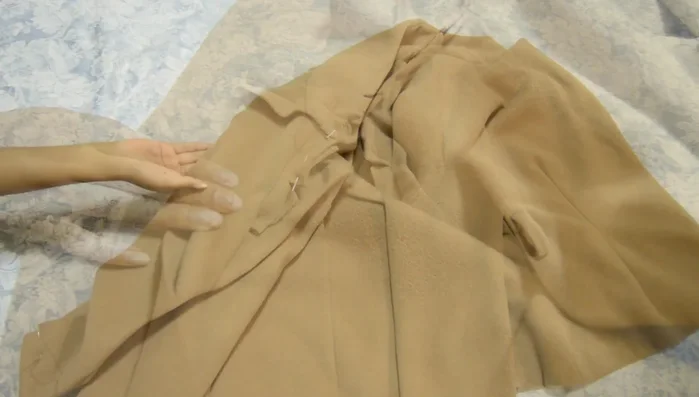
Cutting and Preparation Constructing the Jacket Body
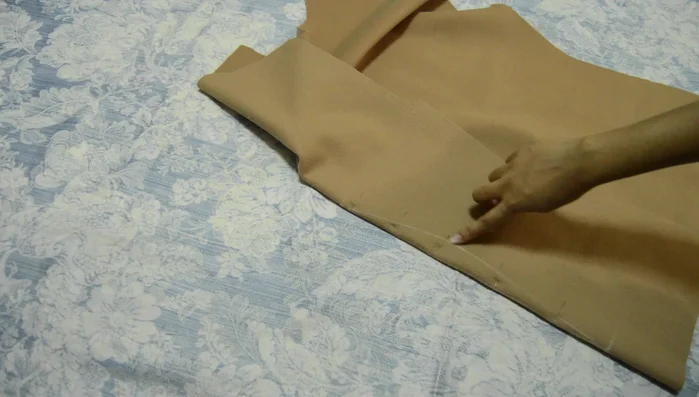
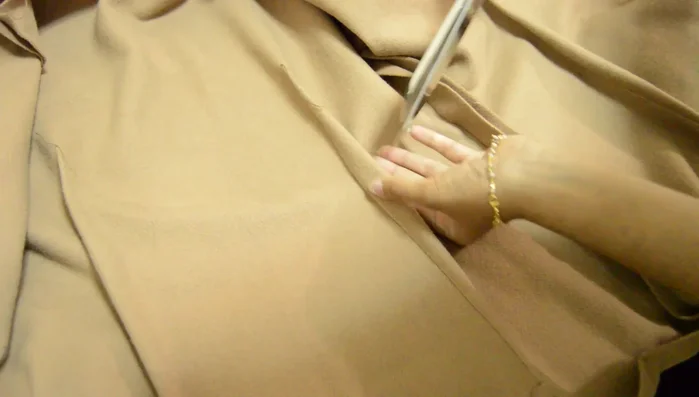
- Sew darts on the jacket pieces.
- Attach shoulders and sleeves to the jacket.
- Sew side seams.
- Press open darts and seam allowances.
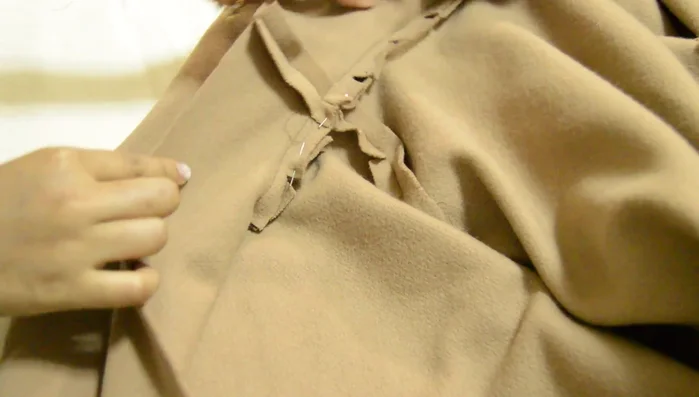
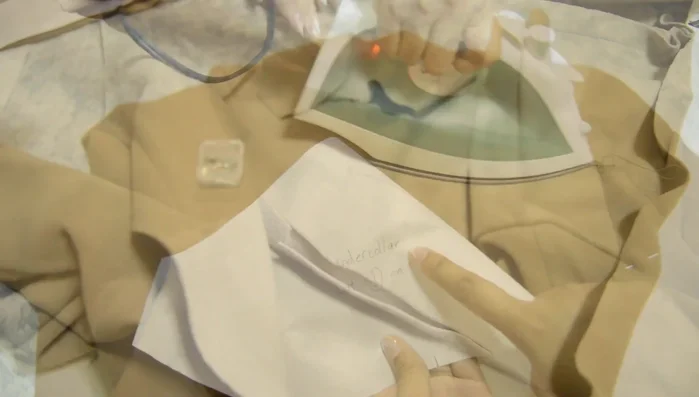
Constructing the Jacket Body Attaching the Collar
- Attach the under collar to the jacket neckline.
- Attach the top collar to the neckline.
Attaching the Collar Attaching the Facing
- Attach the facing to the jacket, including lapels and collars.
- Trim excess fabric from the facing.
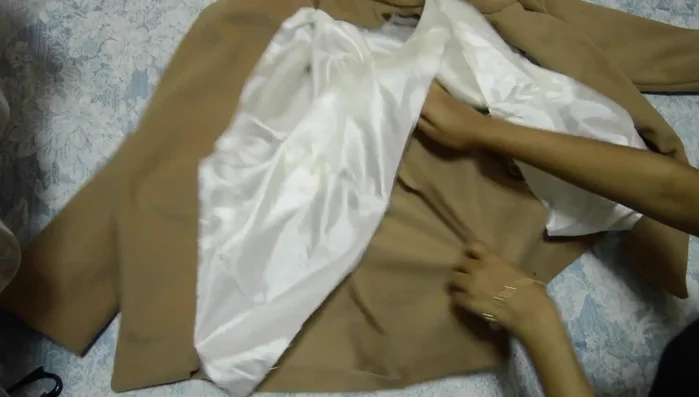
Attaching the Facing Constructing the Lining
- Sew the lining together, mirroring the jacket construction.
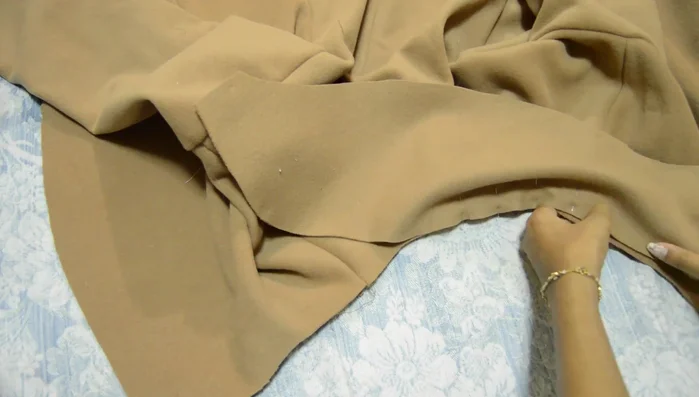
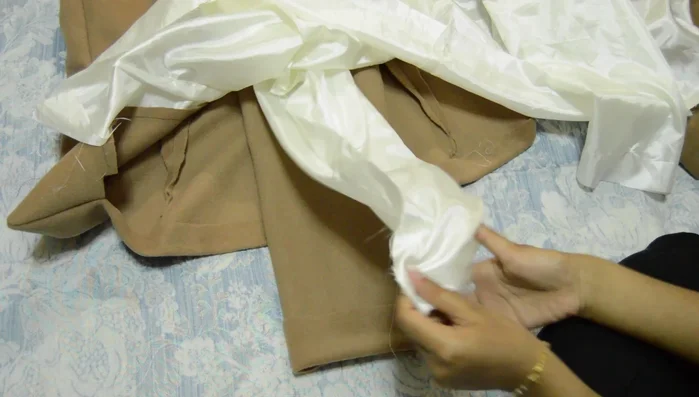
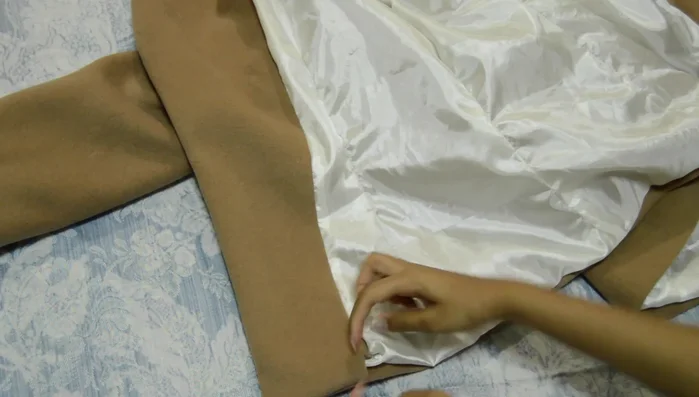
Constructing the Lining Attaching the Lining to the Jacket
- Attach the lining to the jacket along the facing.
- Use invisible stitches to secure the hem.
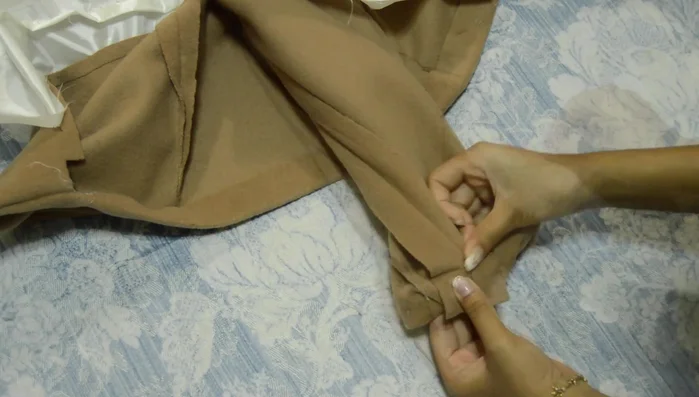
- Attach the sleeve lining to the sleeves.
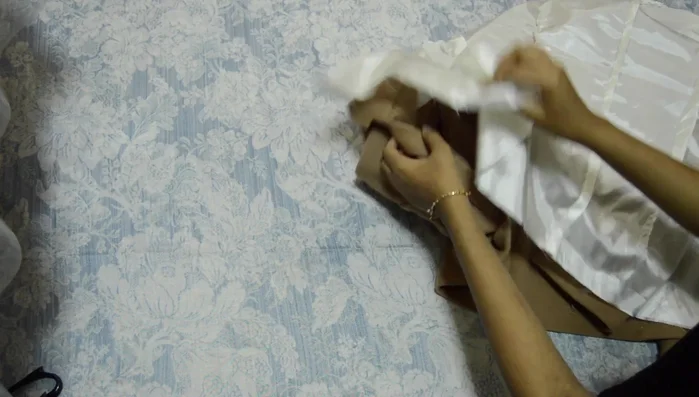
- Turn the jacket inside out and sew the hem of the lining to the hem of the jacket, leaving a small opening.
Attaching the Lining to the Jacket - Hand stitch the remaining opening closed with an invisible stitch.
Attaching the Lining to the Jacket Finishing Touches
- (Optional) Add belt loops or buttons, or use a matching fabric belt.
Finishing Touches
Read more: Raglan Sleeve Sewing Tutorial: A Step-by-Step Guide
Tips
- Use sharp scissors and cut notches carefully.
- Transfer darts to make sewing easier.
- Open and iron darts and seam allowances for a clean finish.