Watermelons: juicy, refreshing, and the perfect summer treat. But what if you could enjoy the vibrant charm of a watermelon all year round, even when it's snowing outside? This simple DIY project allows you to craft your own adorable watermelon plush, a delightful addition to your home décor or a fun gift for a loved one. Forget complicated sewing patterns and expensive materials; this project is designed for absolute beginners and requires minimal time and effort. You'll be amazed at how quickly you can transform basic craft supplies into a charming, huggable watermelon.
This delightful watermelon plush is surprisingly easy to create, requiring only a few readily available materials. Prepare to be guided through each step with clear instructions and helpful images. Let's dive into the simple, step-by-step process to create your very own cuddly watermelon companion.
Preparation and Safety Guidelines
- red plush fabric
- white plush fabric
- green plush fabric
- scrap cardboard
- sewing machine (or needle and thread)
- toy safety eyes
- black wool felt
- stuffing
- Adult supervision is required, especially when using sharp objects like scissors or needles if you choose to embroider details.
- Always wash your hands before and after handling crafting materials to maintain hygiene.
- Ensure the stuffing material is not a choking hazard, especially if this plush is intended for young children. Choose a non-toxic and securely stitched stuffing.
Step-by-Step Instructions
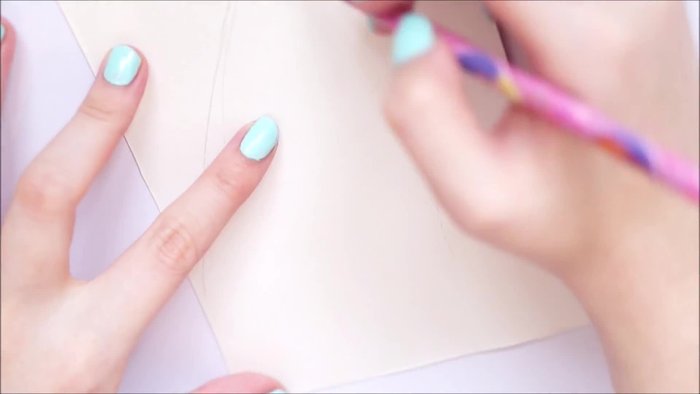
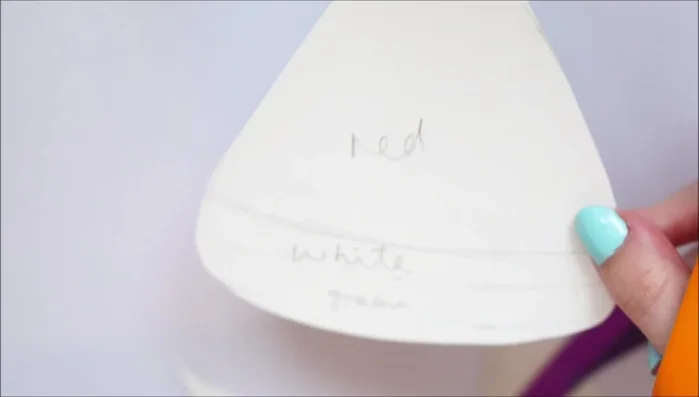
Create the Template
- Draw a template on cardboard, marking areas for red, white, and green fabric.

Create the Template Cut Red Fabric Pieces
- Cut two pieces of red plush fabric using the template.
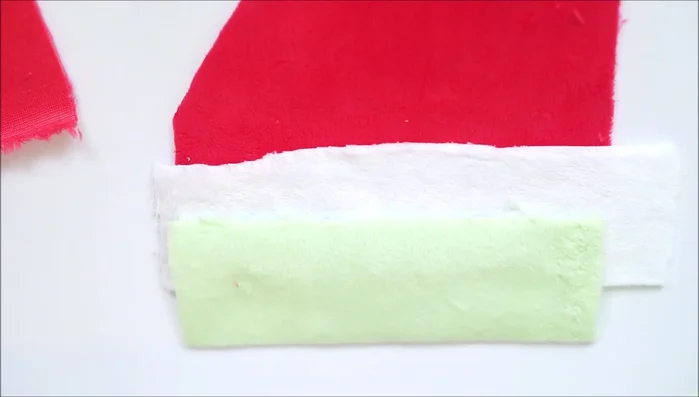
Cut Red Fabric Pieces Create Watermelon Stripes
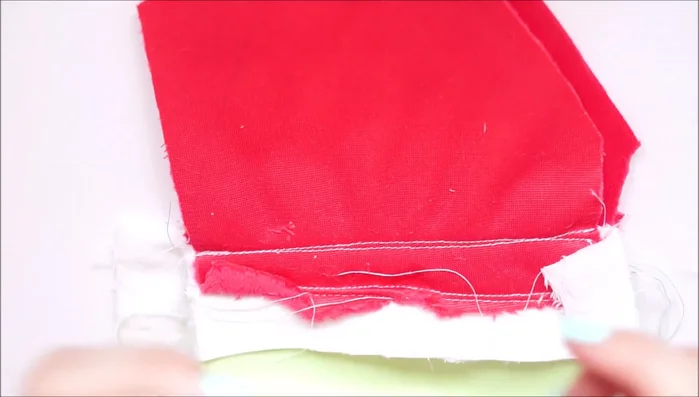
- Sew white and green plush strips onto each red fabric piece, creating the watermelon stripes.
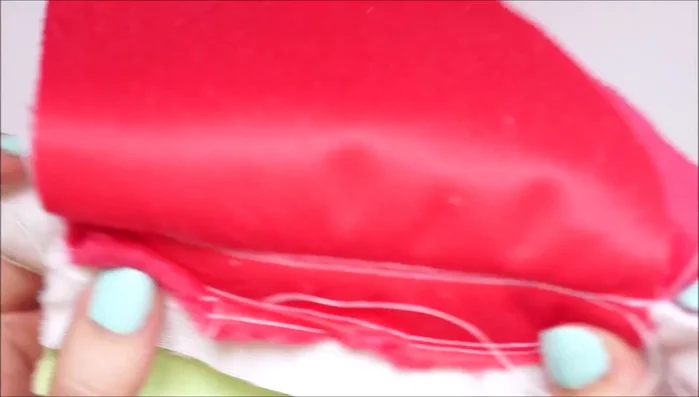
Create Watermelon Stripes Sew the Watermelon Body
- Place the two red fabric pieces right sides together, aligning the stripes. Pin and sew around the template, leaving the bottom open.
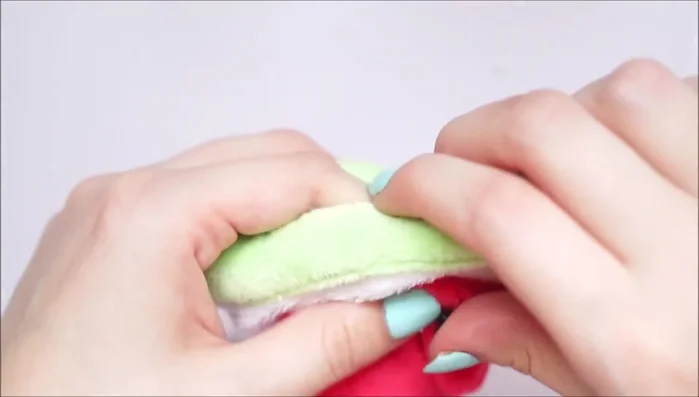
Sew the Watermelon Body Turn Right Side Out
- Trim excess fabric and turn the plush inside out.
Turn Right Side Out Add Safety Eyes
- Add toy safety eyes by cutting small holes and securing them with washers.
Add Safety Eyes Stuff the Watermelon
- Stuff the plush.
Stuff the Watermelon Close the Bottom
- Sew up the bottom opening.
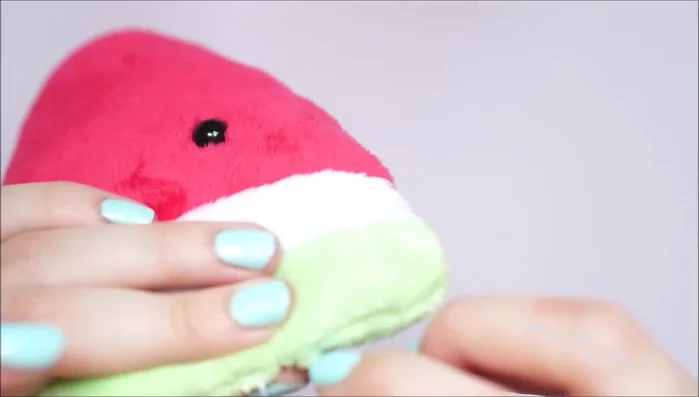
Close the Bottom Embroider the Mouth
- Sew a mouth using black needle and thread.
Embroider the Mouth Add the Seeds
- Cut and sew three black felt seed shapes onto the watermelon.
Add the Seeds


Read more: DIY Fluffy Duck Plushie Tutorial: A Step-by-Step Guide
Tips
- It's easier to sew on the seeds after stuffing the plush.
- Secure the thread end by tying a knot under a safety eye to hide it.