Creating adorable and safe toys for your little one is a rewarding experience, and what's simpler and more versatile than a fabric cube? These charming blocks are not only delightful for babies to play with, stimulating their senses and developing their motor skills, but they also make fantastic personalized gifts. From bright primary colours to soft pastel shades, the possibilities for customization are endless, allowing you to tailor the cube perfectly to your baby's nursery or your own unique style. They're surprisingly easy to make, too, even for beginners!
This tutorial will guide you through the process of sewing your very own fabric cube, perfect for adding a handmade touch to playtime. We’ll cover everything from choosing the right fabric and cutting the pieces to sewing the seams and adding a final, professional touch. Ready to get started and create a beautiful, durable, and safe toy for your little one? Let’s dive into the step-by-step instructions.
Preparation and Safety Guidelines
- six fabric squares (5-inch pre-cut recommended)
- sewing machine
- needle
- thread
- clips
- iron
- knitting needle or chopstick
- polyfill
- Always use sharp, well-maintained scissors or a rotary cutter to prevent injury and ensure clean cuts. Never leave scissors unattended, especially around children.
- Supervise children closely during any sewing activities. Keep pins, needles, and other sharp objects out of their reach.
- Choose fabrics appropriate for babies. Select soft, breathable materials and ensure they meet safety standards for baby products. Avoid anything with small, detachable parts that could pose a choking hazard.
Step-by-Step Instructions
Prepare Fabric Squares
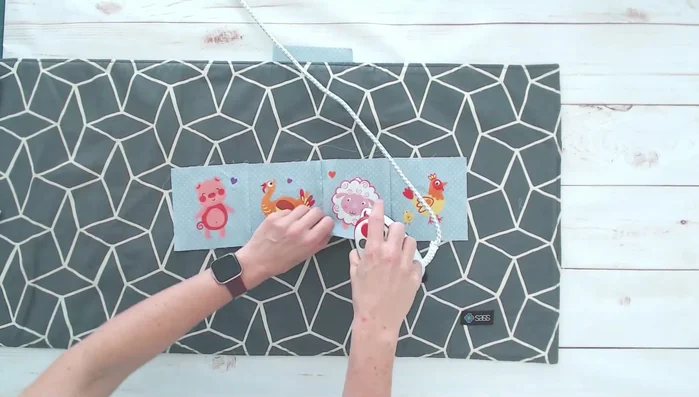
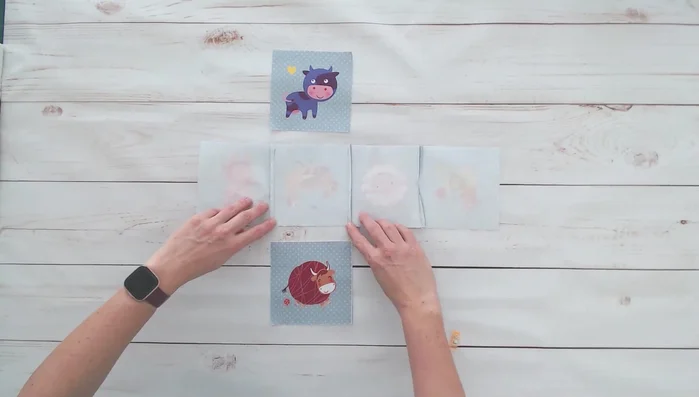
- Arrange six fabric squares in a T-shape, considering fabric placement.
Sew Initial Pairs
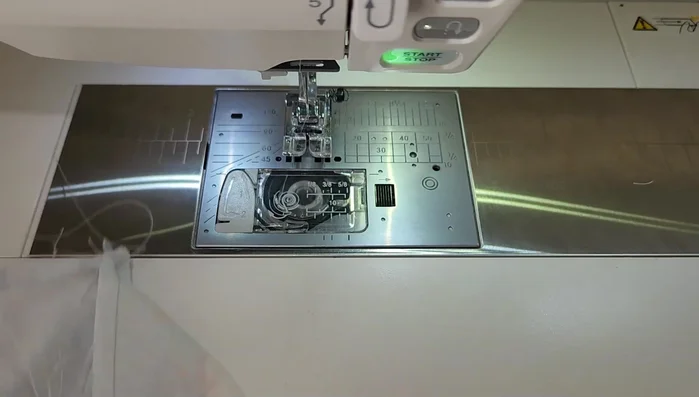
- Sew two pairs of squares together, starting and ending a quarter inch from the fabric edge to create sharp corners. Use a needle plate or markings to guide.

Sew Initial Pairs Create Row of Four
- Sew the two pairs together to create a row of four squares, repeating the quarter-inch seam allowance technique.
Create Row of Four Press Seams
- Press all seams.
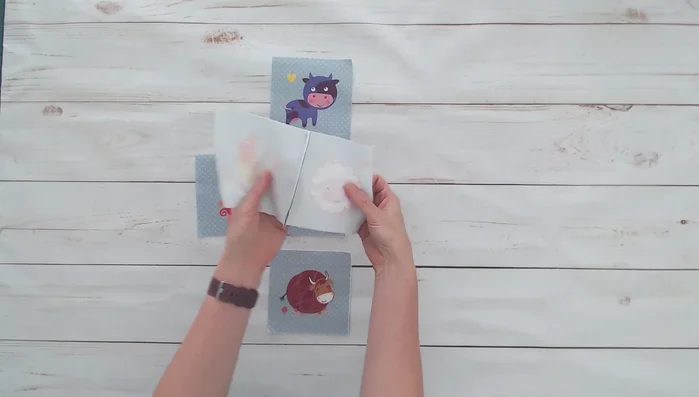
Press Seams Attach Top and Bottom
- Sew the top and bottom pieces to the central row, aligning seam allowances.
Attach Top and Bottom Sew Cube Sides
- Sew two adjacent sides of the cube together, leaving a 1.5-inch gap on the final side for turning.
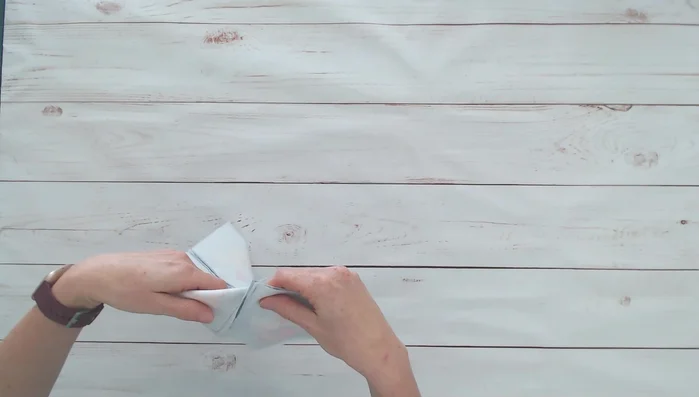
Sew Cube Sides Turn and Prepare for Stuffing
- Trim seam allowances for easier folding. Turn the cube right side out using a knitting needle or chopstick.
Turn and Prepare for Stuffing Stuff the Cube
- Lightly stuff the cube with polyfill to maintain its shape and make it easy for a baby to grip. Avoid overstuffing.
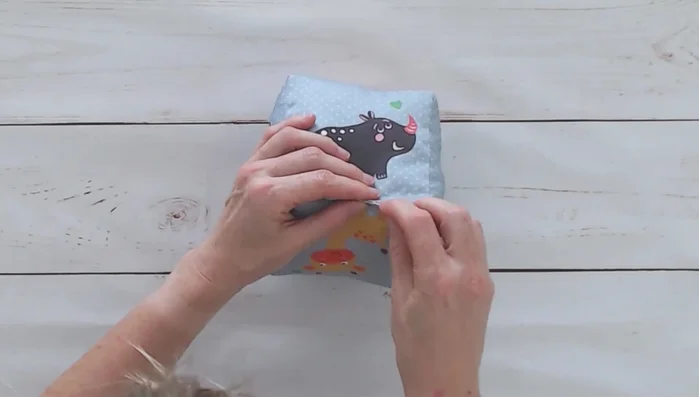
Stuff the Cube Close the Gap
- Hand-sew the gap closed using a ladder stitch, overlapping the machine stitching by a quarter inch.
Close the Gap


Read more: DIY Fluffy Duck Plushie Tutorial: A Step-by-Step Guide
Tips
- Use a needle plate or markings to sew a quarter inch from the fabric edge for precise corners.
- Use clips to secure fabric before sewing to ensure correct alignment.
- Press seams to prevent them from getting caught up in other seams.
- Lightly stuff the cube to prevent it from looking lumpy and to allow for easy gripping.