Have you ever dreamt of creating your own adorable, huggable seahorse? These enchanting creatures of the ocean, with their curious snouts and swaying tails, make captivating companions. This beginner-friendly guide will walk you through the simple yet rewarding process of crafting your very own DIY seahorse stuffed animal. No advanced sewing skills are required, making this a perfect project for crafting enthusiasts of all levels, from absolute beginners to those looking for a fun, relaxing project. You'll be surprised how easily you can transform basic materials into a charming, personalized seahorse.
Forget expensive, mass-produced toys! This project allows you to personalize your seahorse, choosing your favorite fabrics, colors, and even adding unique details like shimmering scales or playful embroidered eyes. Prepare to dive into a creative journey as you learn to stitch, stuff, and shape your own underwater friend. Ready to get started? Let's jump right into the step-by-step instructions.
Preparation and Safety Guidelines
- Fabric (cotton and flannel)
- A4 yard cut of fabric
- Pattern (hand-drawn or downloaded)
- Stuffing
- Basic sewing supplies (including iron)
- Sewing machine
- Point turner (optional)
- Needle and thread
- Adult supervision is required, especially when using needles, scissors, or hot glue. Keep small parts away from young children to prevent choking hazards.
- Use fabric specifically designed for crafting and toys. Avoid fabrics that may fray easily or contain harmful chemicals.
- Always wash your hands thoroughly before and after handling crafting materials.
Step-by-Step Instructions
Prepare and Cut
- Prepare the pattern and cut out the fabric pieces. Ensure you have a left and right side for each fabric piece to ensure the right sides are together when sewing.
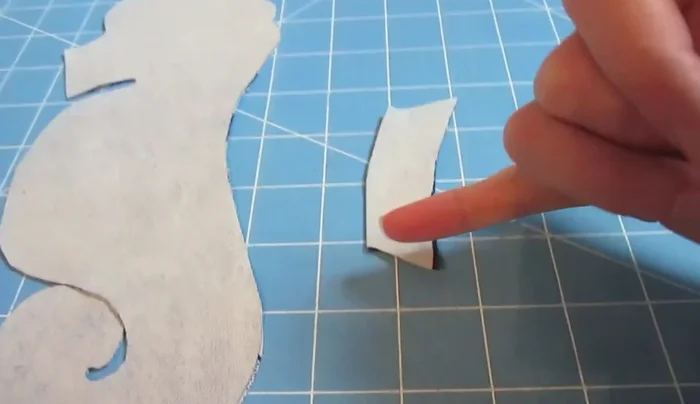
Sew the Fins
- Sew the two fin pieces together, leaving one side open for turning. Trim the corners for better turning.

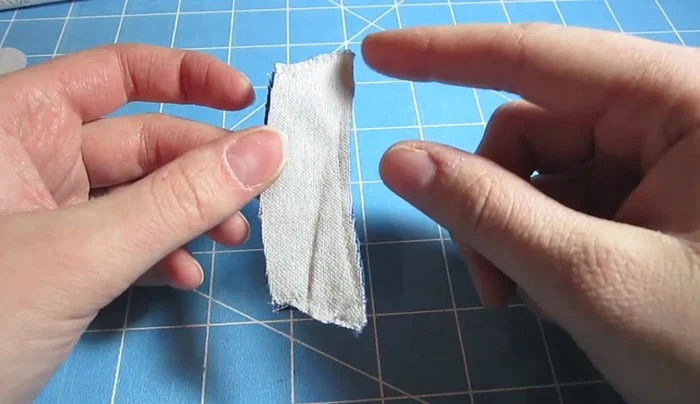
Sew the Fins Turn and Iron Fins
- Turn the fins right side out, using a point turner or needle and thread to push out the corners. Iron to flatten.
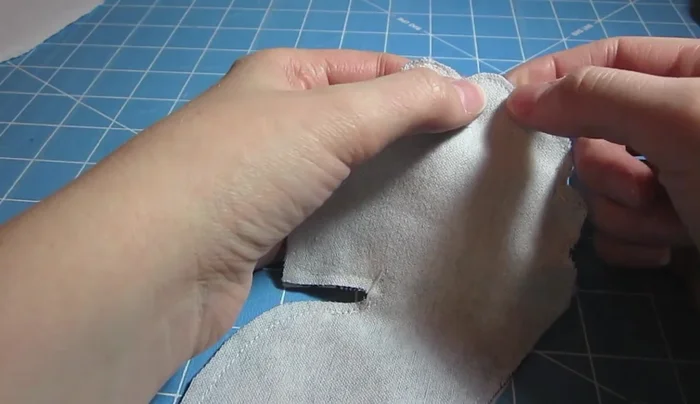
Turn and Iron Fins Sew the Sea Horse Body
- Place the fin inside the body pieces (right sides together) and pin, then sew around the perimeter leaving a 2-inch opening for turning.
Sew the Sea Horse Body Trim Sea Horse Curves
- Cut small triangles on the curves, close to the stitching, but don't cut through the stitching. This helps with turning.
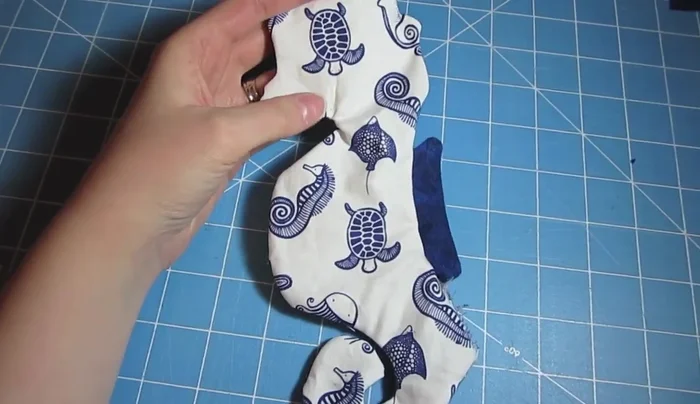
Trim Sea Horse Curves Turn, Iron Sea Horse
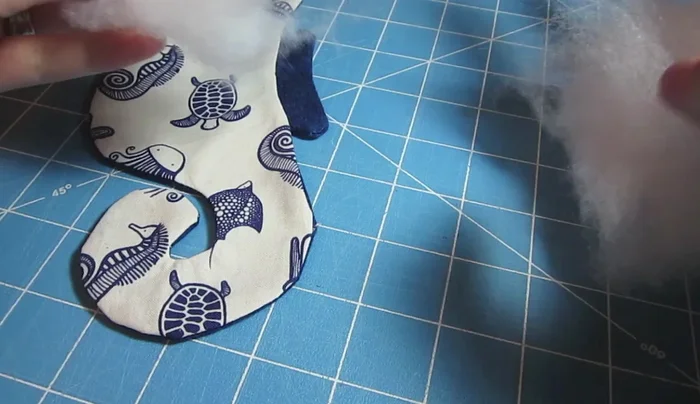
- Turn the seahorse right side out and iron to remove wrinkles. Iron the opening down 1/4 inch.
Turn, Iron Sea Horse Stuff the Sea Horse
- Stuff the seahorse using small amounts of stuffing at a time to fill evenly.
Stuff the Sea Horse Close the Opening
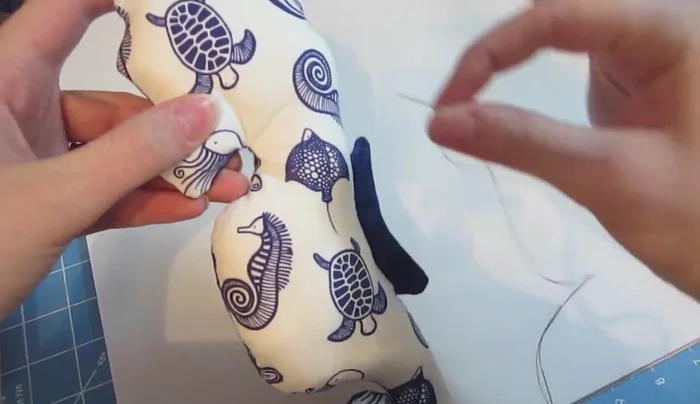
- Hand-sew the opening closed using a needle and thread, ensuring the knot is on the inside. Sew along the 1/4 inch line.
Close the Opening Add Eyes (Optional)
- Embroider eyes using a needle and thread in your desired shape or attach buttons.
Add Eyes (Optional)


Read more: DIY Fluffy Duck Plushie Tutorial: A Step-by-Step Guide
Tips
- Use a point turner to easily turn the corners of the fin right side out. If you don't have one, a needle and thread works well.
- Trimming the corners and curves before turning allows for a smoother, more finished look.
- Use two strands of thread when hand-sewing the opening to make the stitches stronger.