Do you adore fluffy, charming plushies? Have you ever dreamt of creating your own cuddly companion? Then get ready to dive into the delightful world of DIY plushie making! This tutorial will guide you through the process of crafting your very own adorable fluffy duck plushie, a project perfect for beginners and experienced crafters alike. Whether you're looking for a fun weekend project, a unique gift idea, or simply want to add a touch of handmade charm to your home, this fluffy duck is the perfect starting point.
Forget expensive store-bought toys; this tutorial provides a simple, affordable, and incredibly satisfying way to bring a cute duckling to life. We’ll walk you through each step, from gathering the necessary materials to the final stitching, ensuring even the most novice sewer can create a beautiful, huggable plushie. Let’s get started with the step-by-step instructions below!
Preparation and Safety Guidelines
- fabric (fluffy fabric recommended)
- sewing machine
- pins
- scissors
- stuffing
- wire (for feet)
- needle and thread
- glue
- Adult supervision is required, especially when using needles and scissors. Keep these tools out of reach of young children.
- Always use fiberfill stuffing appropriate for toys and avoid using materials that could pose a choking hazard, such as small beads or buttons.
- Wash your hands before and after handling materials to maintain hygiene.
Step-by-Step Instructions
Prepare and Cut Fabric
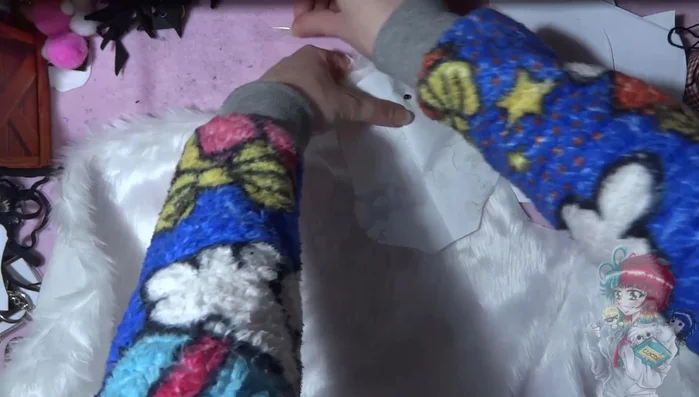
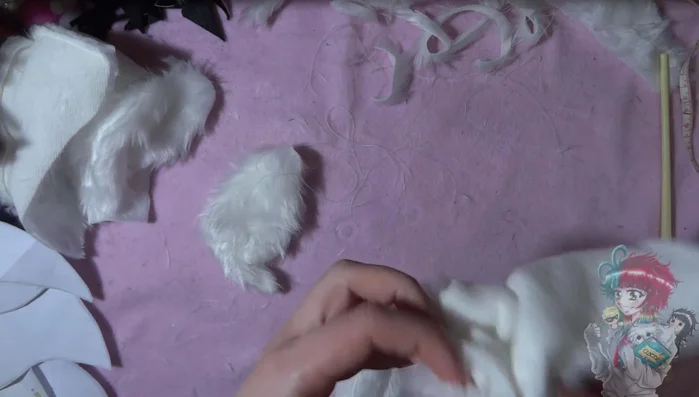
- Prepare the fabric. Pin patterns onto fabric ensuring fur points downwards for a consistent look.
- Cut out the patterns. The video shows how many pieces to cut out for each template.

Prepare and Cut Fabric Assemble Body Pieces
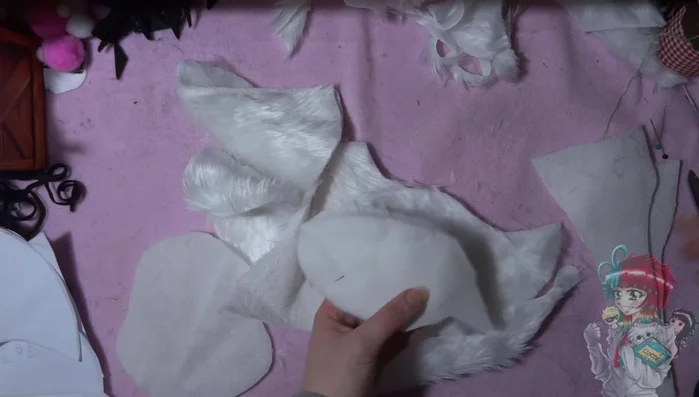
- Pin the pieces together. Start with wings (fluffy sides together), then side body pieces (top parts), and head pieces.
- Sew the body pieces. Sew the wings and body pieces together.
Assemble Body Pieces Turn and Stuff Body
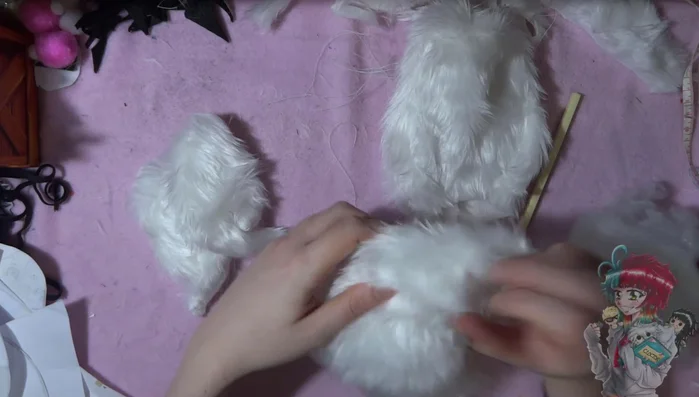
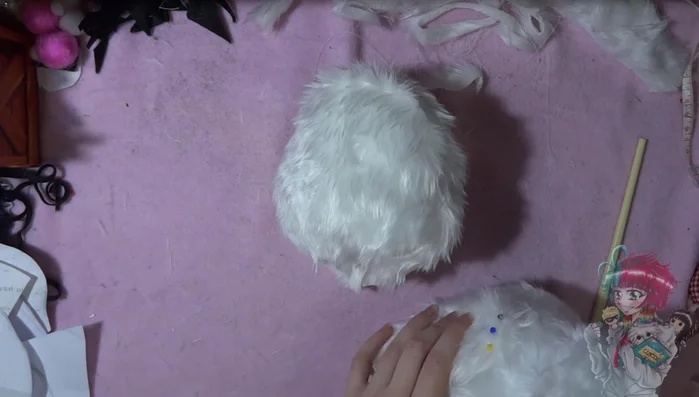
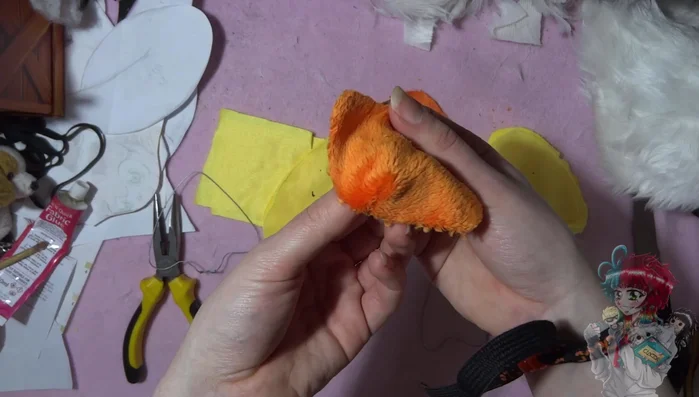
- Turn the body inside out.
- Stuff the body. This is the most satisfying part!
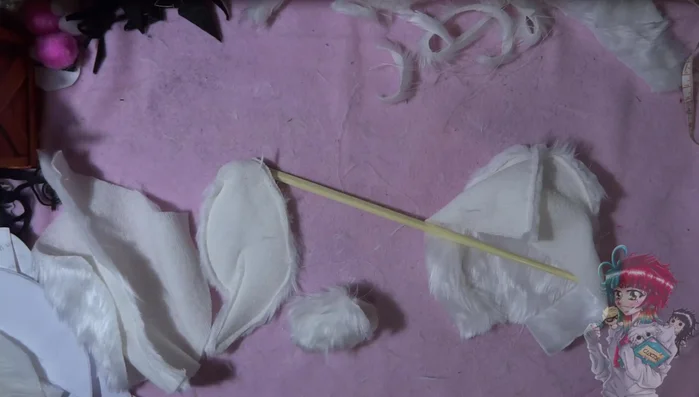
Turn and Stuff Body Attach Head and Wings
- Attach the head and wings. Use a ladder stitch to securely attach the head and wings.
Attach Head and Wings Create Feet and Legs
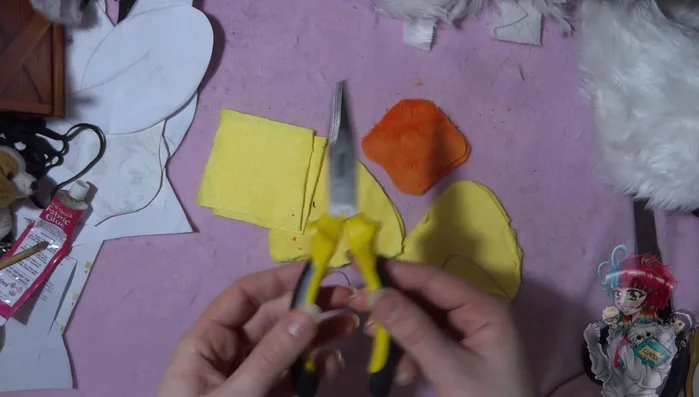
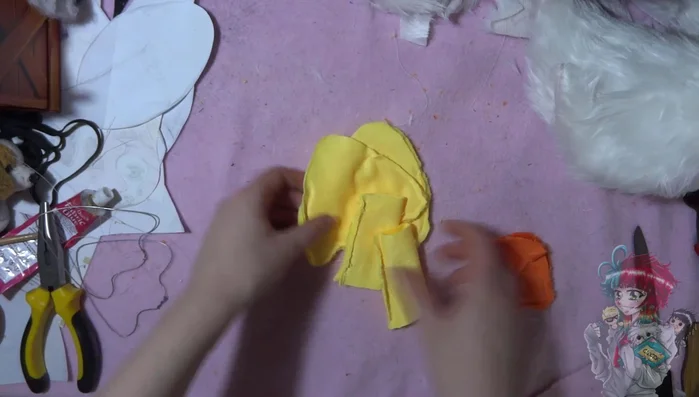
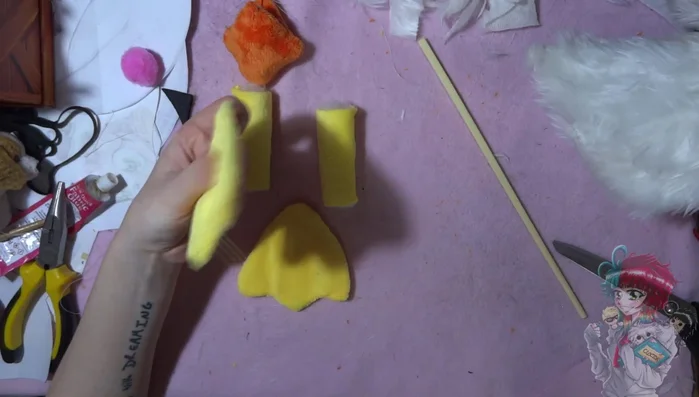
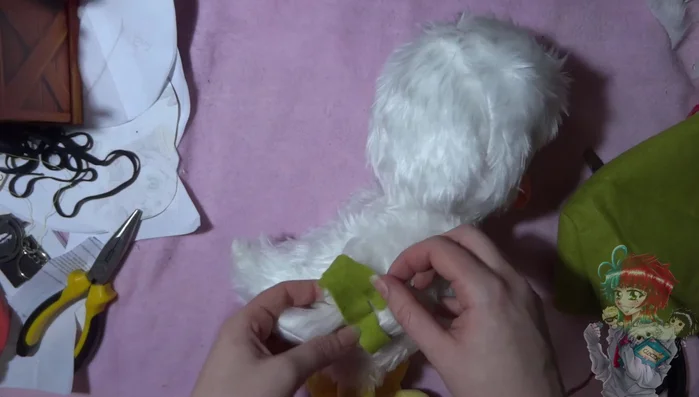
- Make the feet. Shape wire into feet, cover with yellow fabric, and sew.
- Make the legs and beak. Fold and sew yellow squares for legs, and sew a roundish orange beak.
Create Feet and Legs Attach Features
- Attach the features. Carefully attach the beak, legs, and feet.
Attach Features Add Optional Details
- Add optional details. Add details to the feet and optionally stitch a strip around the legs.
Add Optional Details Add Eyes
- Add eyes. Glue on small black circles for eyes.
Add Eyes Finishing Touches
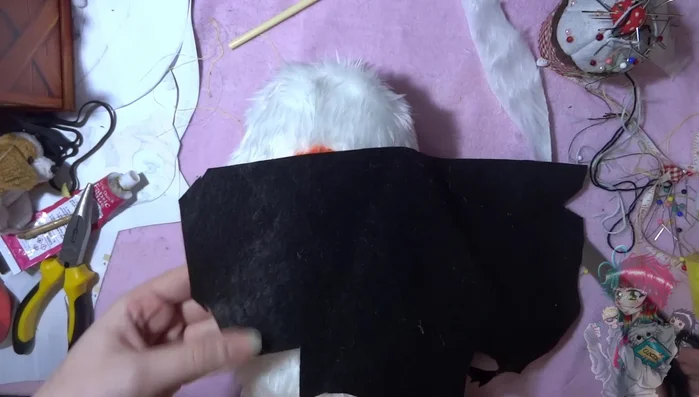
- Add finishing touches (optional). Add details such as grass to the wing or tufts of hair.
Finishing Touches
Read more: DIY Sea Horse Stuffed Animal: A Beginner's Guide
Tips
- Use fluffy fabric for a softer plushie.
- Securely stitch the head to the neck as it's thin.
- Take your time attaching the beak to ensure it looks right.