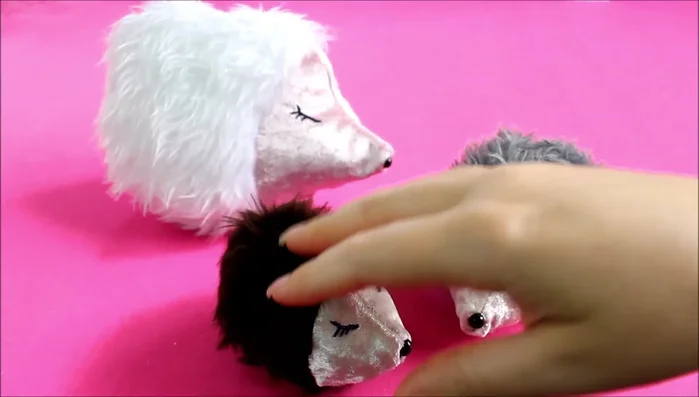
Have you ever longed to create your own adorable, cuddly creature? This tutorial will guide you through the simple steps of sewing a charming hedgehog softie, perfect for beginners! Forget complex patterns and intimidating techniques; this project uses basic stitches and readily available materials, making it ideal for anyone eager to embark on their sewing journey, regardless of experience. You’ll be amazed at how quickly and easily you can bring this prickly friend to life. The delightful result will be a cherished keepsake, a unique gift, or simply a heartwarming addition to your home.
Prepare to be charmed as we embark on this delightful craft adventure! This step-by-step guide will show you exactly how to sew your own adorable hedgehog softie, from selecting the perfect fabrics to adding those endearing finishing touches. Let's get started and transform simple materials into a cuddly masterpiece!
Preparation and Safety Guidelines
- Fabric (fluffy for body and head)
- Stuffing
- Thread (matching and embroidery)
- Needle
- Pins or Clips
- Safety eye (or button/bead)
- Scissors (serrated recommended)
- Pattern (downloadable from website)
- Always supervise young children around needles and scissors. Keep them out of reach when not in use.
- Use sharp sewing needles and pins to avoid accidentally pushing the needle through your skin with excess force. If you do prick yourself, clean and bandage the wound immediately.
- Ensure your work area is well-lit and clutter-free to prevent accidents.
Step-by-Step Instructions
Prepare Materials
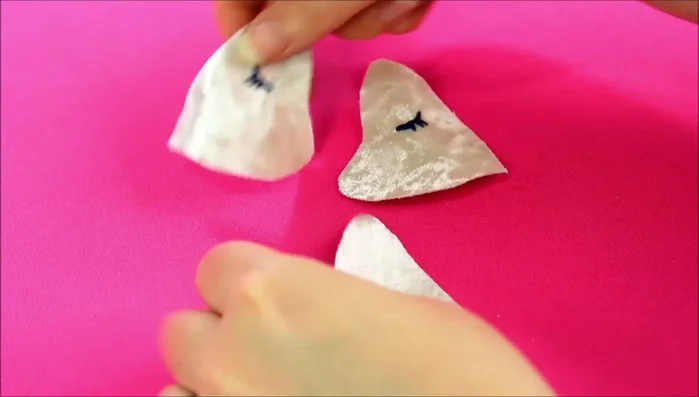
- Choose non-stretchy, non-fraying fabrics. Cut out pattern pieces ensuring mirror images for body and head.

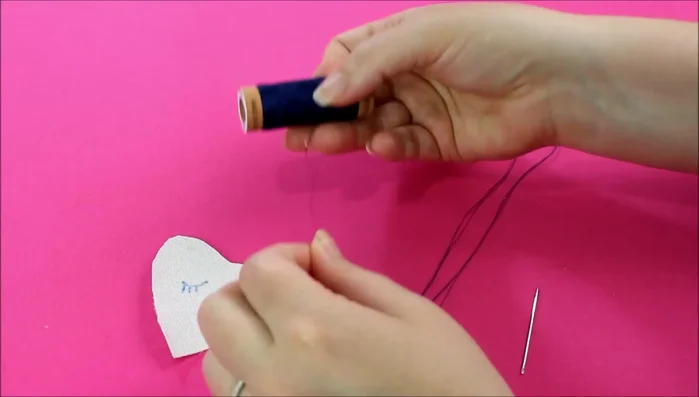
Prepare Materials Embroider Eyes
- Use multiple strands of thread for better visibility and cleaner finish. Secure the ends with a knot, embroider, and trim excess thread.
Embroider Eyes Sew the Face
- Sew the two face pieces together, leaving a small opening for turning.
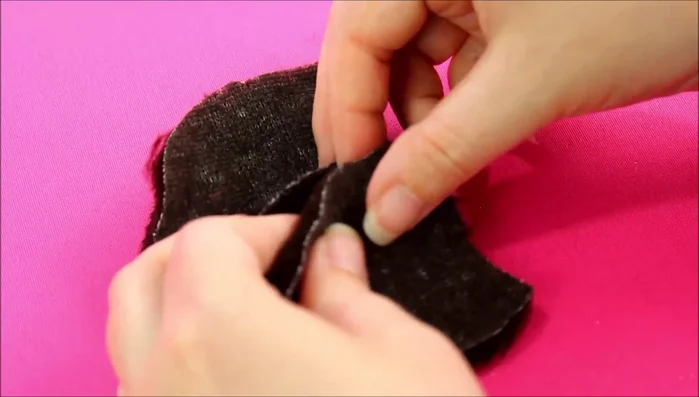
Sew the Face Sew the Body
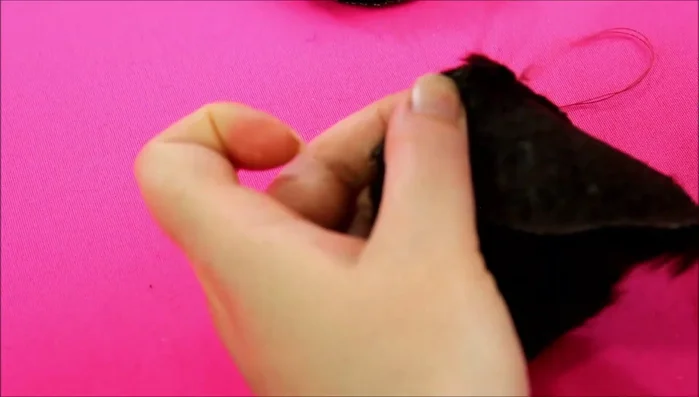
- Sew body pieces together, leaving a gap for stuffing.
Sew the Body Assemble the Hedgehog
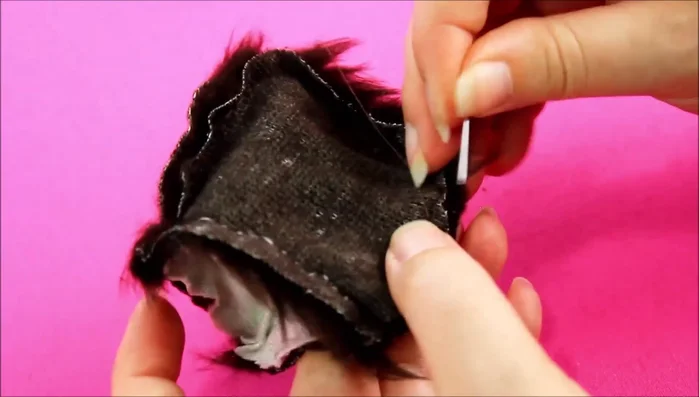
- Line up the head and body pieces, sew them together, leaving an opening to stuff the head.
Assemble the Hedgehog Stuff and Close
- Stuff the body, then close the gap using a ladder stitch or invisible stitch to maintain a clean finish.
Stuff and Close Attach Nose
- Attach nose (safety eye, button, or bead).
Attach Nose

Read more: DIY Fluffy Duck Plushie Tutorial: A Step-by-Step Guide
Tips
- Use fluffy fabric for a hedgehog's prickles, ensuring fabric direction is consistent on both sides.
- For younger children or fraying fabrics, increase seam allowance and use serrated scissors.
- Use pins or clips to hold fabric together, preventing slippage.
- Use a back stitch when sewing to secure seams and prevent stuffing leakage.
- To secure thread ends, bury the stitches between fabric layers.