Tired of overflowing closets and tangled clothes? Wish you had a stylish and eco-friendly solution for storing your belongings? Then get ready to transform those old, forgotten bedsheets into beautiful, washable fabric storage bags! This simple DIY project not only tackles clutter but also offers a sustainable way to repurpose textiles, reducing textile waste and saving you money on expensive storage solutions. Instead of discarding those worn but still sturdy sheets, let's breathe new life into them and create something practical and aesthetically pleasing for your home.
With just a few basic sewing skills and some readily available materials, you can easily craft customized storage bags perfect for everything from sweaters and toys to blankets and seasonal items. These reusable bags are far more environmentally friendly than plastic alternatives and their washable fabric ensures they stay clean and fresh. Ready to start creating? Let’s dive into the step-by-step instructions that will guide you through this rewarding upcycling project.
Preparation and Safety Guidelines
- Old bedsheet
- Needle
- Thread
- Scissors
- Thick Cardboard (optional)
- Always pre-wash your old bedsheets before cutting and sewing to prevent shrinkage and ensure the finished bag's dimensions are accurate.
- Use sharp scissors or a rotary cutter for clean cuts to avoid fraying and ensure accurate seam allowances. Be mindful of your fingers!
- If using a sewing machine, ensure it is properly threaded and the needle is appropriate for your fabric weight to prevent breakage or skipped stitches. Always keep fingers clear of the needle.
Step-by-Step Instructions
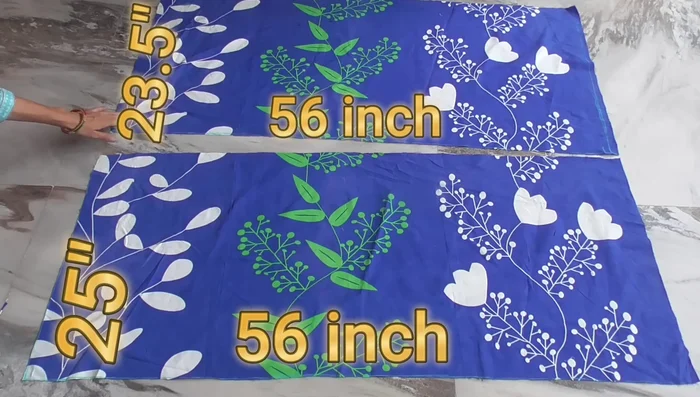
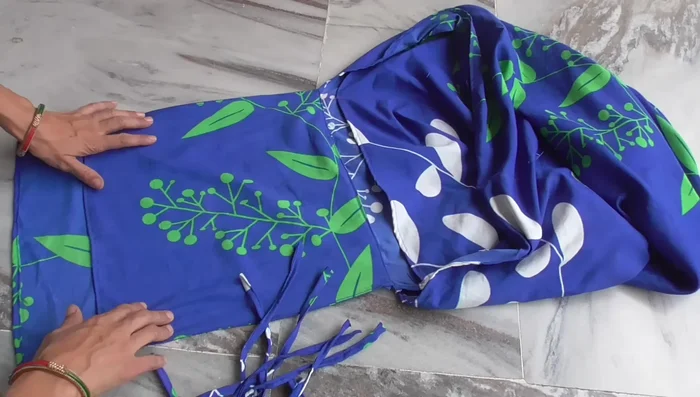
Cut Fabric Pieces
- Cut two rectangular pieces from the old bedsheet. One slightly larger than the other (56 inches x 25 inches and 56 inches x 23.5 inches).

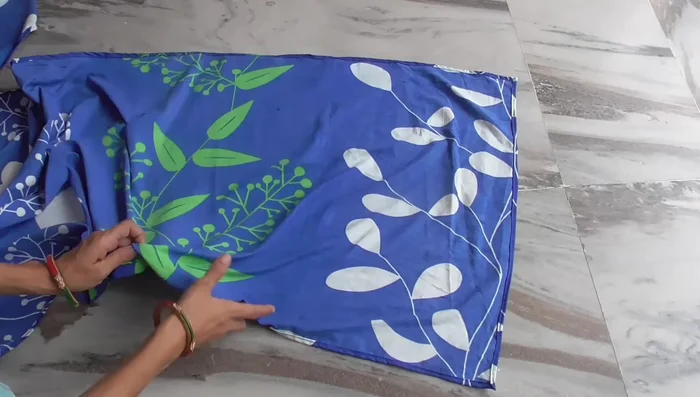
Cut Fabric Pieces Sew Main Bag Body
- Stitch the two pieces together from all four sides, right sides facing in. This creates the main body of the bag with pockets.
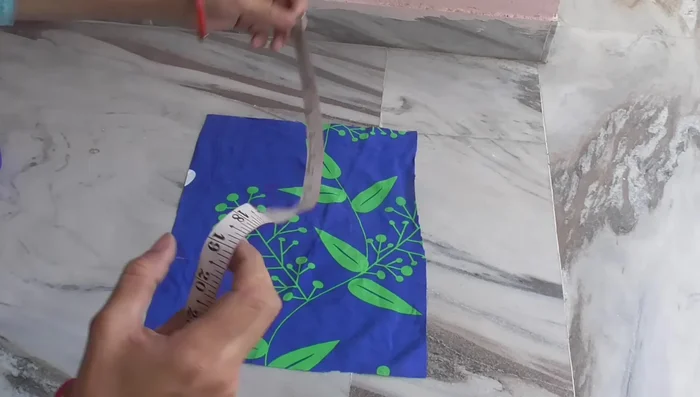
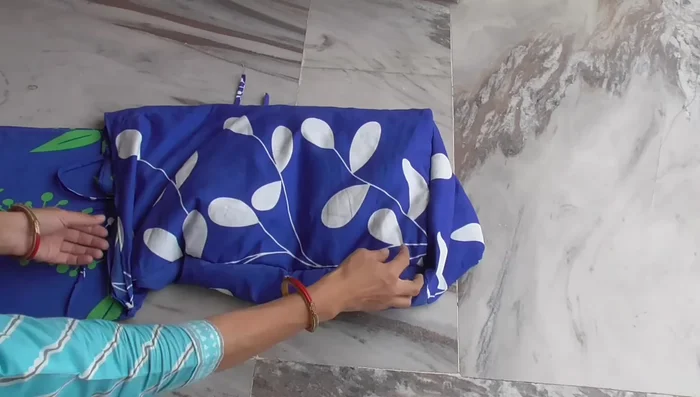
Sew Main Bag Body Create and Attach Bag Base
- Create the base of the bag. Cut a 14.5 inches x 14.5 inches square, fold it neatly, and stitch it to the bottom of the main body. After stitching, the base will measure approximately 13.5 inches x 13.5 inches.
Create and Attach Bag Base Make and Attach Flap
- Make the flap. Cut a 15.5 inches x 19 inches rectangle. Fold and stitch the edges, then attach it to one side of the bag, aligning it with the top edges of the pockets.
Make and Attach Flap Create and Attach Flap Pocket
- Create a pocket for the flap. Cut a piece of fabric (15.5 inches x 15 inches), stitch the edges, leaving one side open for inserting cardboard later. Attach this pocket to the flap, stitching three sides.
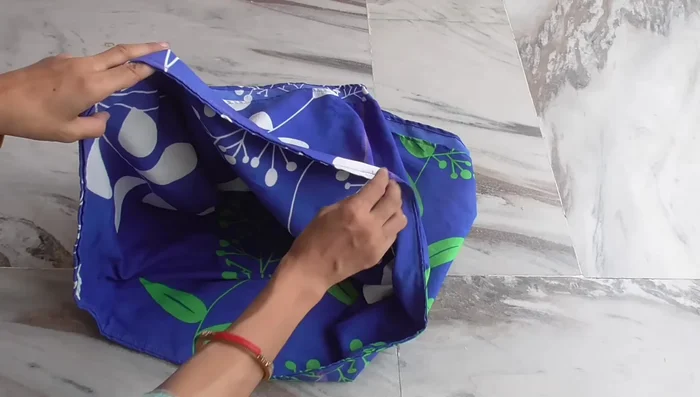
Attach Closing Strings
- Attach strings to the top of the bag and to the top of the pockets for closure.
Attach Closing Strings Insert Cardboard and Finish
- Cut pieces of cardboard to fit inside the pockets and base for added structure. Insert the cardboards and tie the strings to close.
Insert Cardboard and Finish
Read more: DIY Quilted Makeup Pouch Tutorial: The Easiest and Fastest Method
Tips
- Use half-half stitches to make stitching the base easier.
- The flap can be attached to any side since all four corners of the bag body are equal.
- The bag is foldable for easy storage.
- Cardboard inserts can be replaced when worn or damaged.