Vintage wool coats exude timeless elegance and unparalleled warmth, a quality rarely matched by modern outerwear. Their rich textures, classic silhouettes, and enduring style make them coveted pieces, but finding the perfect one can be a challenge. Why not create your own? This tutorial empowers you to sew a stunning vintage-inspired wool coat, perfectly tailored to your measurements and style preferences. Imagine the satisfaction of crafting a garment that will become a cherished part of your wardrobe for years to come.
This step-by-step guide will walk you through each stage of the process, from selecting the perfect wool fabric and cutting precise patterns to mastering the intricacies of sewing a beautiful, professional-looking finish. Whether you're a seasoned seamstress or a confident beginner, this comprehensive tutorial provides the knowledge and confidence you need to achieve a truly remarkable result. Prepare to unleash your creativity and sew your dream vintage wool coat.
Preparation and Safety Guidelines
- Wool fabric (4 yards)
- Lining fabric (2 yards)
- Simplicity 9718 pattern
- Fusible interfacing
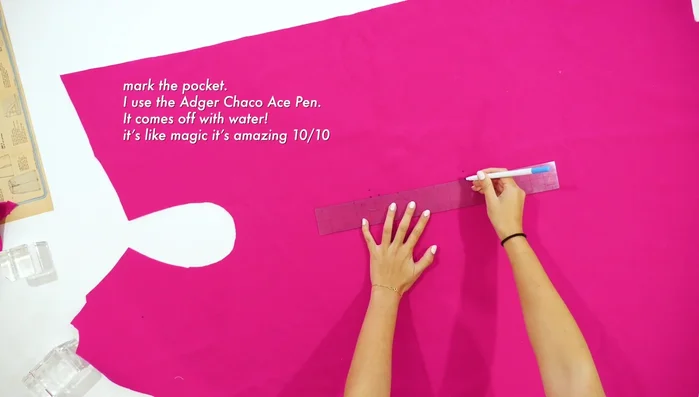
- Chalk or water-soluble marker (Adker Chaco Ace pen recommended)
- Sewing machine
- Scissors
- Pins
- Iron
- Basting thread
- Corner tool
- Shoulder pads
- Sewing needles
- Measuring tape
- Always use sharp needles and pins to prevent accidental pricks and ensure clean stitches. Blunt needles can cause fabric damage and frustration.
- Handle vintage wool carefully to avoid stretching or damaging delicate fibers. Press with a low-heat iron using a pressing cloth to prevent scorching.
- When working with vintage patterns, be aware that sizing may differ from modern standards. Always check your measurements against the pattern's sizing chart before cutting your fabric.
Step-by-Step Instructions
Pocket Construction
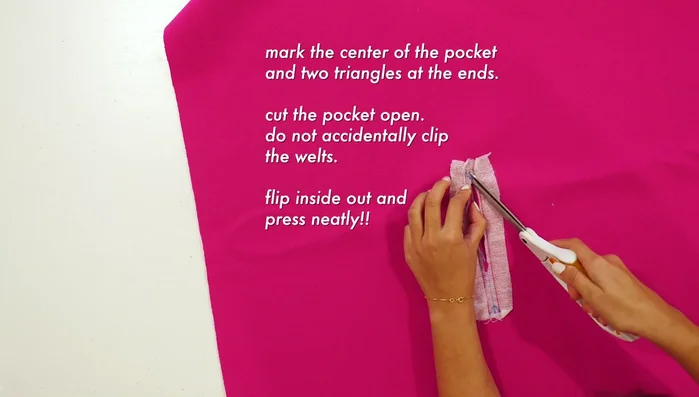
- Cut pattern pieces and mark pockets using a water-soluble marker.
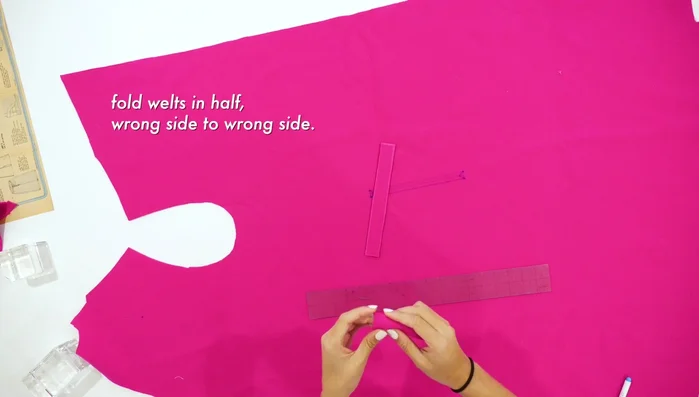
- Prepare welts by folding in half (wrong sides together) and basting if desired.
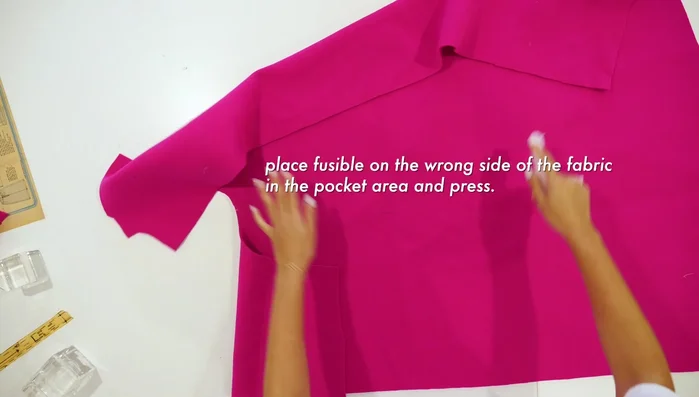
- Fuse fusible interfacing to the wrong side of the fabric in the pocket area and press.
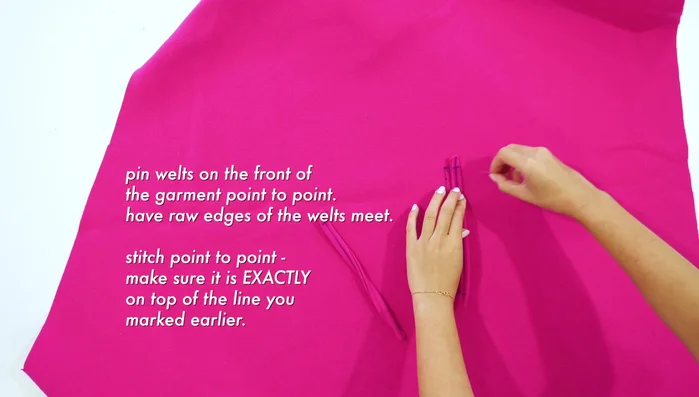
- Stitch the rectangle, pin welts to the front of the garment, and stitch point-to-point.

Pocket Construction - Cut open the pocket, avoiding the welts, flip inside out, and press neatly.
- this method is used due to stretchy fabric; a more standard method is recommended for less-stretchy fabrics).
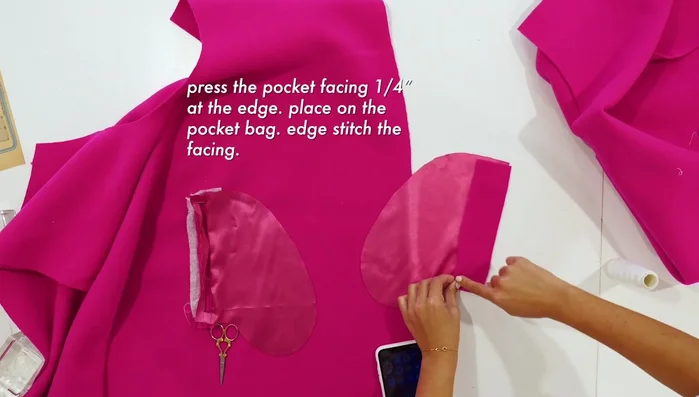
- Press the pocket facing and top stitch.
Pocket Construction Coat Body Assembly
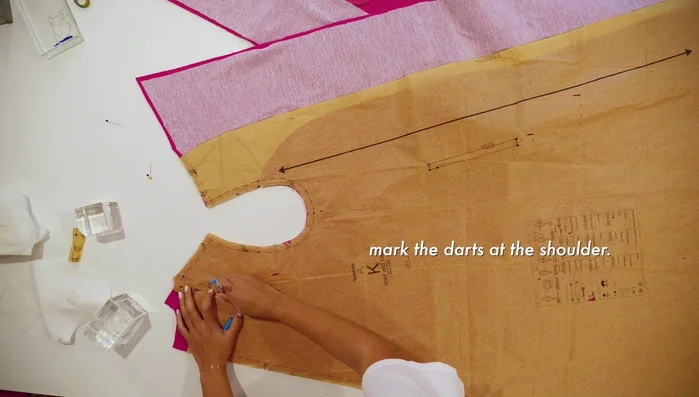
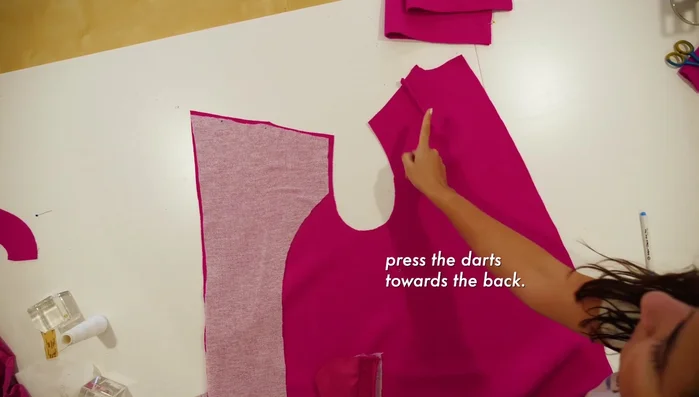
- Mark and sew shoulder darts, pressing them towards the back.
- Pin and sew shoulder seams at a ½ inch seam allowance.
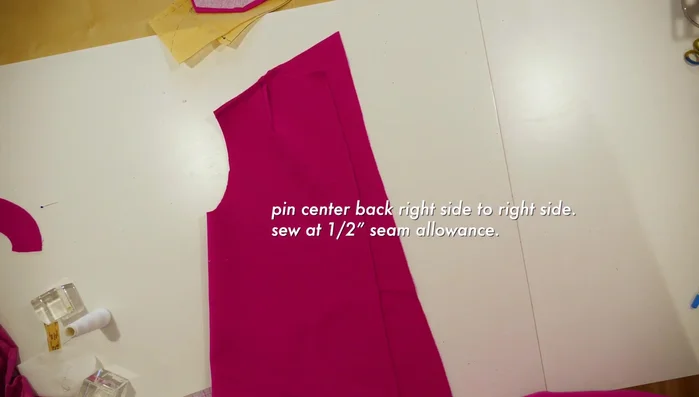
- Pin and sew the center back seam at a ½ inch seam allowance.
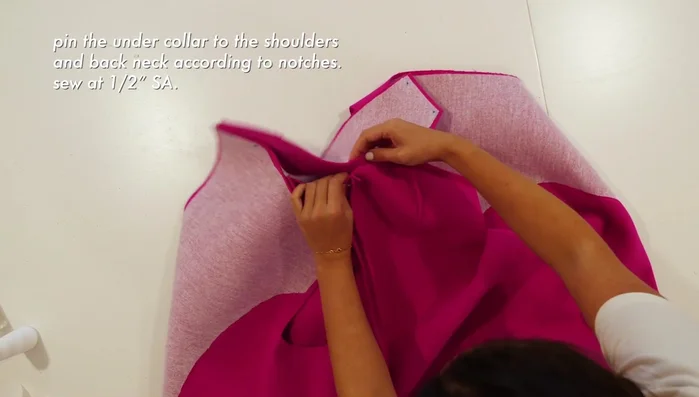
- Pin the under collar to the shoulders and back neck, sew at ½ inch seam allowance, and optionally baste before machine stitching.
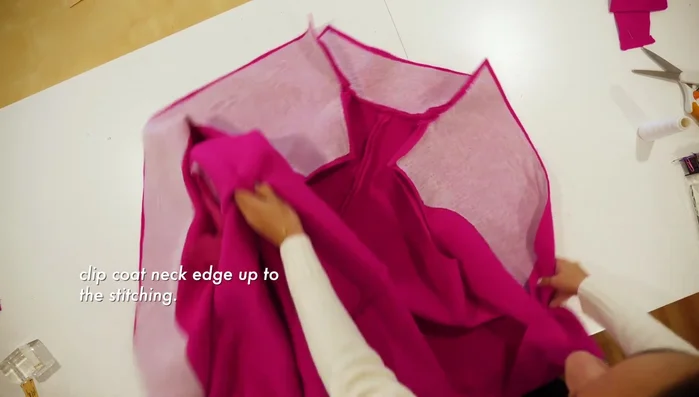
Coat Body Assembly - Clip the coat neck edge up to the stitching for a better lay.
Coat Body Assembly Sleeve Construction
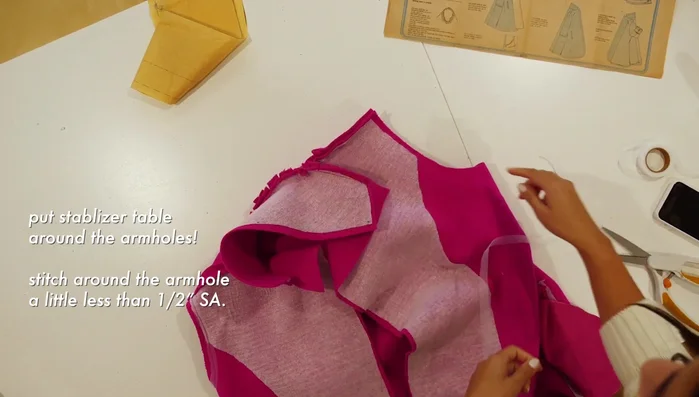
- Add stabilizer around the armholes and stitch around at slightly less than ½ inch seam allowance.
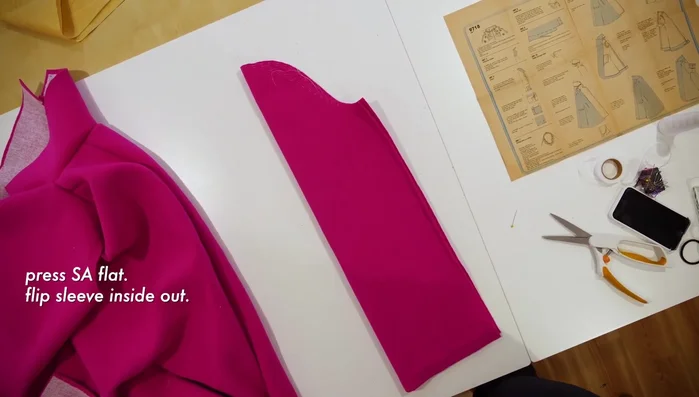
- Fold sleeves in half and sew up to the notch at a ½ inch seam allowance. Press the seam allowance flat, flip inside out, and sew decorative vent from notch to notch.
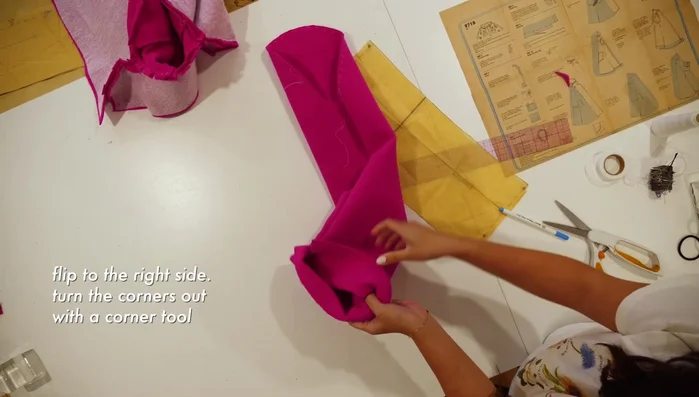
- Clip corners and use a corner tool to sharpen them. Catch stitch and top stitch sleeve hem.
Sleeve Construction Shoulder Pads and Sleeve Attachment
- Baste the sleeve to the armhole and sew at a ½ inch seam allowance.
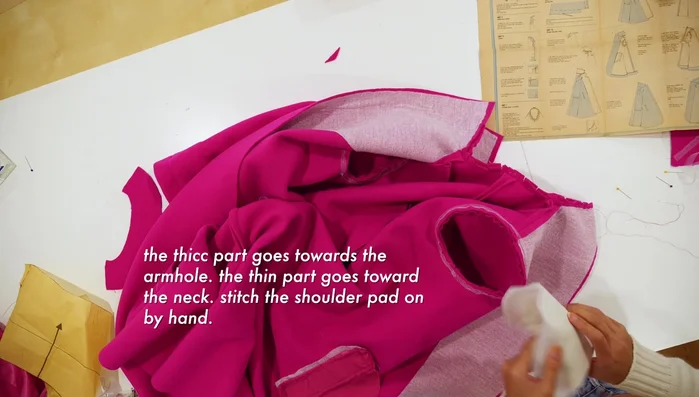
- Hand-stitch shoulder pads, positioning the thick part towards the armhole and thin part towards the neck.
Shoulder Pads and Sleeve Attachment Lining Preparation
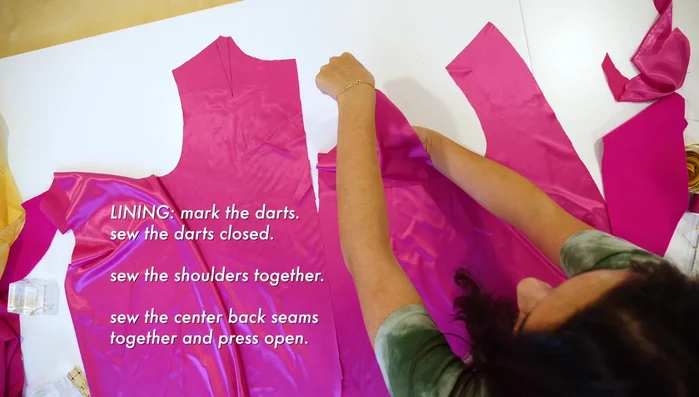
- Sew darts and center back seam of the lining.
- Sew shoulder seams of the facing at a ½ inch seam allowance.
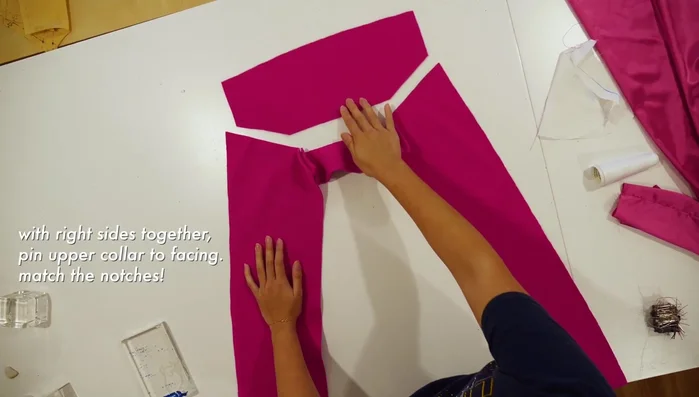
Lining Preparation Collar Attachment
- Pin and sew the upper collar to the facing, matching notches. Clip curves and press seams open.
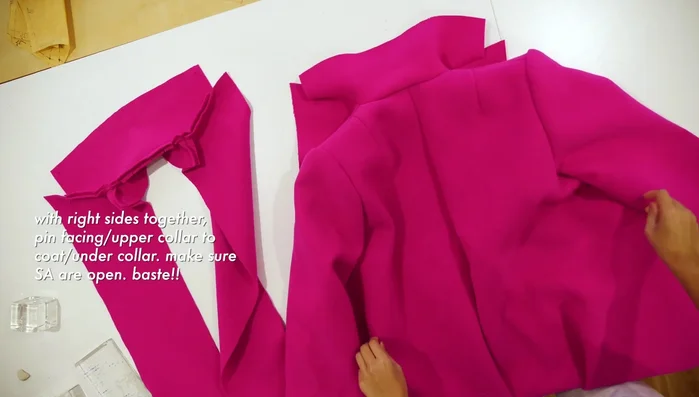
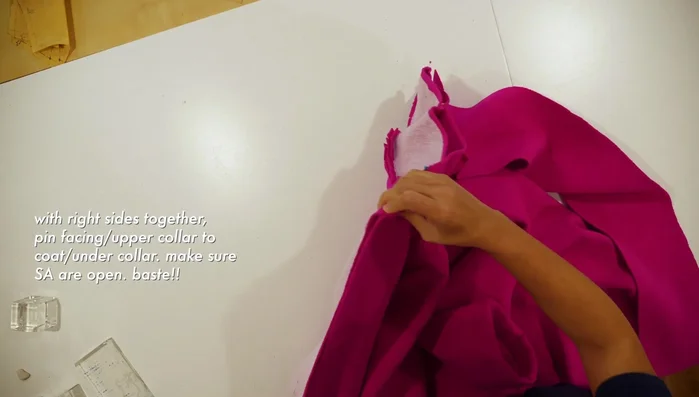
- Pin and baste (highly recommended) the facing/upper collar to the coat/under collar, ensuring seam allowances are open.
- Sew at ½ inch seam allowance, clip corners, and flip inside out.
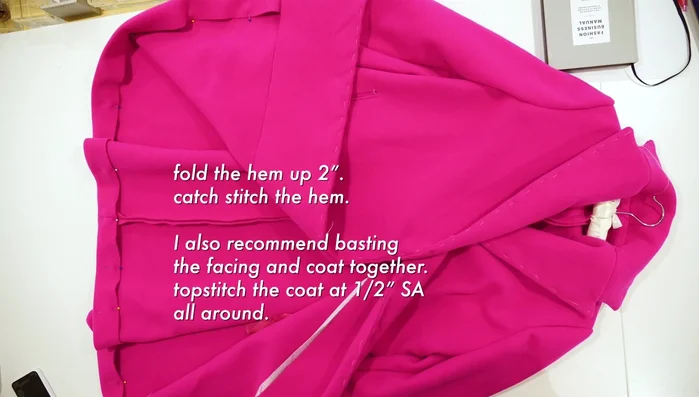
Collar Attachment Hemming and Top Stitching
- Fold and catch stitch the hem, basting the facing and coat together first, then top stitch at ½ inch seam allowance.
Hemming and Top Stitching Lining Attachment - Neck and Back
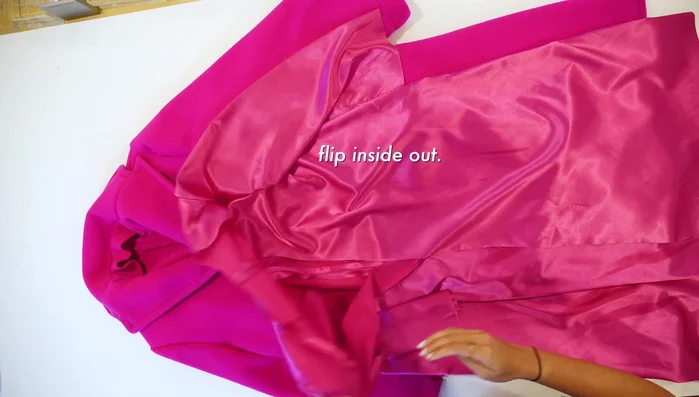
- Stitch lining to the back neck edge, flip inside out, and press sleeve and bottom hems.
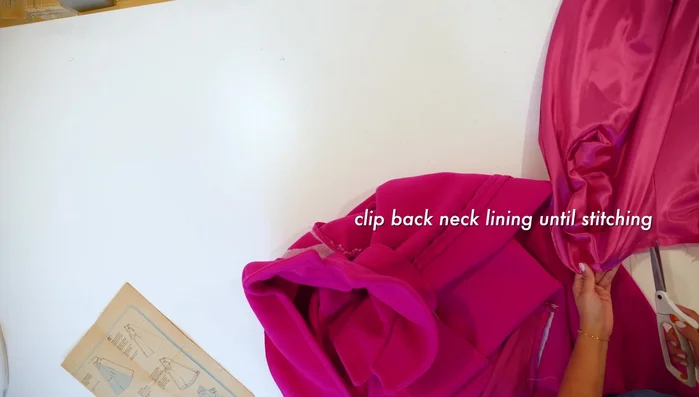
- Clip the back neck lining to the stitching.
Lining Attachment - Neck and Back Lining Attachment - Body and Sleeves
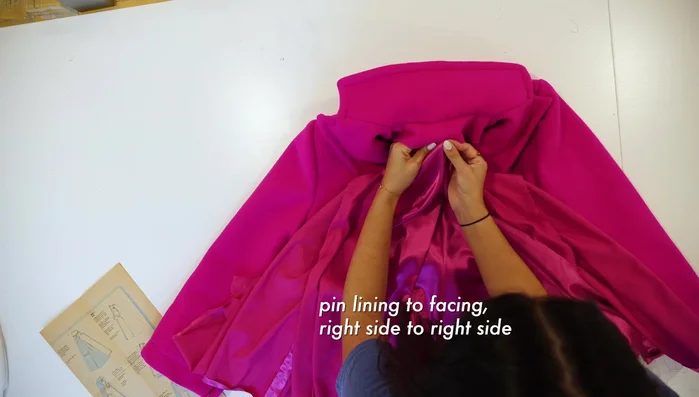
- Pin and sew the lining to the facing, right sides together, starting from the center back. Continue pinning and sewing, matching seams.
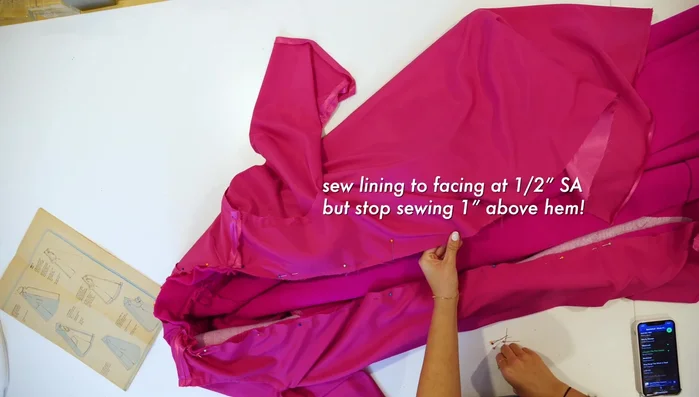
- Sew the lining to the facing at ½ inch seam allowance, stopping 1 inch above the coat hem.
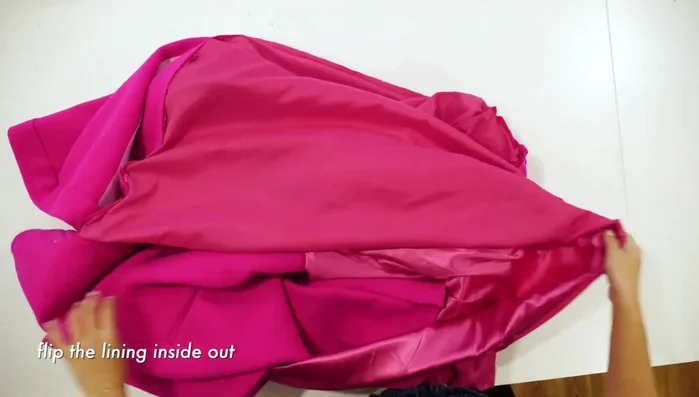
- Flip lining inside out, push sleeve lining into sleeves, and fold lining hem 1 inch above the coat hem. Trim excess lining if needed.
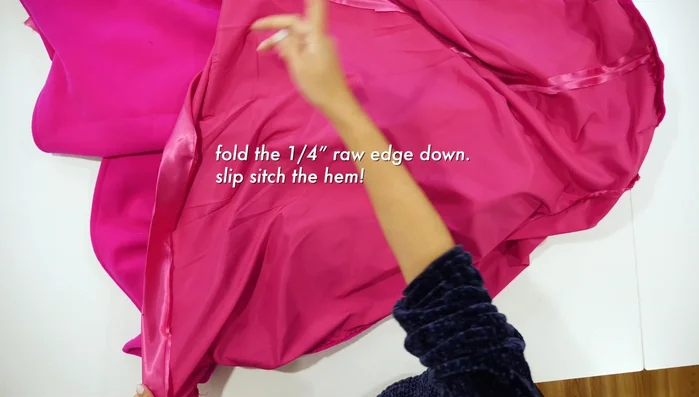
- Fold raw edge down ¼ inch and slip stitch the hem.
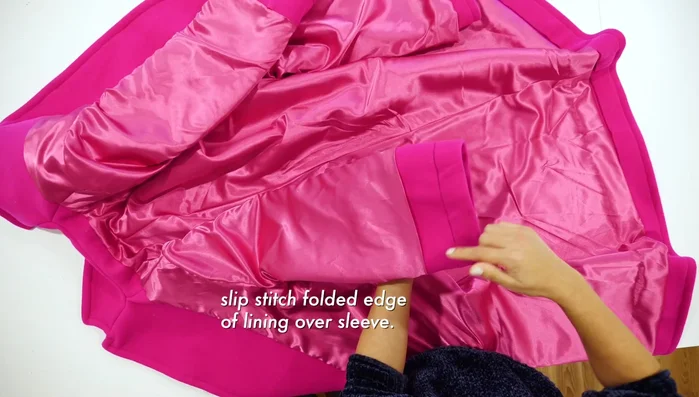
Lining Attachment - Body and Sleeves - Slip stitch the folded edge of the lining over the sleeve, securing the raw edge.
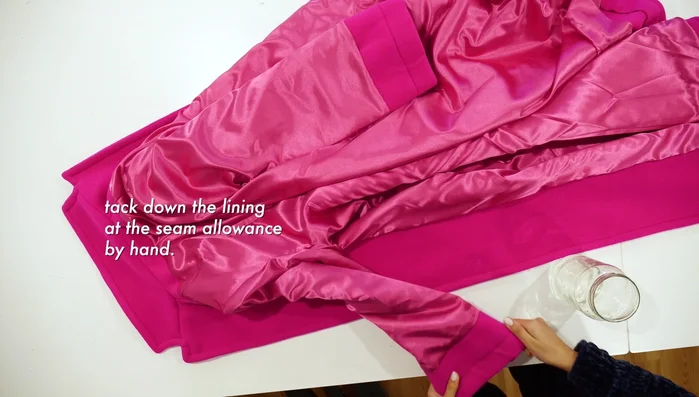
- Remove the washable marker, and tuck and hand-stitch the lining at seams as needed.
Lining Attachment - Body and Sleeves


Read more: Raglan Sleeve Sewing Tutorial: A Step-by-Step Guide
Tips
- Always make a muslin prototype first to practice techniques like pockets and notch collars.
- Use a water-soluble marker (like Adker Chaco Ace pen) for easy marking and removal.
- Baste before machine stitching, especially for tricky areas like the notch collar.
- Take your time and don't rush, especially when working with a challenging project like a coat.
- Use a corner tool to create sharp corners.