Are you ready to elevate your wardrobe with a stunning, versatile skirt that effortlessly adapts to your style and body? The Vienna skirt is a beautifully crafted adjustable wrap skirt, perfect for both casual outings and more formal occasions. Its elegant design allows for a customized fit, ensuring you feel confident and comfortable in every wear. Imagine the possibilities: pairing it with a flowy blouse for a romantic look, or dressing it down with a simple t-shirt and sneakers for a relaxed vibe. The adjustable waist ensures a perfect fit every time, catering to fluctuating sizes and personal preference.
This tutorial will guide you through each step of creating your own magnificent Vienna wrap skirt, from choosing the perfect fabric to mastering the elegant finishing touches. Prepare to be amazed by how easy it is to achieve such a sophisticated result, and get ready to sew your way to a beautifully tailored piece you'll cherish for years to come. Let's begin with the step-by-step instructions below!
Preparation and Safety Guidelines
- sewing machine
- scissors
- ruler
- pins or weights
- rotary blade (optional)
- disappearing marker (optional)
- interfacing
- loop turner tool (optional)
- iron
- Always use sharp sewing machine needles and sharp scissors to prevent fabric damage and ensure clean cuts. Dull tools can cause injury.
- Be mindful of your fingers when operating the sewing machine. Keep fingers clear of the needle and presser foot.
- If using pins, ensure they are removed before sewing to avoid damaging your machine or getting injured.
Step-by-Step Instructions
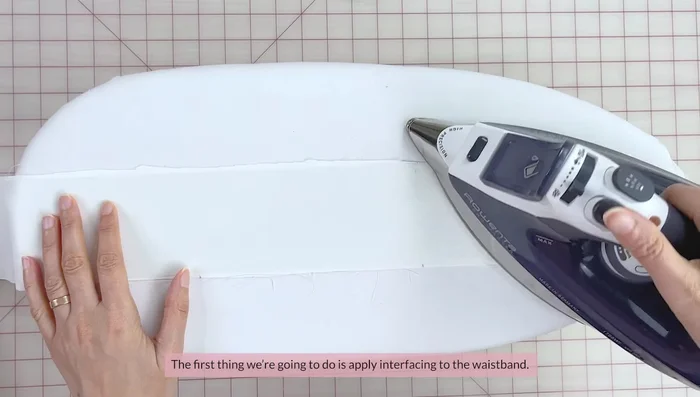
Prepare the Waistband
- Apply interfacing to the waistband.
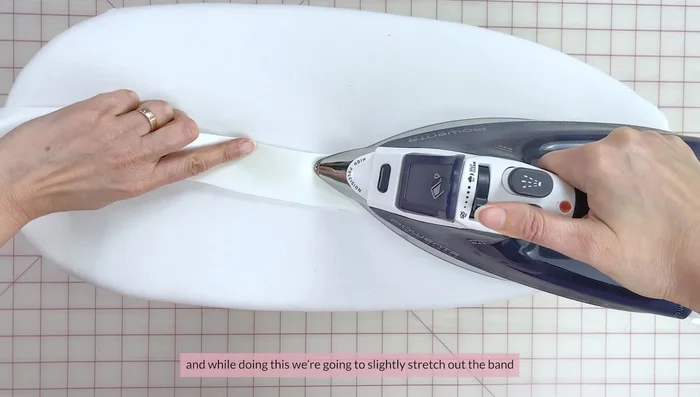
- Fold the waistband wrong sides together and press, slightly stretching to create a curved shape.
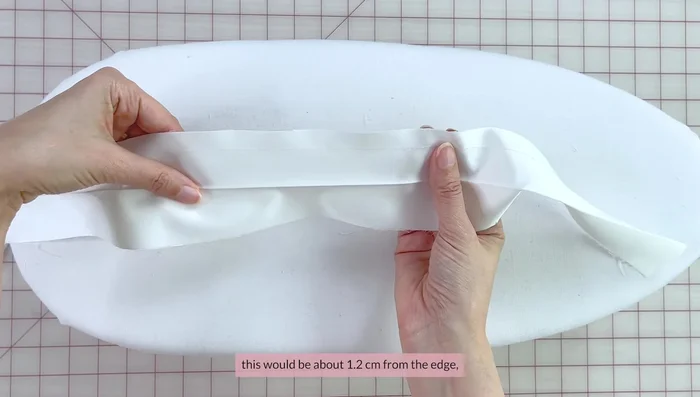
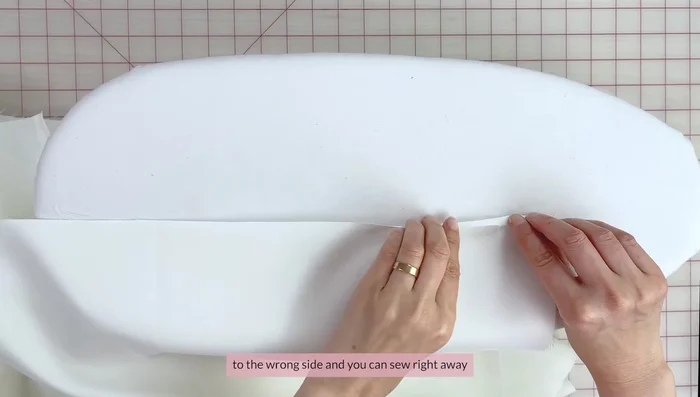
- Stay stitch the seam allowances of one side of the waistband (about 1.2 cm from the edge). Fold seam allowances up to the wrong side and press.

Prepare the Waistband Prepare the Skirt
- Form pleats on the skirt front and back, following pattern markings. Secure pleats with machine stitching.
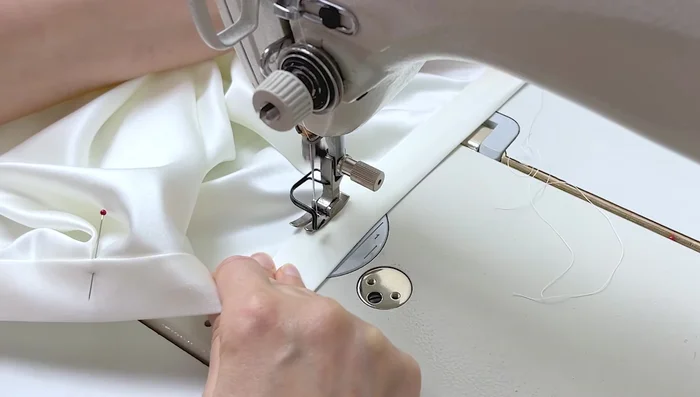
- Finish the straight edge of the skirt by double folding and pressing before sewing.
Prepare the Skirt Attach Waistband to Skirt
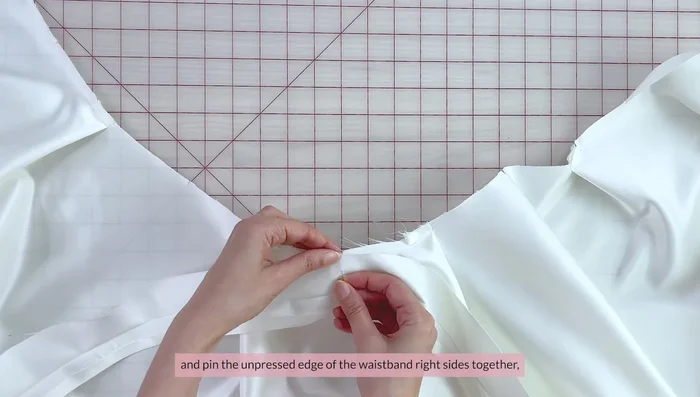
- Pin the waistband (unpressed edge) to the skirt, right sides together, matching markings. Account for ease due to the curved waistband.
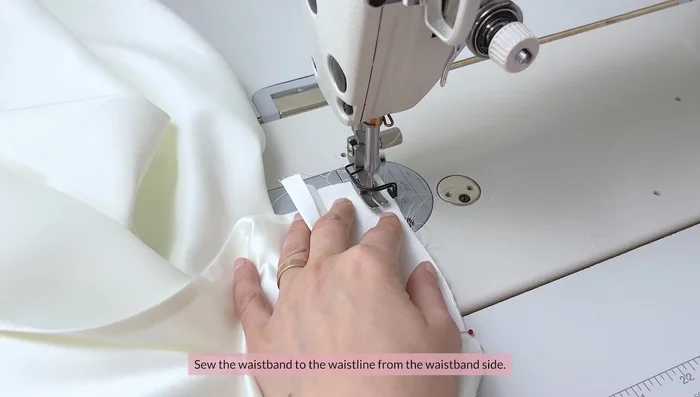
- Sew the waistband to the skirt. Trim seam allowances to reduce bulk. Turn right side out and press.
Attach Waistband to Skirt Close and Finish Waistband
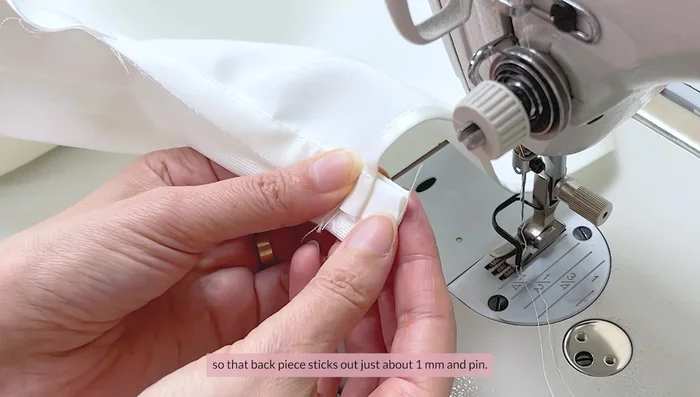
- Fold and pin the waistband edges together, leaving a small opening at the back (about 1mm). Sew the short edge next to the fold.
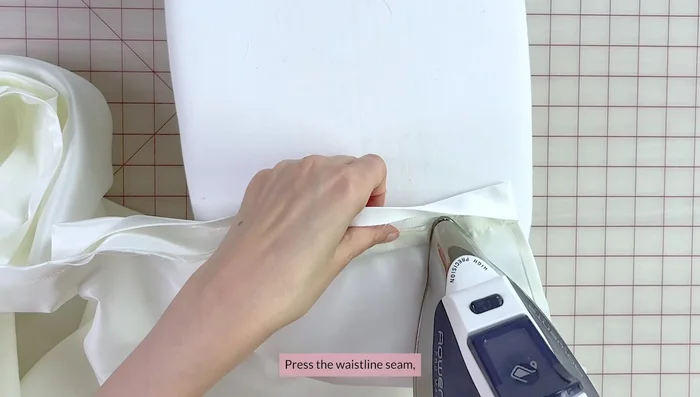
- Press the waistband seam. Pin the folded edge to the waistline seam, ensuring the folded edge covers the seam inside.
- Top stitch the waistband 1mm from the folded edge. Press.
Close and Finish Waistband Create and Attach Waist Ties
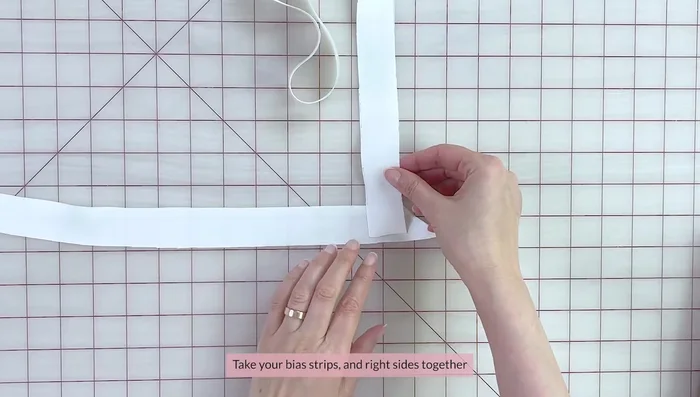
- Create the waist ties by sewing bias strips together to form one long strip. Alternatively, sew rectangular strips together.
- Sew the long strip with a 2.5mm or 4mm seam allowance, then turn it right side out using a loop turner and press.
- Pin ties to the waistband, measuring and positioning for desired length. Secure ties with small tacks.
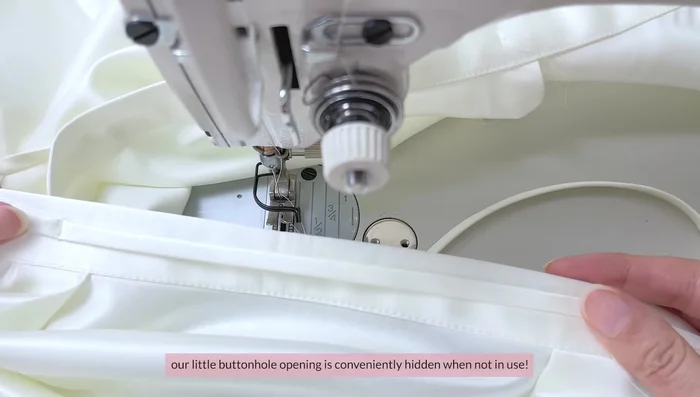
Create and Attach Waist Ties Add Buttonhole (Optional)
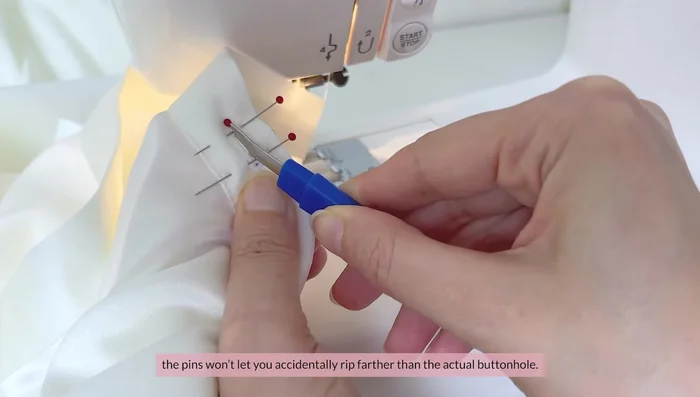
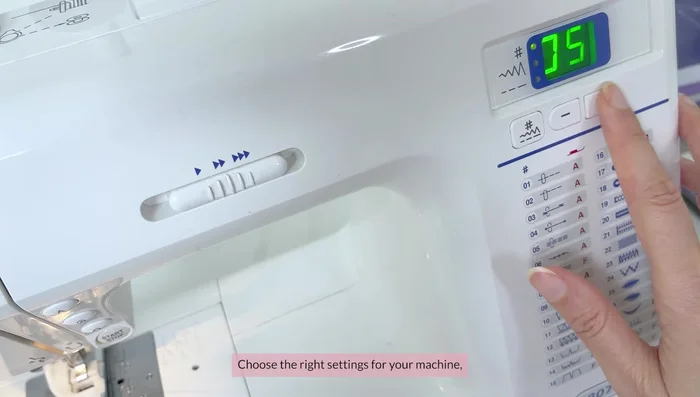
- Create a buttonhole opening on the waistband (optional). Test buttonhole size on scrap fabric before sewing on the waistband.
Add Buttonhole (Optional) Final Touches
- Trim excess threads. Press the opening.
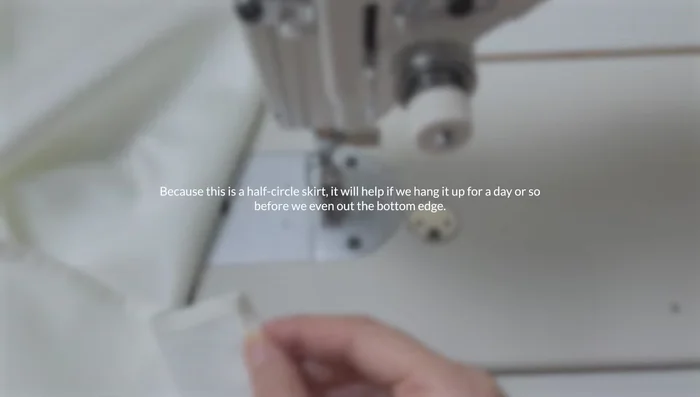
- Hang the skirt for a day to allow fabric to settle. Even out the bottom edge by measuring from the floor to create an even hemline.
- Create a baby hem by sewing, folding, and sewing again, close to the previous seams.
Final Touches


Read more: Raglan Sleeve Sewing Tutorial: A Step-by-Step Guide
Tips
- Use a light to medium weight, soft fabric that drapes well (gauze, lawn, chiffon, linen, cotton, silk).
- Use pins or weights to hold fabric down while cutting.
- When sewing the waistband, slightly stretch the band to give it a curved shape for a better fit.
- Place two pins at the start and end of your buttonhole to prevent accidental ripping when creating the opening.