The Victorian era, renowned for its elegance and intricate detail, left behind a legacy of exquisite fashion. Among its most captivating garments is the lace insertion blouse, a testament to the era's mastery of needlework and design. These blouses, adorned with delicate lace meticulously worked into the fabric, exude a timeless charm that continues to inspire modern crafters. The combination of crisp cotton or linen, punctuated by the airy beauty of the lace, creates a garment both practical and profoundly beautiful. They represent a fascinating blend of functionality and artistry, perfectly capturing the spirit of Victorian femininity.
This tutorial will guide you through the process of creating your own stunning Victorian lace insertion blouse, from selecting the right fabrics and patterns to mastering the art of inserting the lace flawlessly. Let's embark on this rewarding journey together, and by following the detailed steps below, you'll soon be crafting a beautiful and historically accurate garment.
Preparation and Safety Guidelines
- sewing machine
- pins
- fabric scissors
- iron
- ironing board
- heat erasable fabric pen
- tailor's chalk
- lace
- pattern pieces
- Always use sharp needles and pins to avoid pricking yourself and ensure clean stitches. Handle antique lace with care to prevent damage.
- Pre-wash all fabrics before beginning to prevent shrinkage and color bleeding that could ruin the finished garment.
- Work slowly and methodically, especially when hand-sewing delicate lace. Take breaks to avoid fatigue and maintain accuracy.
Step-by-Step Instructions
Pattern Preparation
- Choose your patterns. The video uses Truly Victorian 494 (1894 shirtwaist) for the bodice and 1908 Countryside Blouse E47 for the sleeves.
- Cut out your pattern pieces.

Pattern Preparation Sleeve Placket Construction
- Create the sleeve placket. Fold and press the placket pieces according to the pattern instructions, marking with chalk for precision.
- Sew and encase the placket seam. Stitch around the placket edge, cut the seam allowance, turn it right side out, and top stitch to neatly encase the raw edges.
Sleeve Placket Construction Sleeve Lace Application
- Add insertion lace to the sleeves. Stitch the lace to the outside of the sleeve fabric, leaving a seam allowance, then trim the seam allowance, fold it under, and top stitch to secure.
Sleeve Lace Application Bodice Construction
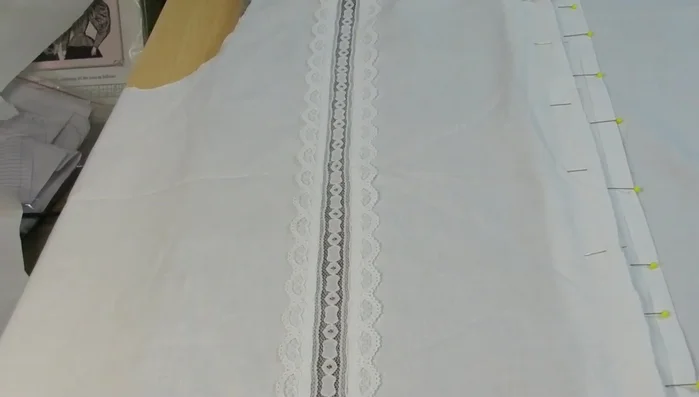
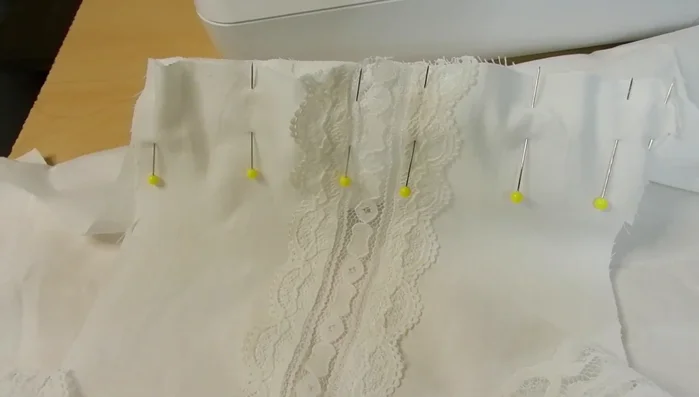
- Add insertion lace to the bodice. Stitch the lace to the outside of the bodice fabric following your chosen design.
- Construct the bodice using French seams. Sew wrong sides together, trim, flip, and sew again to enclose raw edges for a clean finish. Repeat for side seams and shoulders.
Bodice Construction Sleeve Attachment
- Attach the sleeves. Sew the sleeves to the bodice using French seams.
Finishing Touches
- Attach cuffs and collar, adding lace as desired. The video uses a combination of single and multiple lace pieces for the cuffs.
Finishing Touches


Read more: Raglan Sleeve Sewing Tutorial: A Step-by-Step Guide
Tips
- Use tailor’s chalk on areas that will be ironed to avoid smudging marks from heat-erasable pens.
- Take your time with the lace insertion to ensure accuracy and avoid cutting the lace itself.
- Use French seams to create clean, professional-looking seams and to prevent fraying.