Tired of those beautiful scarves gathering dust in your drawer? Or perhaps you have a stash of fabric scraps with untold potential? Don't let those lovely textiles go to waste! This guide will show you how to transform your pre-loved fabrics into a stylish and unique kimono or cardigan, breathing new life into old materials and adding a personalized touch to your wardrobe. Upcycling is not only a sustainable choice, but it’s also a fantastic way to express your creativity and create truly one-of-a-kind garments. Imagine draping yourself in a cozy kimono crafted from your favorite silk scarf or a vibrant cardigan pieced together from cherished fabric remnants.
This project is surprisingly simple, requiring minimal sewing skills and readily available materials. We’ll be guiding you through each step, from choosing the right fabrics and measuring your dimensions to mastering basic sewing techniques for a professional-looking finish. Ready to transform your textiles into a wearable masterpiece? Let's dive into the step-by-step instructions and unleash your inner fashion designer!
Preparation and Safety Guidelines
- Fabric (chiffon, lightweight CB, floral, or old scarf)
- Scissors
- Measuring Tape
- Sewing Machine (implied)
- Pins (implied)
- Always use sharp, clean scissors or rotary cutter to prevent injury and ensure clean cuts. Dull blades can cause slippage and accidents.
- If using pre-owned fabric, pre-wash and iron it thoroughly to remove dirt, shrinking, and to ensure easier handling during the sewing process. This prevents unexpected shrinkage after you’ve completed the kimono.
- When working with needles and pins, exercise caution to avoid pricking yourself. Keep a pincushion handy and be mindful of your surroundings.
Step-by-Step Instructions
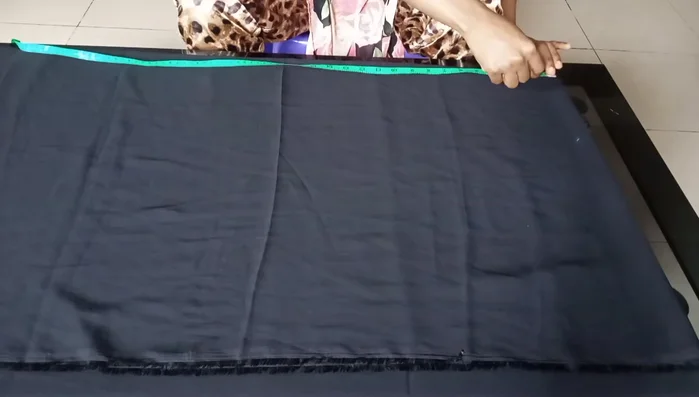
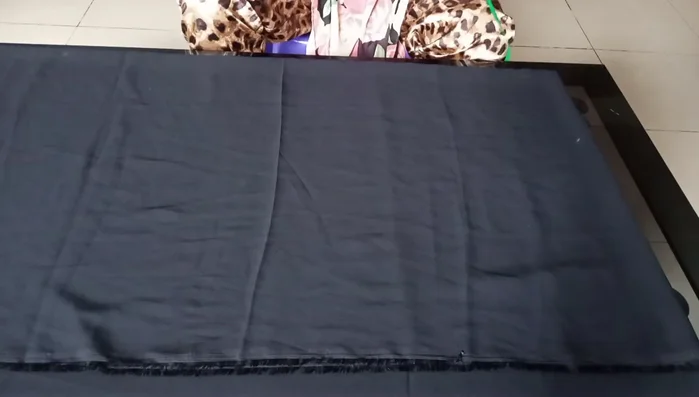
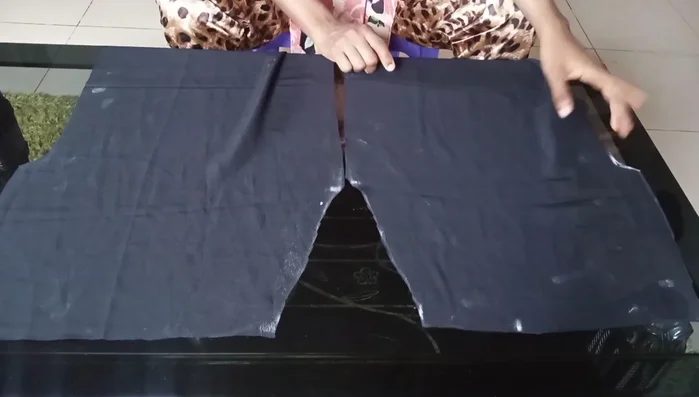
Measure and Prepare Fabric
- Determine desired kimono length and add 2 inches seam allowance.
- measure from shoulder, adding desired sleeve length (adjust as needed).

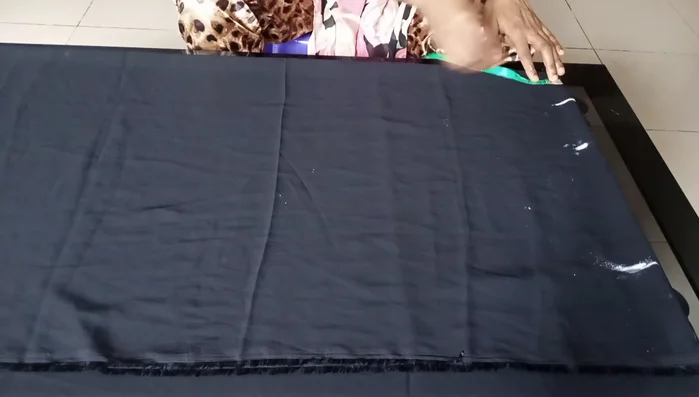
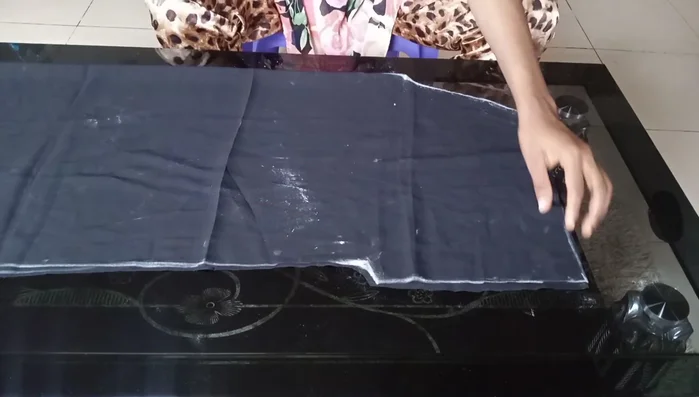
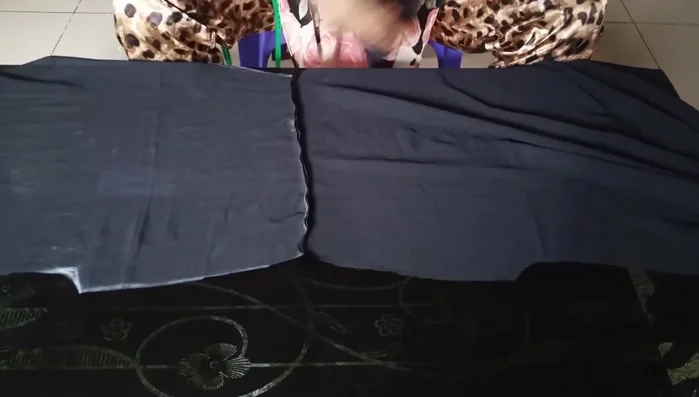
Measure and Prepare Fabric Cut Back Piece
- Neck width 3 inches, neck depth 1.5 inches, shoulder slant 1 inch, sleeve opening 9 inches. Connect points with curves and straight lines as shown.
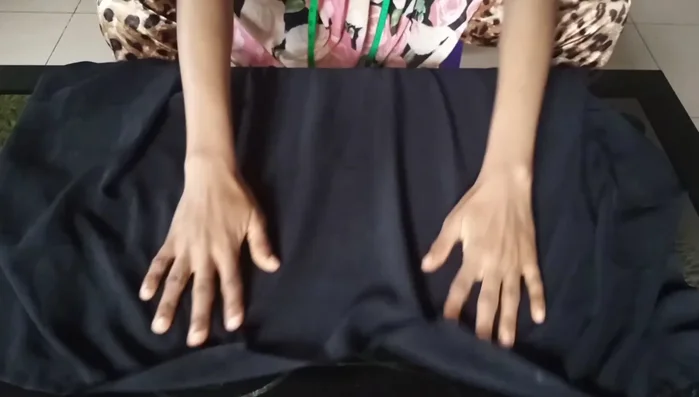
Cut Back Piece Cut Front Pieces
- Create a V-shaped neckline, 7-8 inches deep from the shoulder line.
- Cut open the center front to create two separate front pieces.
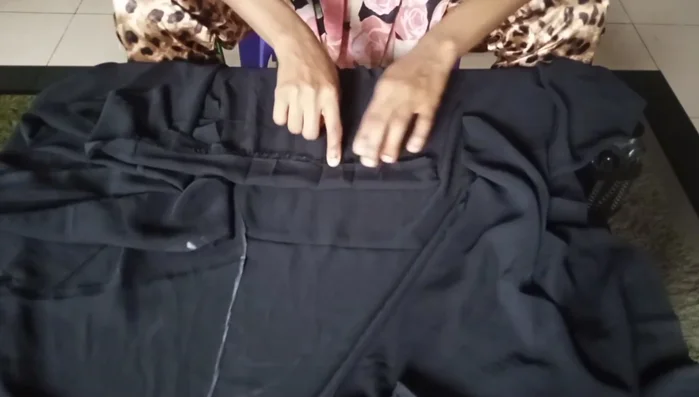
Cut Front Pieces Attach Neck and Sleeve Fabric Strips
- Join a long strip of fabric to the neckline and sleeves. The length should cover from the neck to hem, at least 4 inches wide.
- Measure the sleeve length and cut matching strips to attach to the sleeve openings. Join with 0.5-inch seam allowance.
Attach Neck and Sleeve Fabric Strips Join Shoulder Seams
- Join the shoulder seams of the front and back pieces with a 0.5-inch seam allowance.
Join Shoulder Seams Attach Neck Strip
- Attach the long neck strip to the neckline, ensuring the seam allowance is on the wrong side.
Attach Neck Strip Join Side Seams
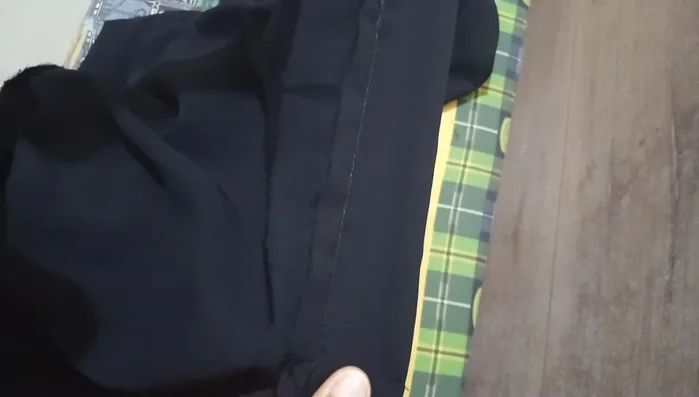
- Join the side seams of the kimono with a 0.5-inch seam allowance from the armhole to the hem.
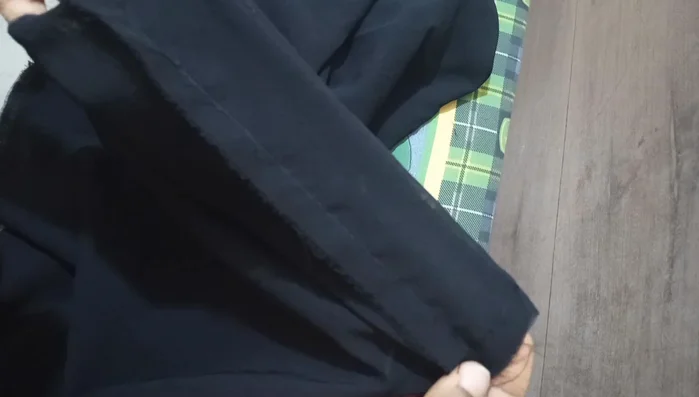
Join Side Seams Finish Hem
- Fold and finish the hem.
Finish Hem
Read more: Raglan Sleeve Sewing Tutorial: A Step-by-Step Guide
Tips
- Use lightweight fabrics like chiffon for a flowy kimono.
- Repurpose old scarves for a unique and sustainable kimono.