Tired of the same old handbags and searching for a unique, elegant accessory? Then look no further! This tutorial will guide you through creating a stunning, one-of-a-kind clutch using an unexpected material: a placemat. Forget expensive designer bags; with a little creativity and this simple upcycling project, you can craft a sophisticated evening bag that’s both stylish and sustainable. We’ll transform a humble placemat into a chic statement piece, showcasing how everyday items can be repurposed into extraordinary fashion accessories.
This DIY project is perfect for those with limited sewing experience, offering a satisfying and rewarding crafting experience. The best part? You probably already have all the materials you need! From choosing the perfect placemat to adding your personal touch, we’ll walk you through each step of the process, transforming a simple household item into an elegant, eye-catching clutch. Let's get started with the step-by-step instructions below.
Preparation and Safety Guidelines
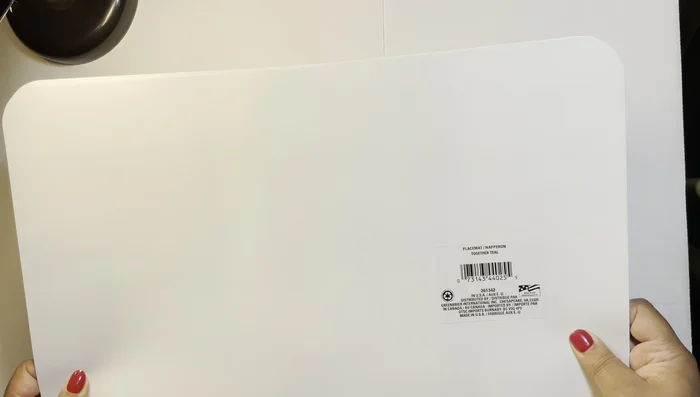
- Placemats
- Fabric
- Mod Podge
- Super Glue
- Tape
- Binder Clips
- Felt Paper
- Velcro
- Always use sharp scissors or a rotary cutter when cutting the placemat material to avoid accidents and ensure clean lines.
- If using any adhesive, ensure proper ventilation and follow the manufacturer's instructions carefully to avoid inhalation of fumes or skin irritation.
- Be mindful of the placemat material. Some materials may fray easily; consider pre-treating edges with fabric glue or seam sealant to prevent unraveling.
Step-by-Step Instructions
Prepare Placemats
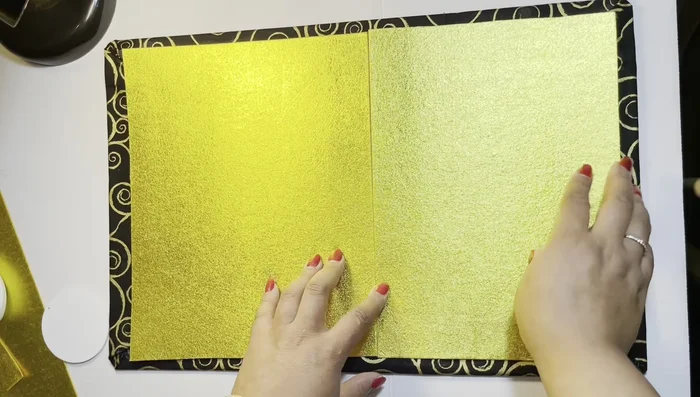
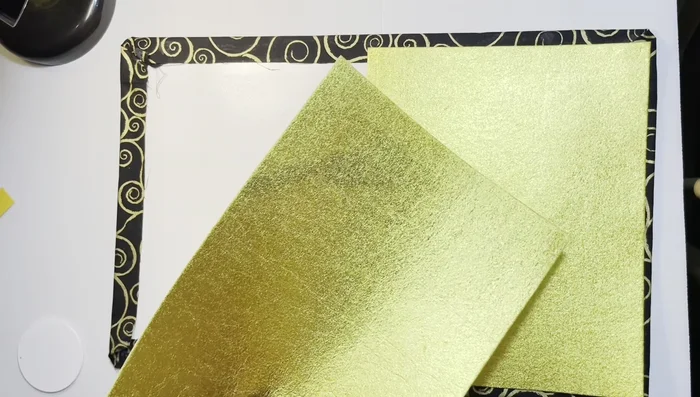
- Lay two placemats together, creating a slight lip for later folding.

Prepare Placemats Apply Initial Adhesive
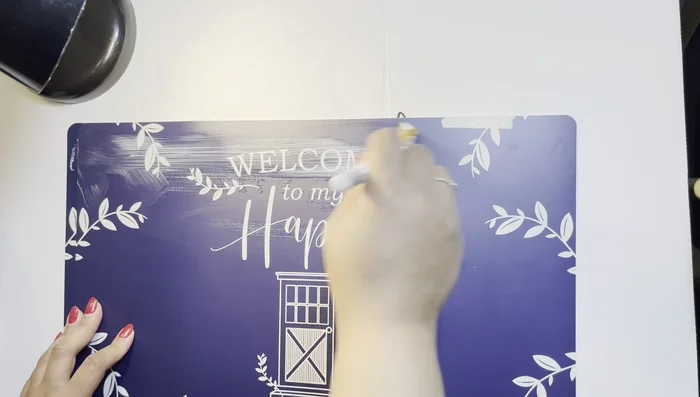
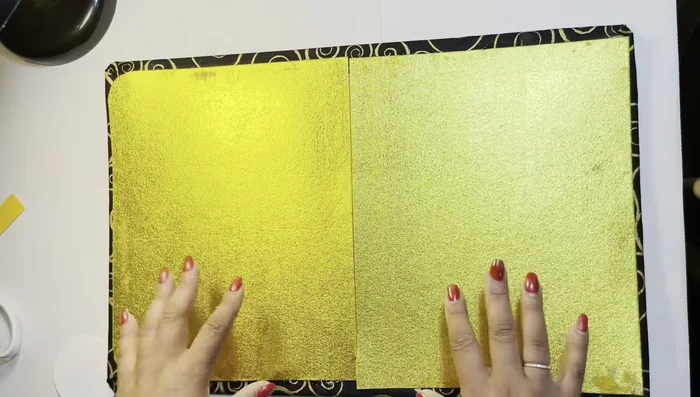
- Apply a layer of Mod Podge to the placemat set, smoothing out any bubbles.
Apply Initial Adhesive Initial Glue and Secure
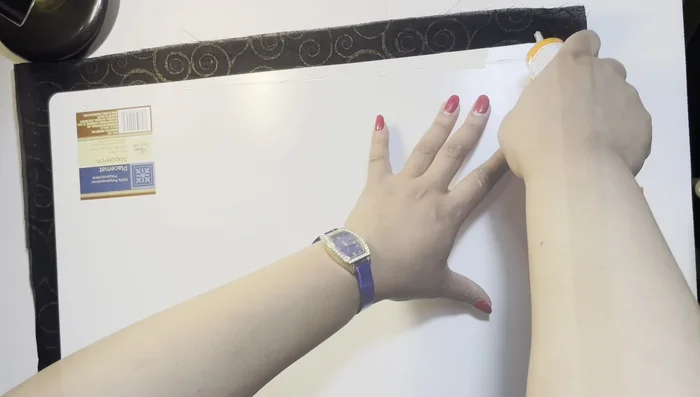
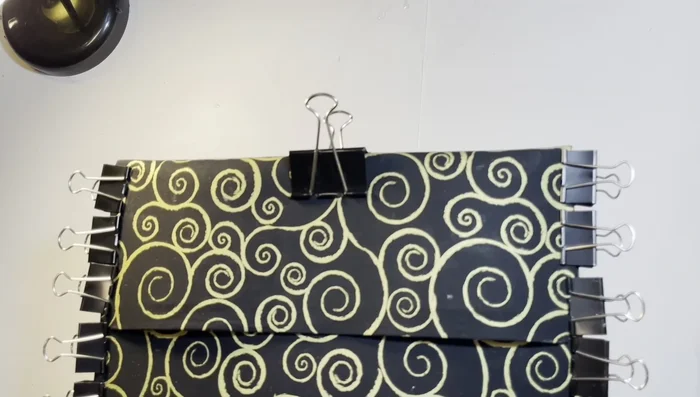
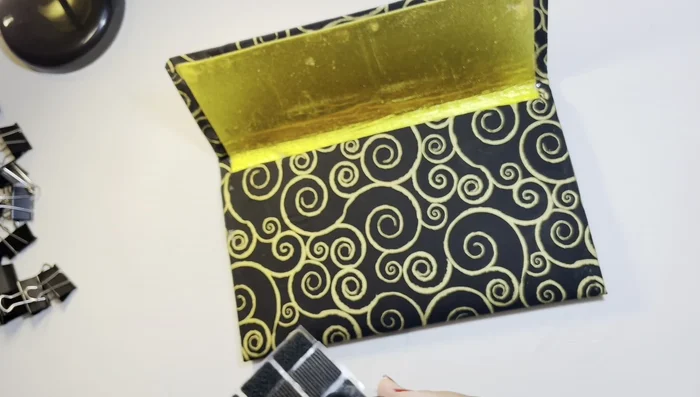
- Fold the sides of the placemats inward and glue them together using super glue. Use tape to temporarily hold the edges in place while the glue dries.
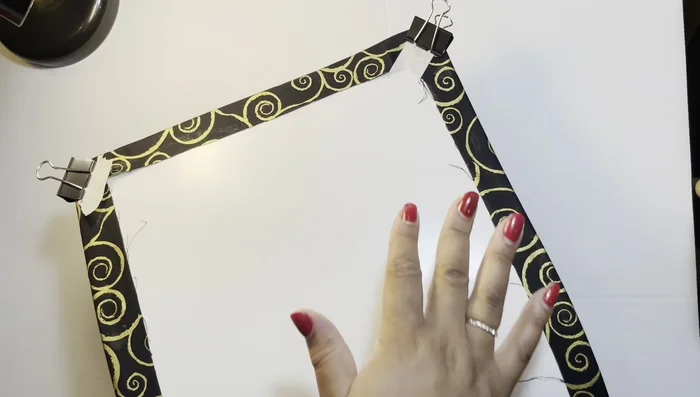
- Secure the glued edges with binder clips to ensure a tight and even bond while drying.
Initial Glue and Secure Prepare and Attach Felt Lining
- Cut a piece of felt to line the inside of the clutch. Apply a layer of Mod Podge to the felt before adhering it to the inside of the clutch.
- Glue the felt lining to the inside of the clutch, ensuring a smooth and even finish. Fold and glue the edges of the felt to secure the lining.
Prepare and Attach Felt Lining Final Fold and Glue
- Fold the clutch into its final shape. Carefully decide where you want the fold to be, ensuring even distribution of fabric. Glue the seam and use binder clips to secure while drying.
Final Fold and Glue Dry and Finish
- Let the clutch dry completely for at least 12 hours. Remove binder clips.
- Attach velcro pieces to the clutch to create a secure closure.
Dry and Finish
Read more: DIY Quilted Makeup Pouch Tutorial: The Easiest and Fastest Method
Tips
- Ironing the placemats after applying Mod Podge ensures a perfectly smooth surface.
- Use clear glue for a less visible seam. White glue was used in the video but clear glue is recommended.
- Don't commit to the final fold too early. Take your time to ensure a neat and even fold before gluing.
- Choose the right placemat: Select a stiffer placemat for best results. Avoid soft, flexible placemats.