Have you got an old chair languishing in the garage, its charm diminished by a worn-out or damaged cushion? Instead of discarding it, consider the possibilities of upcycling! A simple yet effective way to breathe new life into a beloved chair is by crafting a custom cushion cover. This project is perfect for those seeking a rewarding DIY experience, allowing you to personalize your furniture and showcase your creativity while saving money and reducing waste. Giving a second life to an old chair not only adds character to your home but also contributes to a more sustainable lifestyle.
This guide will walk you through the process of creating a bespoke cushion cover, tailored precisely to your chair's dimensions and your personal style. From measuring your cushion to choosing the perfect fabric and mastering the sewing techniques, we'll cover every step. Let's transform that damaged chair into a stylish centerpiece, starting with the detailed step-by-step instructions below.
Preparation and Safety Guidelines
- Damaged chair
- Fabric (old shirt recommended)
- Piping cord
- Scissors
- Pins
- Needle & Thread
- Measuring tape
- Protractor
- Pencil
- Always unplug any power tools before making adjustments or changing attachments.
- Use caution when handling sharp objects like scissors or utility knives. Cut away from yourself and use a cutting mat.
- If using fabric dyes or paints, ensure adequate ventilation and wear appropriate protective gear like gloves and a mask.
Step-by-Step Instructions
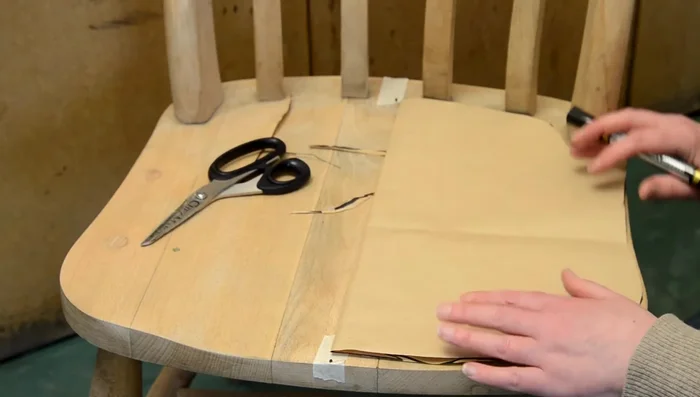
Create the Pattern Template
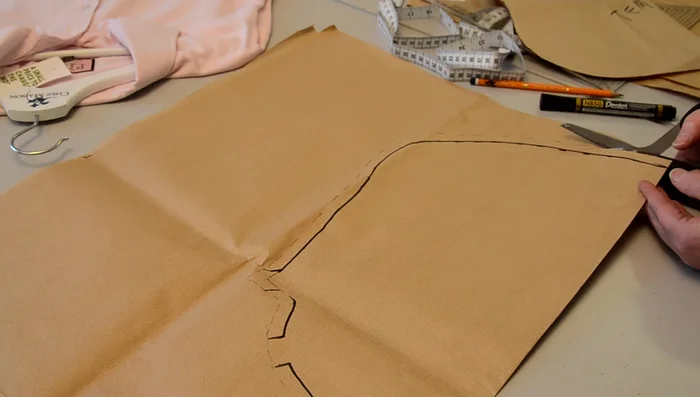
- Create a template by outlining the chair seat on paper. Fold and trim the template to create a symmetrical shape.
- Mark the chair supports on the template. Refine the template until it fits your needs.
- Add seam allowances to your template. Mark where to sew on cushion ties.

Create the Pattern Template Cut Fabric Pieces
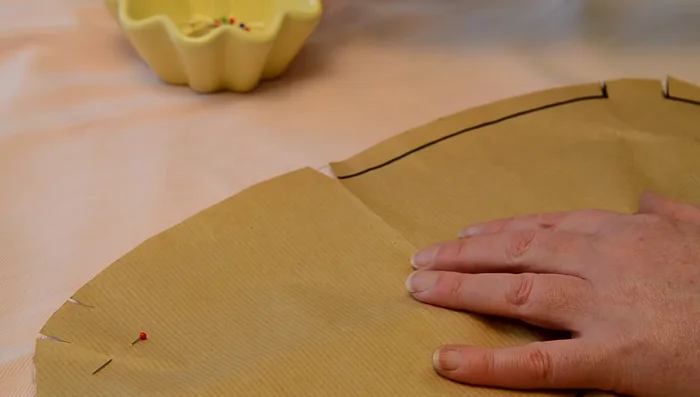
- Cut out your pattern pieces, paying attention to notches for fabric alignment.
- Pin the pattern to your fabric, ensuring pins go through both layers.
- Cut out the fabric pieces using your pattern as a guide, being mindful of the notches.
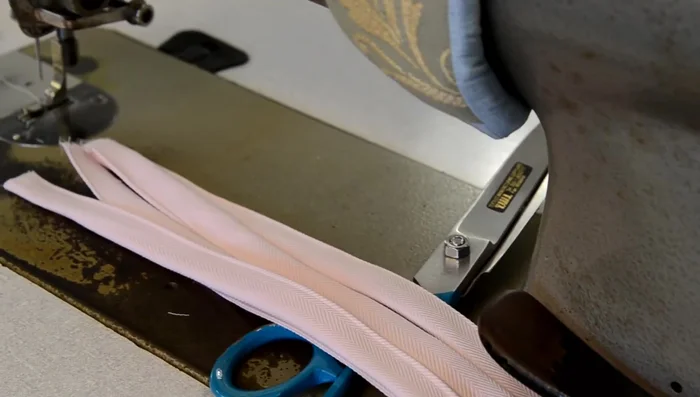
Cut Fabric Pieces Prepare Piping and Ties
- cut strips and overlap to join them. Add extra length for overlaps.
- Prepare the cushion ties from existing fabric (such as sleeves from an old shirt). Mark and cut them out.
- Finish the ties by turning in one end of each. Set them aside.
Prepare Piping and Ties Assemble the Piping
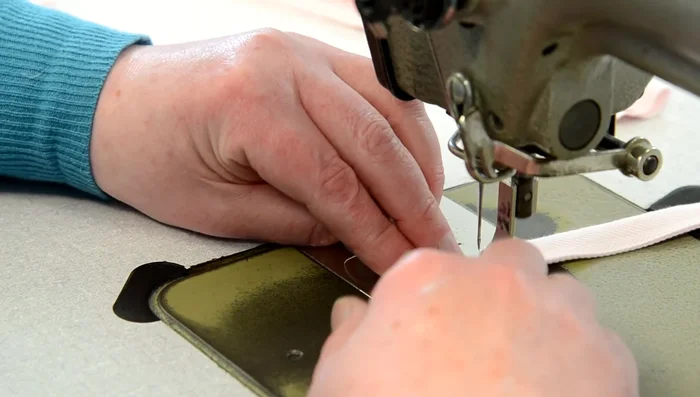
- Sew together the piping cord and fabric strips for piping. Snip the seam allowance for smooth curves.
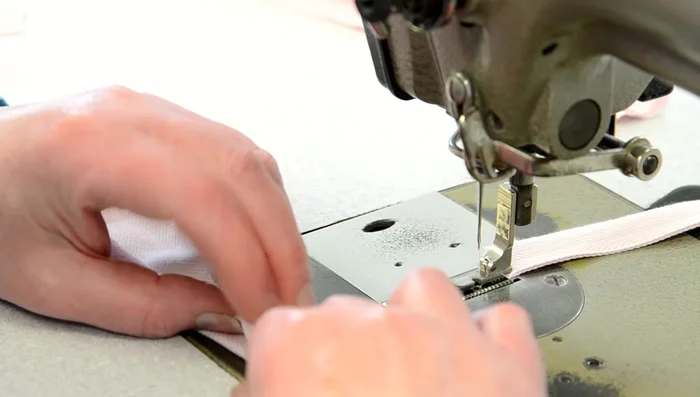
Assemble the Piping Sew and Finish the Cushion Cover
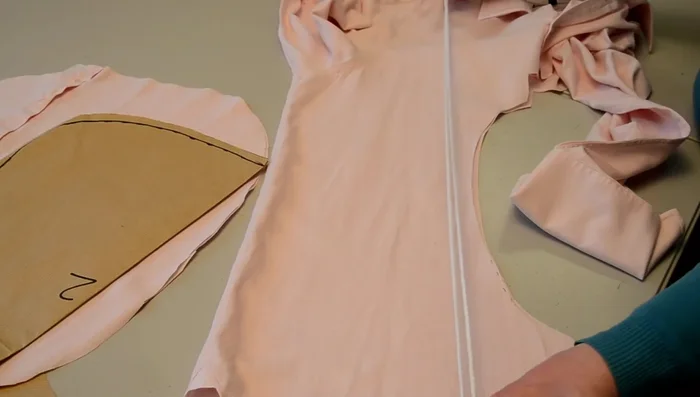
- Sew the cushion cover together, making sure the piping is incorporated. Then sew on the prepared ties.
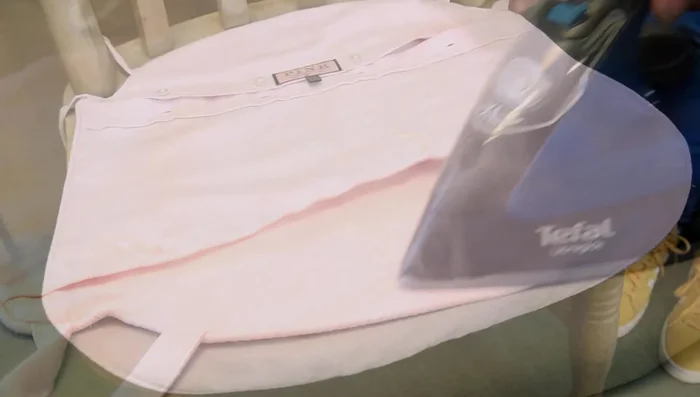
Sew and Finish the Cushion Cover Insert Cushion and Finish
- Turn, press, and fill the cushion.
Insert Cushion and Finish


Read more: DIY Super Cute Whale Shower Curtain: A Step-by-Step Tutorial
Tips
- Using an old shirt provides pre-existing openings which simplifies the process.
- Add extra fabric to the leading edge (2.5cm) to allow for proper stretch and fit.
- Notches on the pattern are crucial for accurate fabric alignment.
- Consider the insertion of the cushion pad when positioning the pattern.
- Ensure that the face fabrics are on the inside during assembly.