Are you drowning in a sea of paperwork? Do loose files and scattered documents have you feeling overwhelmed and unproductive? A disorganized filing system can quickly become a major time-waster, hindering your efficiency and adding unnecessary stress to your day. Fortunately, regaining control of your paperwork doesn't require expensive office supplies or professional organizers. With a little creativity and some readily available materials, you can easily create a customized file folder organizer that perfectly suits your needs and budget. This simple project will not only help you declutter your workspace but also foster a sense of calm and control.
This guide provides a comprehensive, step-by-step approach to building your own DIY file folder organizer. We'll walk you through choosing the right materials, designing your system, and assembling your personalized solution. Get ready to transform your chaotic pile of papers into a beautifully organized and easily accessible filing system – let's get started!
Preparation and Safety Guidelines
- Medium weight fabric
- Quilting print or broadcloth
- Stabilizer (Pelon Ultra firm double-sided fusible stabilizer)
- 10 gauge clear vinyl
- 1in bias tape maker
- Thread
- Ribbon or string
- Clips
- Scissors or rotary cutter and mat
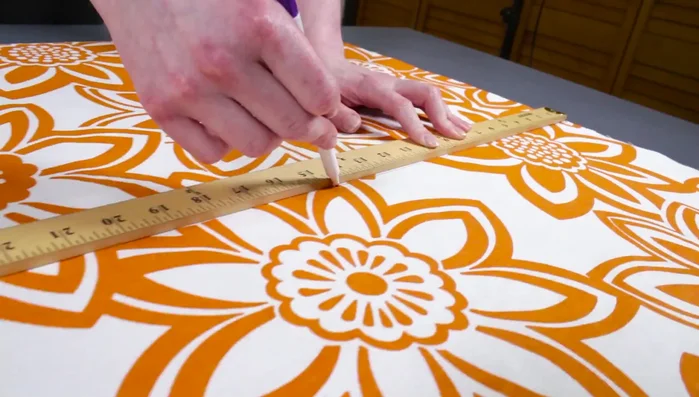
- Fabric marker
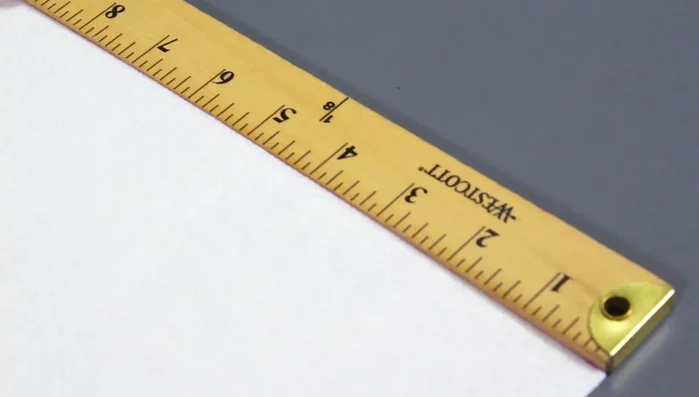
- Ruler
- Iron
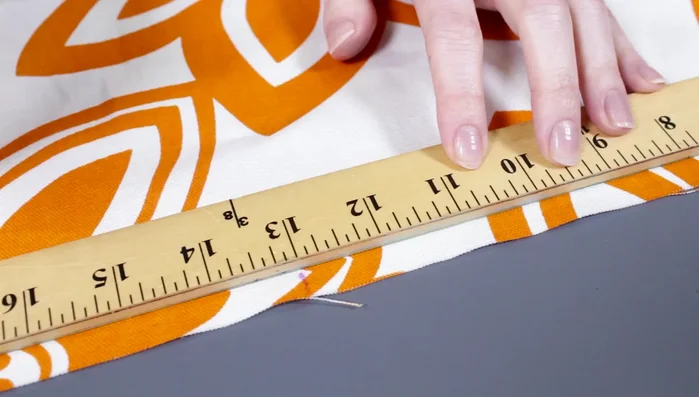
- Always measure twice, cut once. Inaccurate measurements will lead to ill-fitting dividers and a disorganized end product.
- Use heavy-duty adhesive or strong fasteners for the dividers. Loose dividers will fall out and defeat the purpose of organization.
- Consider the size and weight of your files before choosing materials. Lightweight cardstock might work for a few files, but heavier cardstock or even thin plywood is better for larger volumes.
Step-by-Step Instructions
Cut Fabric and Stabilizer
- Two 13x26in pieces from the main fabric, and three 9 1/2 x 15 1/2in pieces for the pocket fronts (ensure directional patterns are aligned correctly).
- Three more 9 1/2 x 15 1/2in pieces from the second fabric, three 2x4in pieces of clear vinyl for label pockets, and 12ft of 2in strips for bias tape.
- One 13x26in piece and three 8 3/4 x 12 1/4in pieces.

Cut Fabric and Stabilizer Prepare Pockets
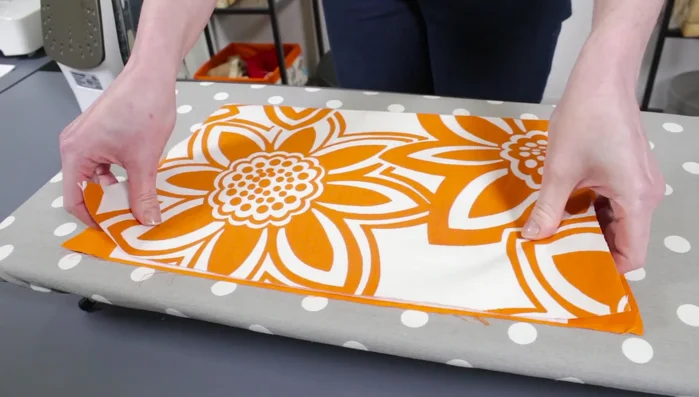
- Sew shorter sides of front and back pocket pieces with 1/2in seam allowance. Press seam open, flip, and iron.
- Place stabilizer between fabric pieces, centering and aligning with top edges. Iron on high heat for 5 seconds per area on both sides to fuse.
Prepare Pockets Prepare Backing
- Place remaining stabilizer piece between large fabric pieces and iron to fuse.
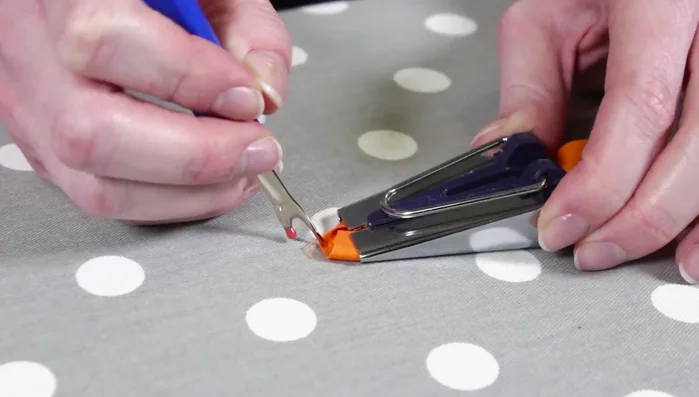
Prepare Backing Make Bias Tape
- Feed 2in strips through bias tape maker and iron.
Make Bias Tape Attach Bias Tape to Pockets
- Fold tape in half, press, and sew to back of pocket pieces along the half-crease.
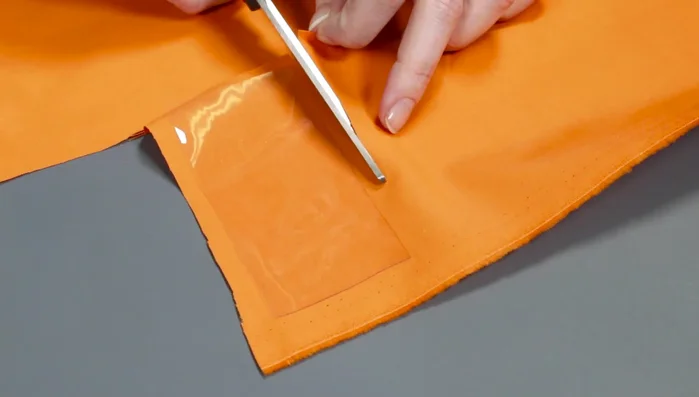
Attach Bias Tape to Pockets Create Label Pockets
- Place vinyl on top of larger accent fabric piece. Use a marker to draw lines around vinyl. Sew around the vinyl with a zigzag stitch (8mm long, 4mm wide). Cut accent fabric close to stitches.
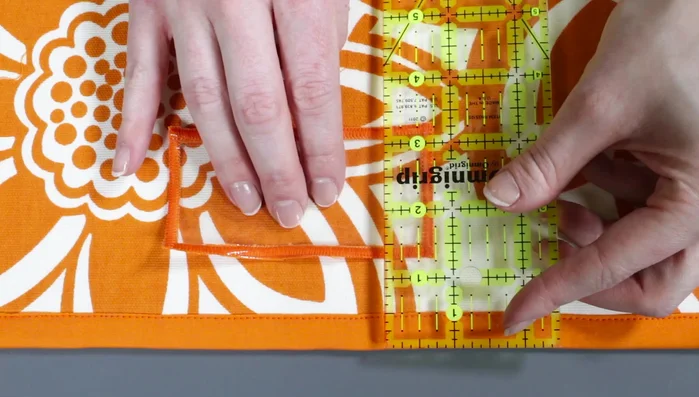
Create Label Pockets Attach Label Pockets
- Position label pocket 1 1/2in from top of a pocket and sew around sides and bottom.
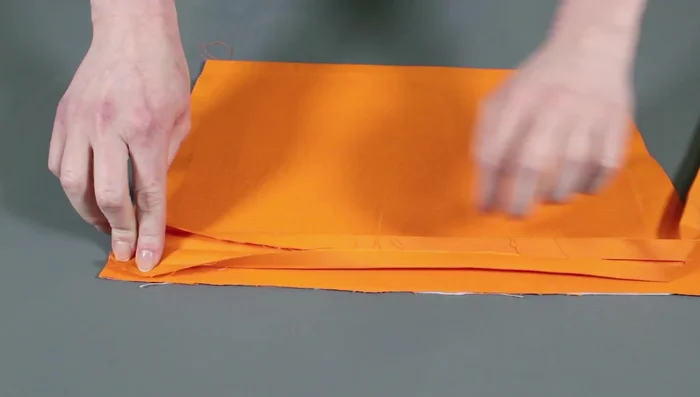
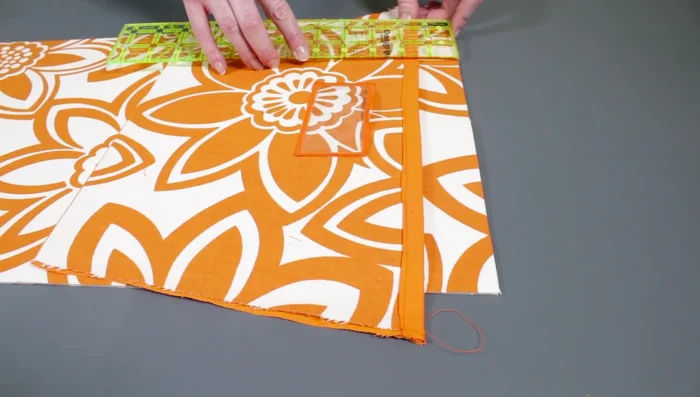
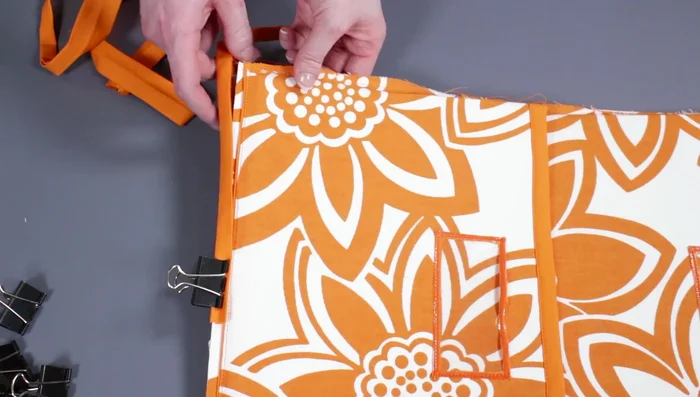
Attach Label Pockets Attach Pockets to Backing
- Place pockets 1 1/2in from the top of the backing, overlapping. Sew along the bottom.
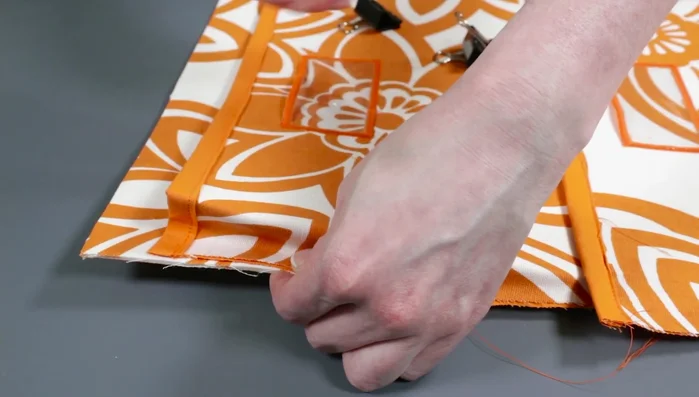
Attach Pockets to Backing Sew Side Seams
- Align diagonal edges and sew down the sides of the pockets, close to the edge.
Sew Side Seams Create and Attach Ribbon Loop
- Cut a 12in piece of bias tape, fold ends, and sew. Fold in half, center on the top back, and sew.
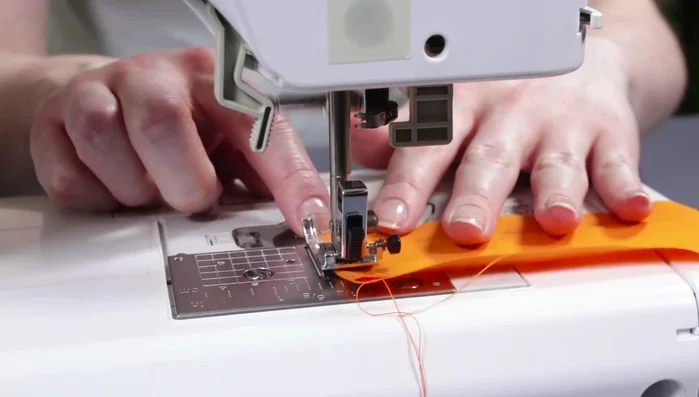
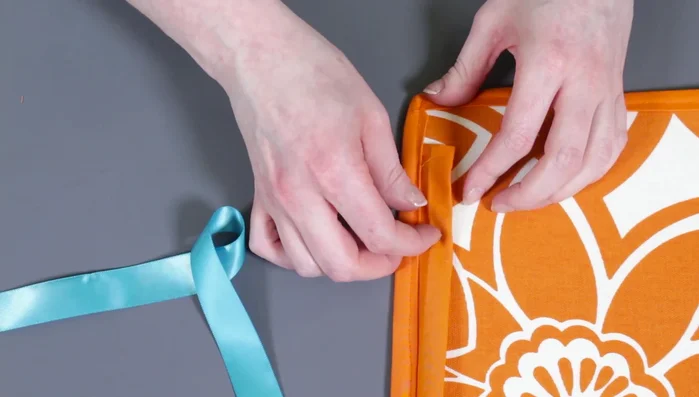
Create and Attach Ribbon Loop Attach Trim
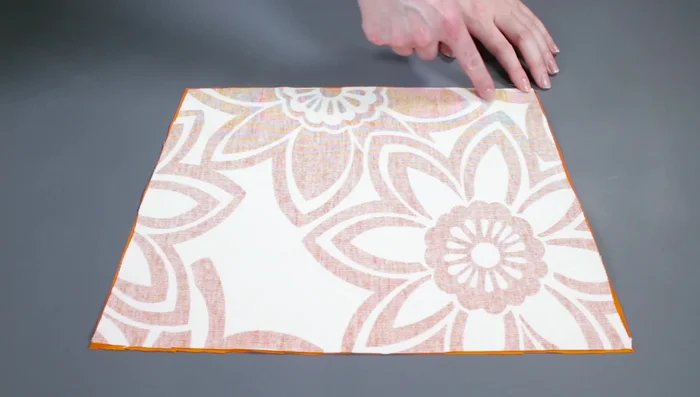
- Clip on bias tape trim, adjusting as needed, and sew along all sides, creating 45° angles at corners.
Attach Trim Insert and Secure Ribbon
- Pull ribbon through the top tube, adjust length, sew ends together, and slide seam into tube.
Insert and Secure Ribbon

Read more: DIY Super Cute Whale Shower Curtain: A Step-by-Step Tutorial
Tips
- Use clips instead of pins with thick stabilizer.
- Don't tape on the vinyl itself to avoid leaving residue.