Cozy up your kitchen with this charming log cabin pot holder, a delightful quilting project perfect for using up those precious fabric scraps! This tutorial guides you through creating a rustic yet refined pot holder, showcasing the beauty of simple patchwork techniques. No need for extensive quilting experience – this project is designed for beginners and seasoned crafters alike, offering a satisfying way to utilize leftover fabrics and add a touch of handmade warmth to your home. The unique log cabin design is surprisingly easy to master, resulting in a piece that’s both functional and visually appealing.
This simple pattern utilizes basic sewing skills and readily available materials, ensuring a quick and enjoyable crafting experience. Ready to transform your fabric scraps into a beautiful and useful kitchen accessory? Let's dive into the step-by-step instructions to create your own adorable log cabin pot holder.
Preparation and Safety Guidelines
- Insulbrite batting
- 820 batting (or similar)
- Backing fabric (8x8 inches)
- Bias binding tape (approximately 1 inch wide)
- Scrap fabric pieces
- Always use oven mitts or pot holders when handling hot cookware. Do not rely solely on a quilted pot holder for extreme heat.
- Avoid using fabrics that are flammable or easily melt near high heat sources. Choose 100% cotton fabrics or other heat-resistant materials.
- Before first use, wash and dry your finished pot holder to pre-shrink the fabric and ensure its durability.
Step-by-Step Instructions
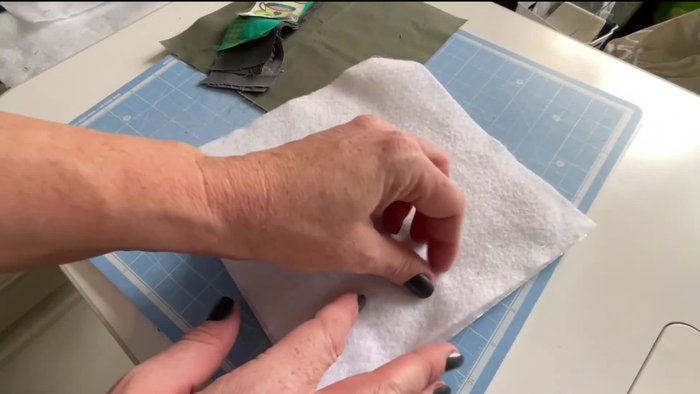
Prepare Materials
- Prepare fabric and batting layers. Cut two 8x8 inch squares of batting (Insulbrite and another type) and one 8x8 inch square of backing fabric.
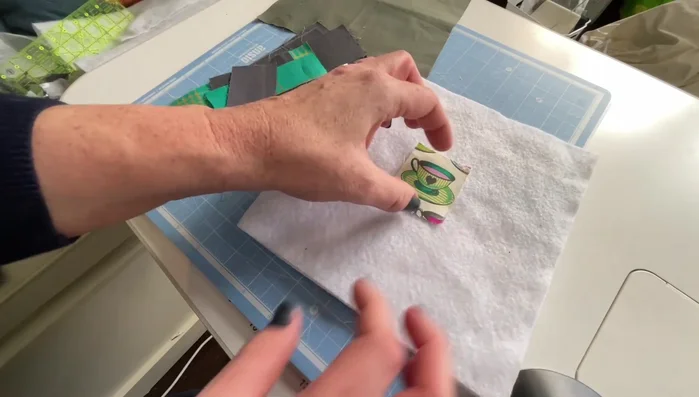
- Prepare the center piece. Choose a small scrap of fabric (approximately 2 inches wide) for the center of your pot holder.

Prepare Materials Log Cabin Construction
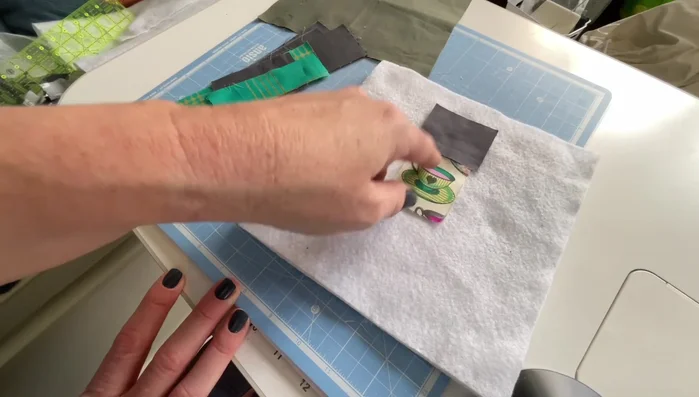
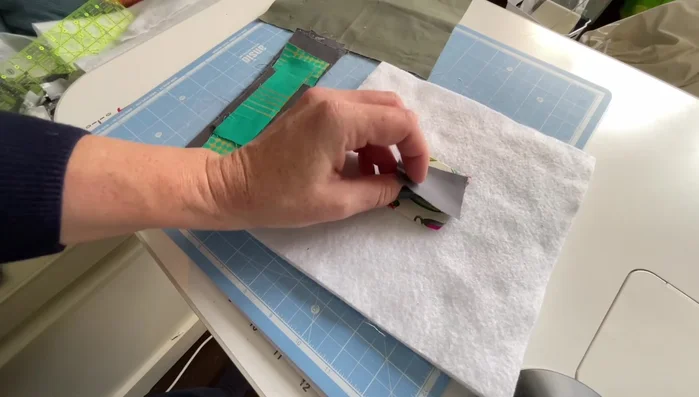
- Begin Log Cabin quilting. Sew fabric strips to the center piece one at a time, right sides together, using a 1/4 inch seam allowance. Vary strip widths for a more interesting design. Alternate between accent and main colors.
- Flip and top stitch. After sewing each strip, flip it open and top stitch along the seam to secure it. Use a consistent stitch length (the tutorial uses 3) to save time.
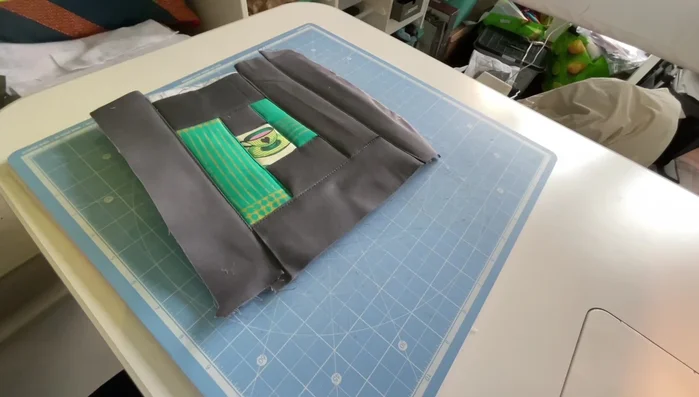
Log Cabin Construction Trim and Square
- Trim the quilted top. Once all strips are sewn, trim the edges of the quilted top to your desired size (approximately 7.5 inches square).
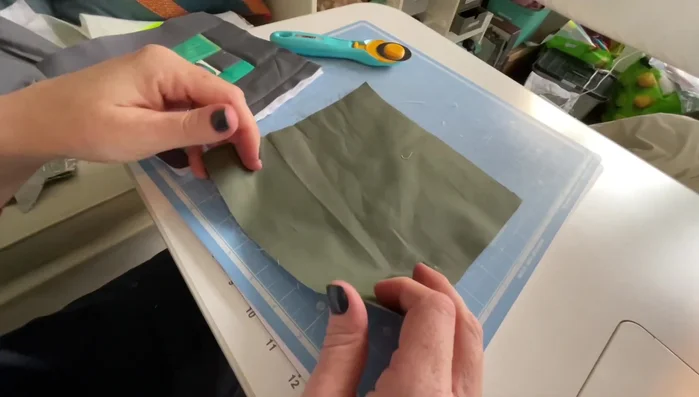
Trim and Square Attach Backing
- Attach the backing. Place the backing fabric right side down onto the quilted top. Sew around the edges with a scant 1/4 inch seam allowance. Trim excess backing.
Attach Backing Make Hanging Loop
- Create hanging loops. Cut a 5-inch length of bias binding. Fold it in half lengthwise and sew along the long edge to create a loop. Set aside.
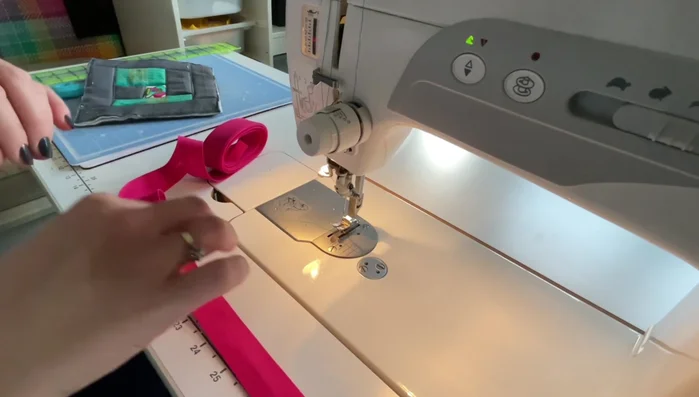
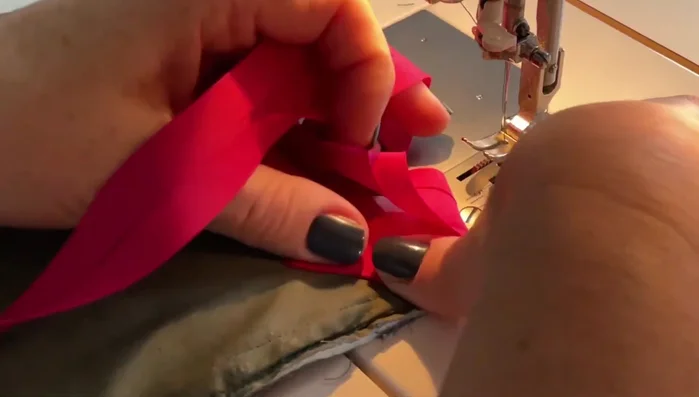
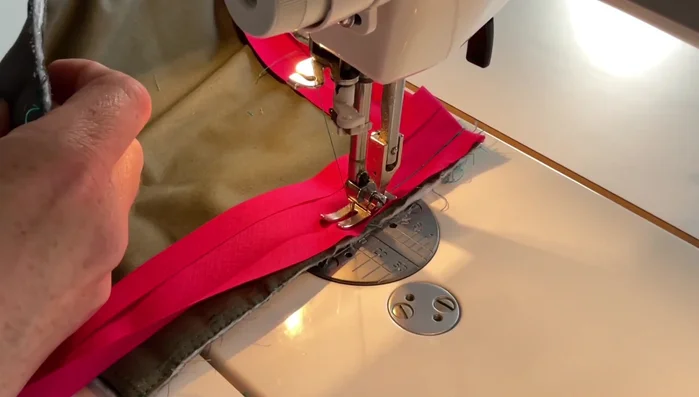
Make Hanging Loop Attach Binding
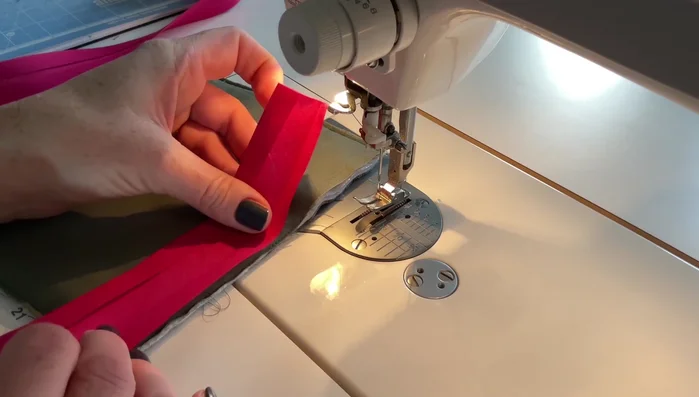
- Attach the bias binding. Start about halfway down one side, leaving a small tail to join later. Sew along the folded edge of the bias tape, creating a clean finish. Use the fold of the bias tape as a guide.
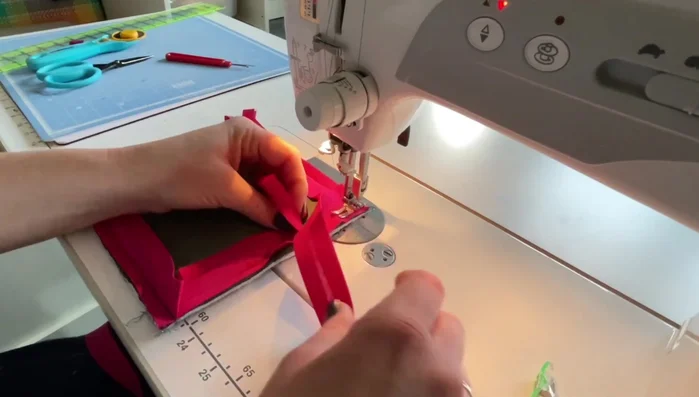
- Miter the corners. To turn the corners neatly, fold the bias tape at a right angle, creating a mitered corner. Sew through the fold to secure.
- Attach hanging loop. Before reaching the final corner, position the hanging loop between the pot holder layers and sew it in place.
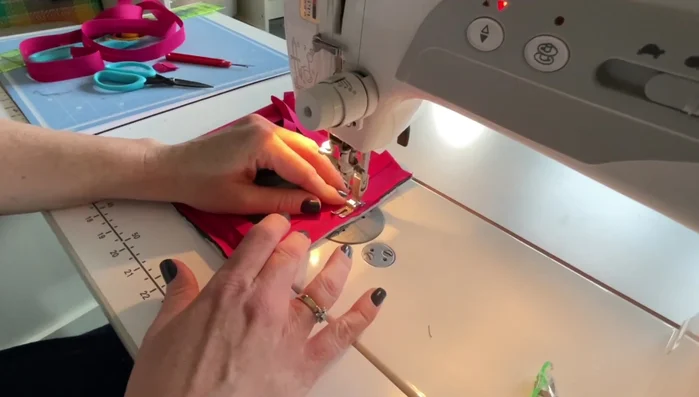
- Finish the binding. Continue sewing the binding around the pot holder. At the final corner, overlap the ends, trim excess, and fold to create a clean finish. Backstitch to secure.
Attach Binding Final Trim and Finishing
- Trim and finish. Trim any excess fabric or batting. Neaten the corners, ensuring all raw edges are concealed.
Final Trim and Finishing
Read more: DIY Super Cute Whale Shower Curtain: A Step-by-Step Tutorial
Tips
- Don't worry about precise measurements when piecing; trim to the final size at the end.
- Use a consistent stitch length to save time.
- If you sew the bias binding at a 1/4 inch seam allowance instead of following the crease, you can double fold the binding to fix this.
- Adjust the video speed using the gear symbol to better follow the steps.