Transform your bathroom into an underwater paradise with this adorable DIY whale shower curtain! Forget boring, plain shower curtains – we're diving headfirst into a creative project that's both fun and surprisingly easy. Imagine a cheerful, playful whale design greeting you each morning, adding a touch of whimsical charm to your daily routine. This project is perfect for beginner crafters and requires minimal supplies, making it an accessible and rewarding DIY experience. You'll be amazed at how much personality you can inject into your bathroom with just a little time and effort.
Ready to create your own masterpiece? This step-by-step tutorial will guide you through every stage of the process, from choosing your fabric and supplies to the final hanging of your charming, handmade whale shower curtain. Let's get started and make some waves!
Preparation and Safety Guidelines
- Fabric (5 yards of cotton fabric recommended)
- Buckram (or heavy interfacing)
- Pom-pom trim
- Sewing machine
- Scissors
- Measuring tape
- Iron
- Pins
- Always supervise children near water and avoid leaving them unattended in the bathroom.
- Ensure the shower curtain liner is completely dry before using the fabric shower curtain to prevent mold and mildew growth.
- Use fabric-safe paints and sealant to ensure longevity and prevent the colors from running or fading in the shower's moisture.
Step-by-Step Instructions
Cut and Prepare Fabric
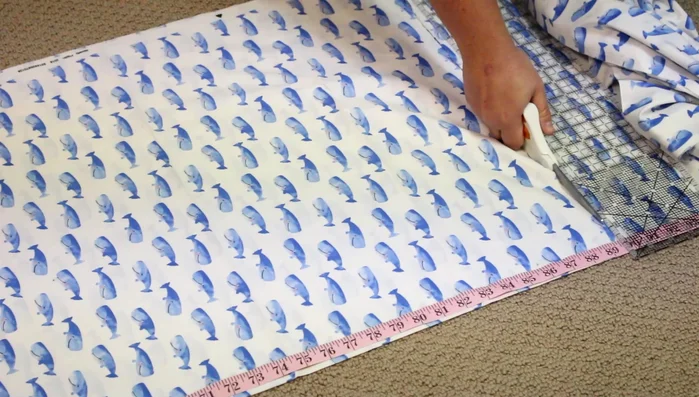
- Measure and cut fabric. Cut two pieces 88 inches long (adjust for standard shower curtain size if needed).
- Place the two fabric pieces right sides together, matching patterns carefully. Sew with a 1-inch seam allowance.
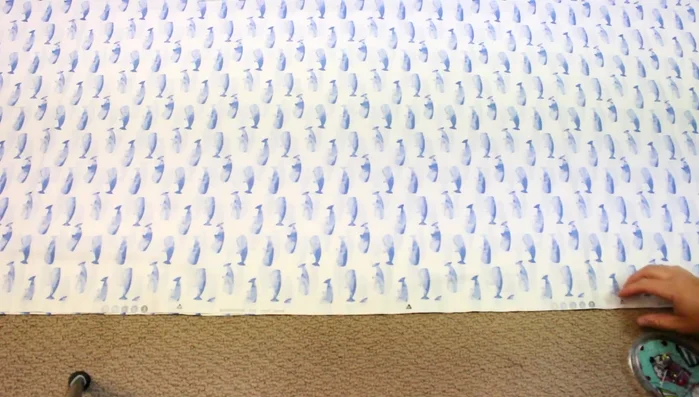
- Cut off the seam allowance, leaving 1/4 inch. Finish the seam with a zig-zag stitch (a French seam is recommended for a neater finish).

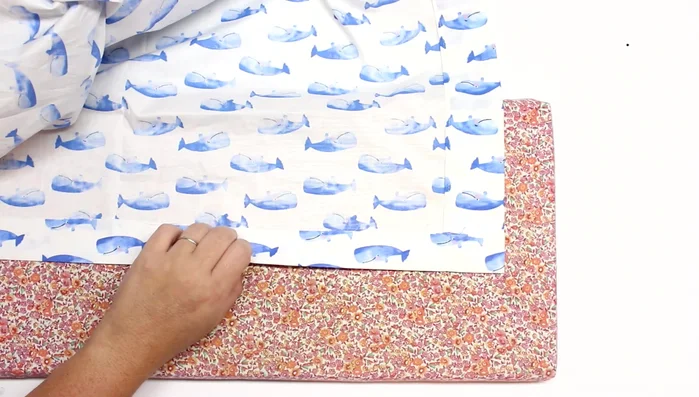
Cut and Prepare Fabric Hem the Sides
- Fold and press a 1/2 inch hem on each side, then fold and press again. Adjust to reach your desired width (typically 72 inches). Sew.
Hem the Sides Hem the Bottom
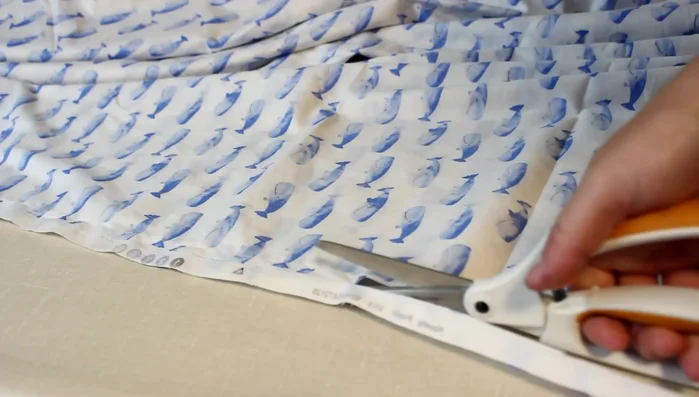
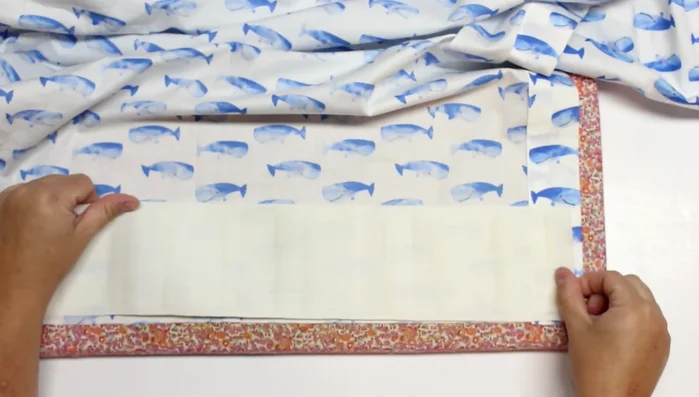
- Fold the fabric 4 inches and insert the buckram (or interfacing). Sew along the edge.
Hem the Bottom Hem the Top
- Sew the top hem (1.5 inches). Measure and adjust to ensure the final length matches your desired measurement.
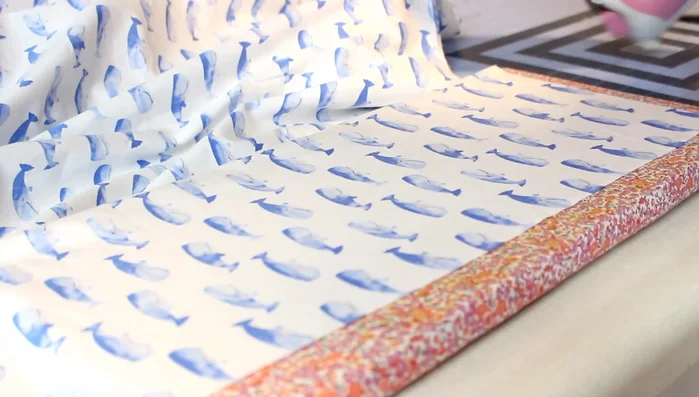
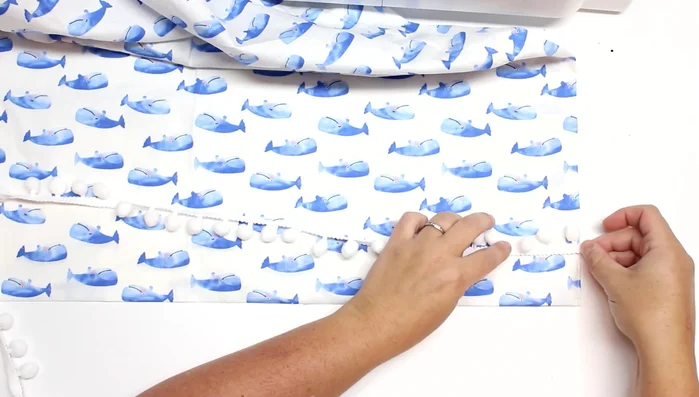
Hem the Top Add Pom-Pom Trim
- Fold the trim over the edge and sew it along the top seam.
Add Pom-Pom Trim Install Hanging Hardware
- Measure and place buttonholes approximately 6 inches apart and 1.5 inches in from the sides. Cut open the buttonholes.
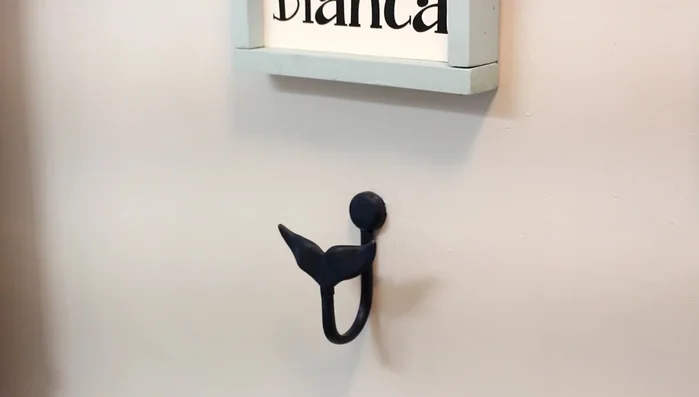
Install Hanging Hardware Hang Shower Curtain
- Hang the shower curtain using hooks.
Hang Shower Curtain

Tips
- Use a French seam for a more professional finish.
- Consider using a heavier fabric like canvas to eliminate the need for buckram.
- If using pom-pom trim, create buttonholes before attaching trim.
- Using a larger stitch length (e.g., 3) can improve the look of top stitching on shower curtains.