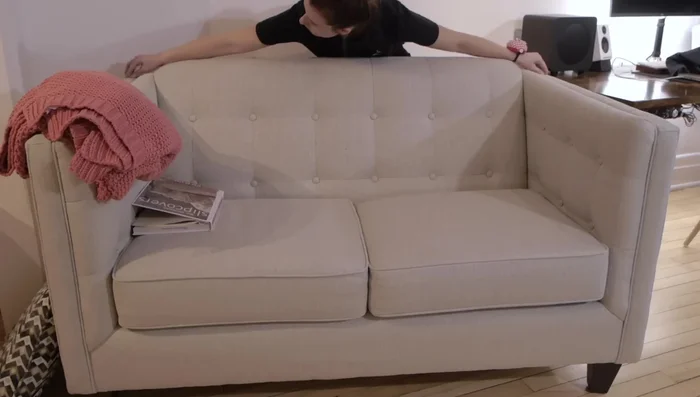
Tired of your old couch? Does it feel dated, stained, or simply not reflecting your current style? Don't rush to replace it! A DIY slipcover can be a cost-effective and surprisingly simple way to rejuvenate your living room's centerpiece. This project offers a unique approach to traditional slipcover creation, utilizing a pattern method that simplifies the process and delivers stunning results, even for beginners. Forget complicated measurements and frustrating fitting – we're going to unlock the secret to a perfectly tailored, custom-fit slipcover that will transform your furniture.
This article will guide you through every step, from initial measurements and fabric selection to the final fitting and finishing touches. We’ll leverage a unique pattern technique that minimizes guesswork and maximizes precision, ensuring a professional-looking outcome. Ready to breathe new life into your beloved couch? Let's dive into the detailed step-by-step instructions and discover how to craft a stylish, custom slipcover that perfectly matches your unique aesthetic.
Preparation and Safety Guidelines
- Measuring tape
- Fabric (muslin or cotton)
- Scissors
- Pins
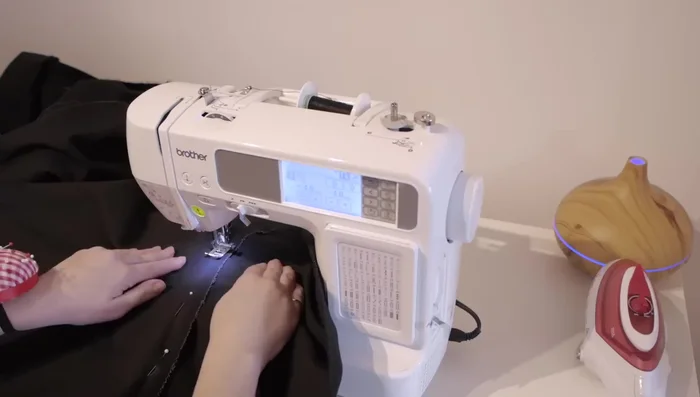
- Sewing machine
- Zipper (for cushions)
- Iron and ironing board
- Always measure your couch accurately before purchasing fabric. Incorrect measurements will result in a poorly fitting slipcover.
- Use sharp fabric scissors and pins to avoid accidental cuts or injuries. Handle your sewing machine with care and follow its safety instructions.
- Pre-wash and iron your fabric before cutting and sewing to prevent shrinkage and ensure a smooth, professional finish.
Step-by-Step Instructions
Pattern Creation
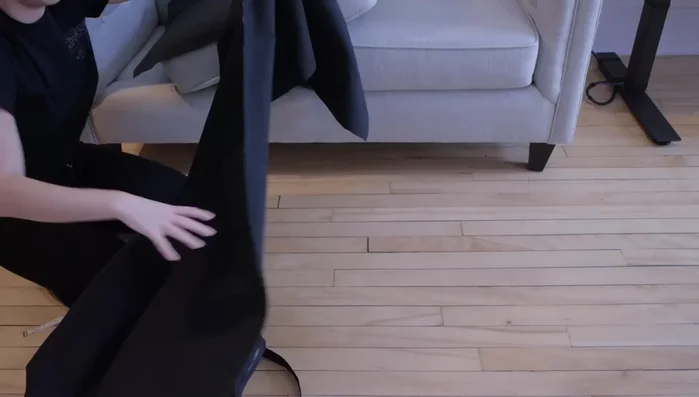
- Measure your sofa and mark the center. Create half a pattern (since the sofa is symmetrical) using a book for guidance.

Pattern Creation Fabric Preparation
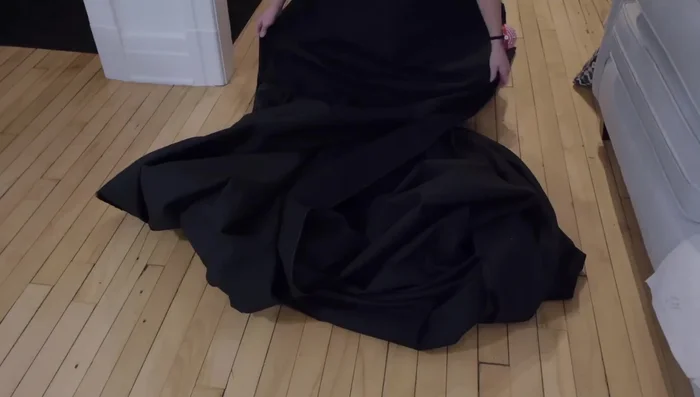
- Prepare your fabric (wash and iron it).
Fabric Preparation Fabric Cutting
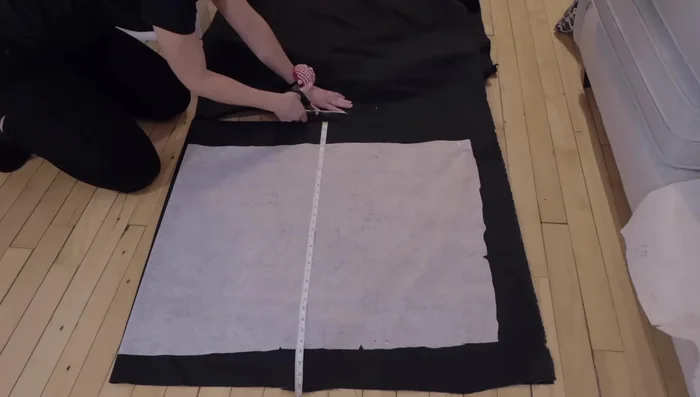
- Layout your pattern on the fabric, making sure you maximize the fabric width.
- Cut out the fabric pieces according to your pattern.
Fabric Cutting Main Body Assembly
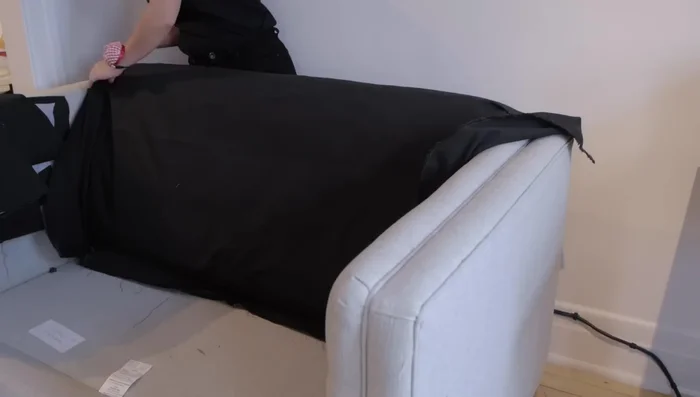
- Assemble the back, arms, and seat pieces. Pay attention to fabric grain direction while placing the patterns.
- Sew the pieces together. Remember to use perpendicular pins to prevent needle breakage and back stitch for durability.
- Finish the seams and add the finishing touches. Mark seam placement to guide your sewing.
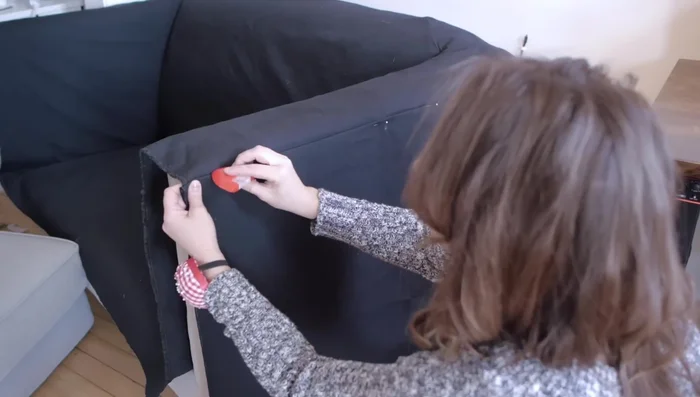
- Assemble the front arm pieces (this is often the most challenging part).
Main Body Assembly - Create the front skirt of the slipcover.
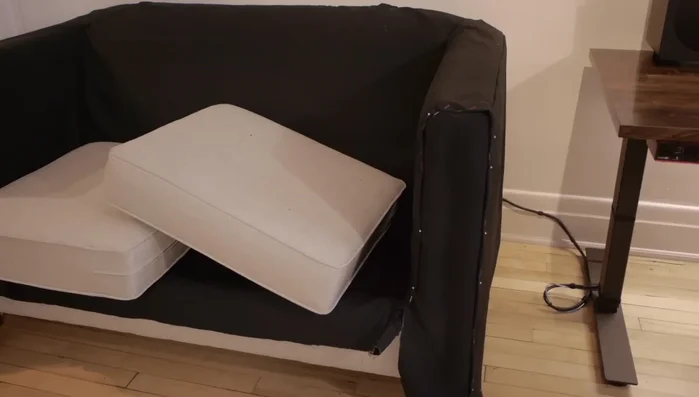
Main Body Assembly Cushion Construction
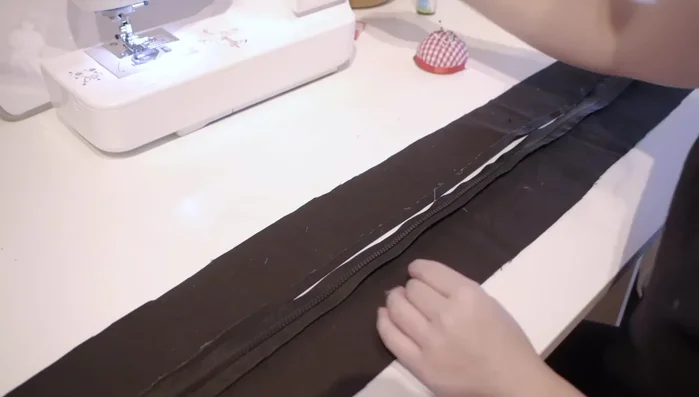
- Cut tube top panels (add 1 inch seam allowance), cut two strips (¾ the length of the cushion side), and cut the remaining length of the cushion side full width.
- Attach the zipper to the cushion top panels, ensuring the zipper is centered.
- Assemble the cushion, paying attention to the corners.
Cushion Construction


Read more: DIY Super Cute Whale Shower Curtain: A Step-by-Step Tutorial
Tips
- Use perpendicular pins to avoid breaking your needle.
- Always back stitch to ensure durability of your seams.
- Mark seam placement on your fabric to make sewing easier.