Fast fashion's environmental impact is undeniable, leaving a trail of textile waste in its wake. But what if we could transform discarded garments into stylish new pieces, reducing our footprint while boosting our creativity? This tutorial shows you exactly how to do just that, breathing new life into an old cami top and showcasing the power of upcycling in sustainable fashion. Forget landfill – let's turn trash into treasure! Upcycling not only saves clothing from ending up in a landfill, but it allows you to express your unique style while championing eco-friendly practices.
This project focuses on transforming a pre-loved cami top into a chic and modern garment, perfect for adding a touch of sustainable style to your wardrobe. You'll be surprised at how easily you can elevate an old piece with a few simple alterations. Ready to get started? Let's dive into the step-by-step instructions to create your own unique upcycled cami top.
Preparation and Safety Guidelines
- Fabric (reclaimed or leftover), Sewing machine, Pins, Scissors, Measuring tape, Iron, Interfacing (optional)
- Always use sharp, clean scissors to prevent fabric snags and injuries. Handle your sewing machine needles with care and unplug it when not in use.
- If using fabric dyes or bleach, work in a well-ventilated area and wear appropriate protective gear like gloves and eye protection. Follow the product instructions carefully.
- Before cutting into your fabric, thoroughly inspect it for any damage or wear that may compromise the final garment's structural integrity.
Step-by-Step Instructions
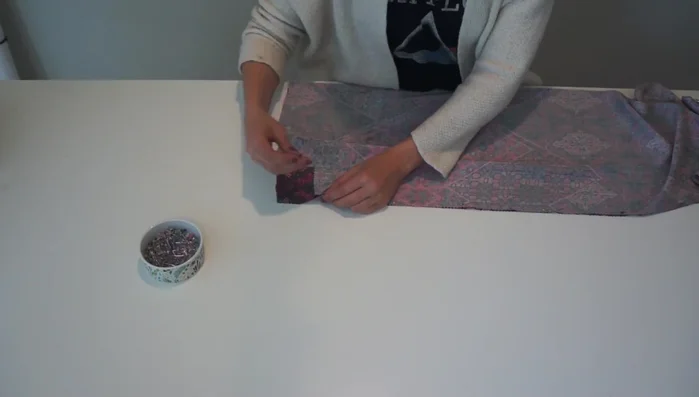
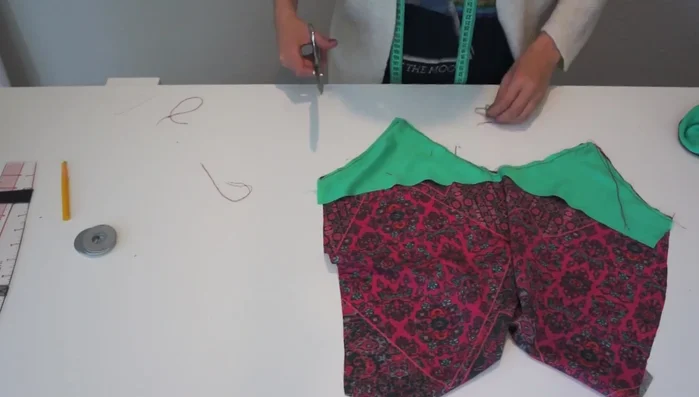
Prepare the Fabric
- Fold the reclaimed fabric in half, then in half again in the opposite direction. Pin and cut the front and back pieces simultaneously using a pre-existing cami top as a pattern.

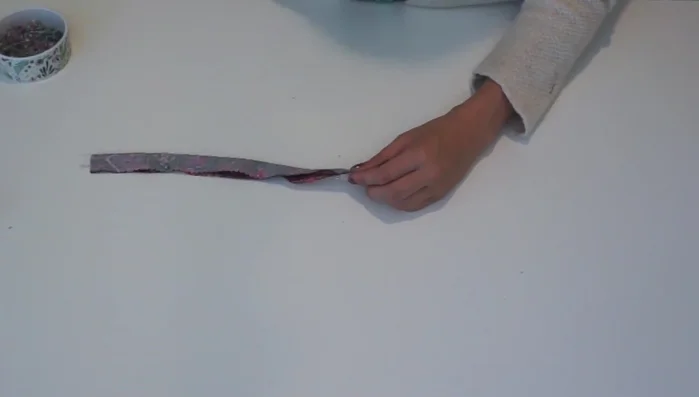
Prepare the Fabric Cut the Straps
- Measure and cut two 24-inch long and 2-inch wide fabric pieces for the straps.
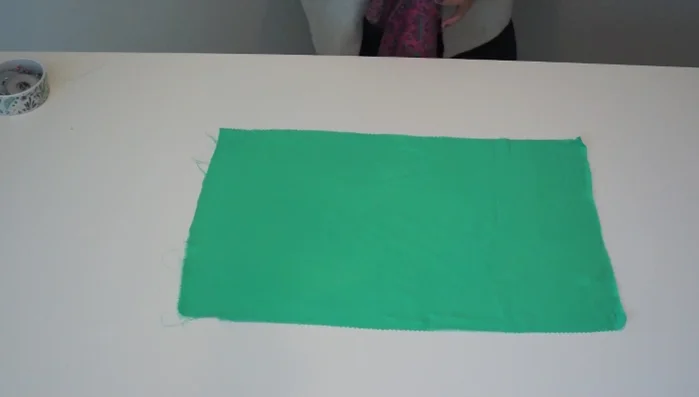
Cut the Straps Create the Facing
- Cut a facing piece using a contrasting fabric or matching fabric (if available). A short facing is recommended to minimize fabric waste. Consider using interfacing for a crisper neckline.
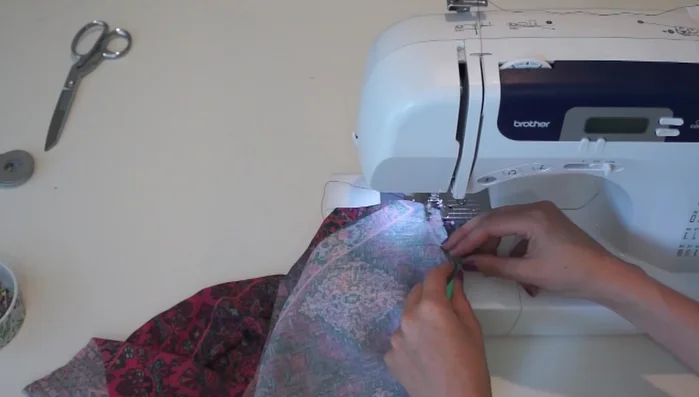
Create the Facing Attach the Facing
- Pin the facing to the top, right sides together, and sew, leaving a few inches open at the shoulder to insert straps.
Attach the Facing Finish the Facing
- Trim threads, press seams, and turn right-side out. Press again for a neat finish.
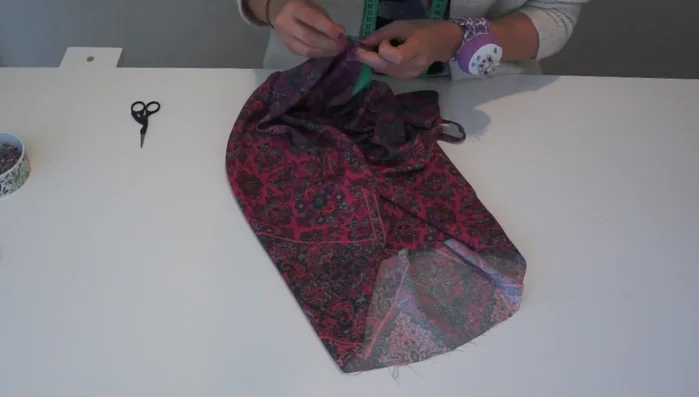
Finish the Facing Sew the Cami Body
- Pin the front and back pieces of the top together, right sides facing. Sew the side seams.
Sew the Cami Body Sew and Finish Straps
- Fold the straps in half lengthwise, pin, and sew using a serger or sewing machine. Turn right side out, press, and set aside.
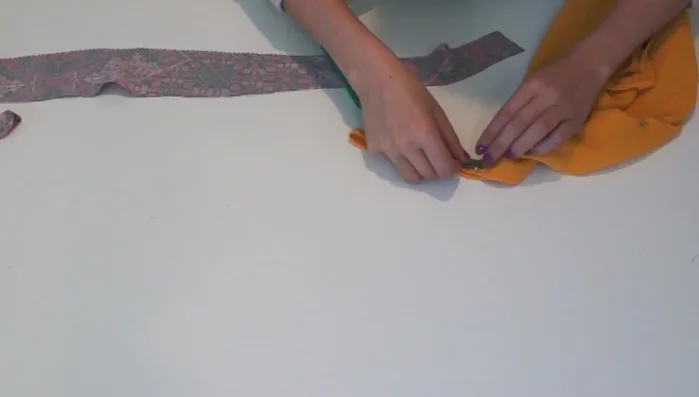
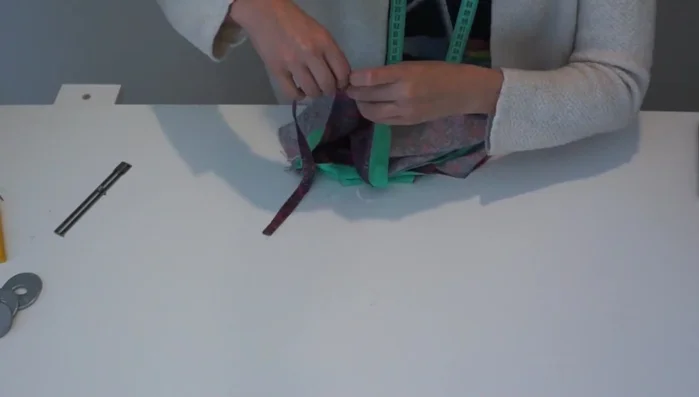
Sew and Finish Straps Attach and Adjust Straps
- Insert straps into the openings left at the shoulders. Secure with pins, then try on the cami to adjust strap length if necessary. Re-pin and adjust as needed.
Attach and Adjust Straps Final Top Stitch
- Top stitch around the entire neckline and shoulder seams to secure straps and provide a polished finish.
Final Top Stitch

Read more: Raglan Sleeve Sewing Tutorial: A Step-by-Step Guide
Tips
- Consider using reclaimed fabrics to reduce textile waste and support sustainable fashion.
- Use a pre-existing cami top as a pattern for easy size adjustment and accurate cutting.
- Use safety pins instead of regular pins to avoid pricking yourself during the fitting process.
- Interfacing is recommended, especially with thinner fabrics, to improve the neckline's structure and appearance.