Tired of expensive, store-bought duvet covers that never quite fit right or match your décor? Ready to unleash your inner crafter and save some serious money? Then you've come to the right place! This tutorial will guide you through a simple, straightforward method for sewing your own twin-size duvet cover. Forget complicated patterns and frustrating instructions; this project is designed for beginners, requiring minimal sewing experience and readily available materials. You’ll be surprised how easy it is to create a beautiful, custom-fit duvet cover that perfectly complements your bedroom style.
This easy DIY project is perfect for sprucing up your bedroom without breaking the bank. We'll walk you through each step, from choosing your fabric to the final stitch, ensuring a flawless finish. Let's dive into the detailed, step-by-step process below and transform your plain duvet into a personalized masterpiece!
Preparation and Safety Guidelines
- Sewing machine
- Fabric (at least 2.5 yards of each for twin size)
- Pins
- Ruler
- Iron
- Buttons
- Measuring tape
- Always use sharp sewing machine needles and pins to prevent fabric damage and ensure clean stitches. Dull needles can cause skipped stitches and fabric tears.
- Before cutting your fabric, pre-wash and dry it to avoid shrinkage after the duvet cover is sewn. This will ensure a proper fit.
- When using your sewing machine, always keep your fingers clear of the needle and presser foot to prevent injury.
Step-by-Step Instructions
Prepare Fabric Pieces
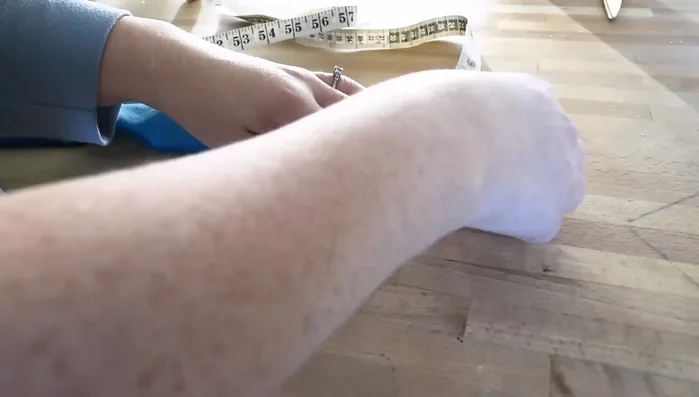
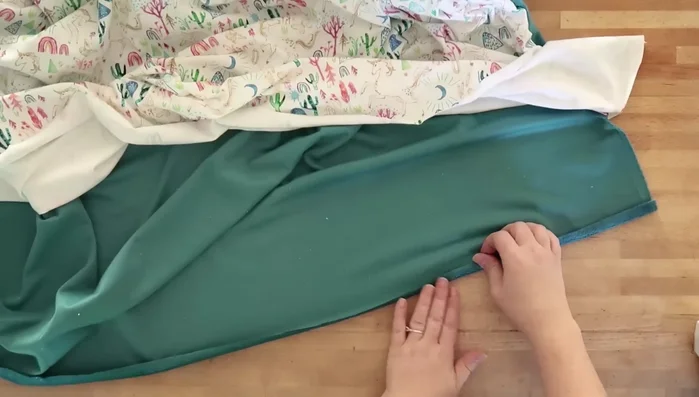
- Cut fabric pieces to the exact size of your duvet. Ensure both fabrics are right sides together.

Prepare Fabric Pieces Sew Main Fabric Pieces
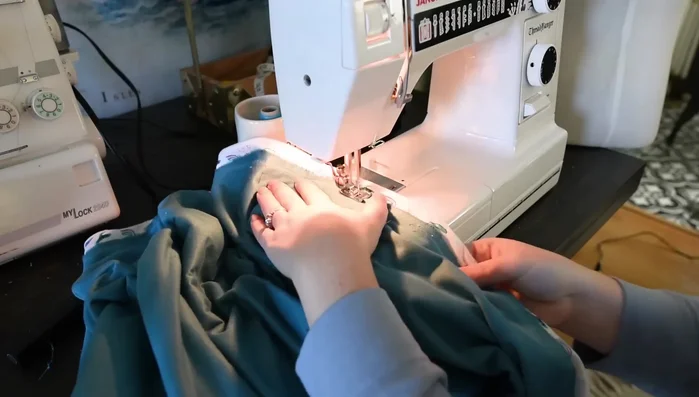
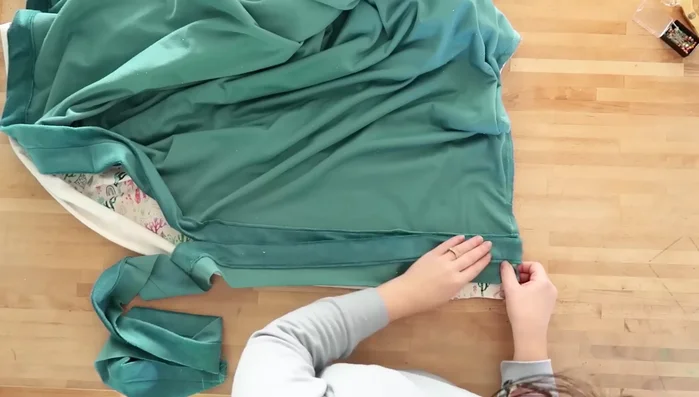
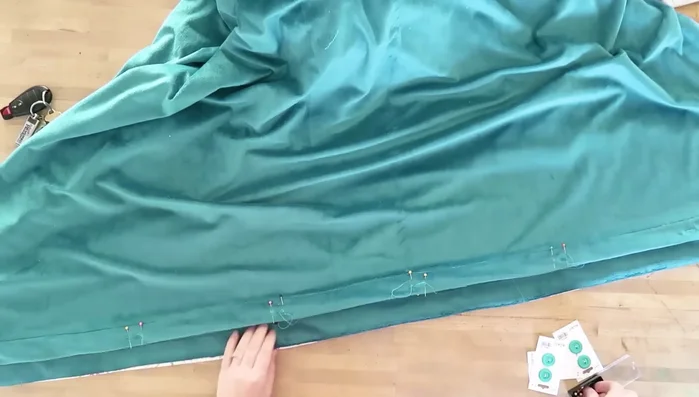
- Pin the two large fabric pieces together all around, every 5 inches or so.
- Sew the two large fabric pieces together using a ½ inch seam allowance and a long stitch length. Leave a 5-inch opening on each side for the button placket.
Sew Main Fabric Pieces Prepare Button Plackets
- Prepare the button placket strip (5 inches long x fabric width). Fold over one side ½ inch, iron, then fold over another 1 ½ inches, iron again and pin.
- Repeat Step 4 for the bottom/minky side of the duvet.
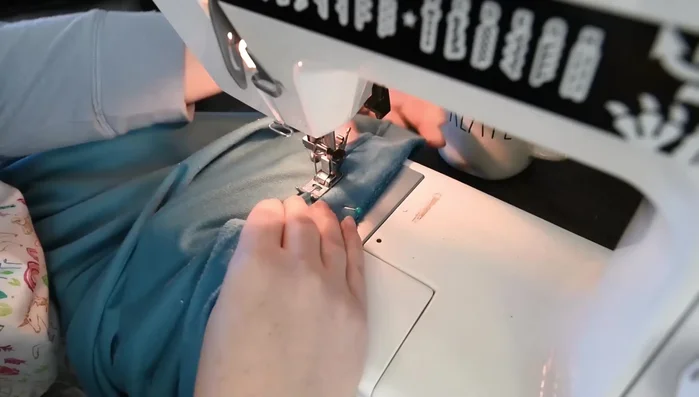
- Sew the prepared hems of the button placket strips down, close to the folded edge (about ¼ inch).
Prepare Button Plackets Attach Button Plackets
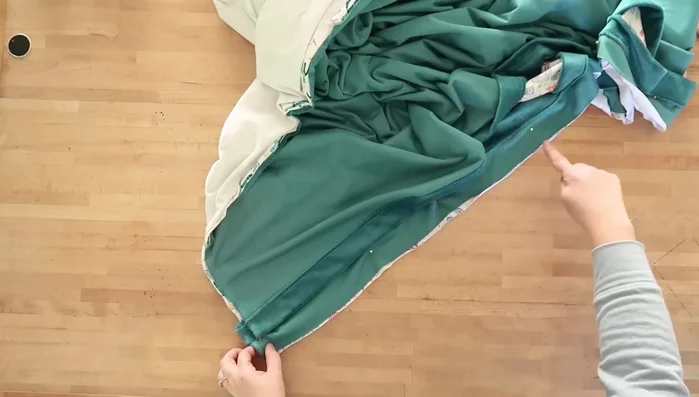
- Pin the button placket piece over the duvet bottom, aligning hems, making sure the fabric amounts are even. Secure with pins.
- Sew along the unstitched side and bottom edge of the button placket, attaching it to the duvet cover with a ½ inch seam allowance.
Attach Button Plackets Finish and Detail
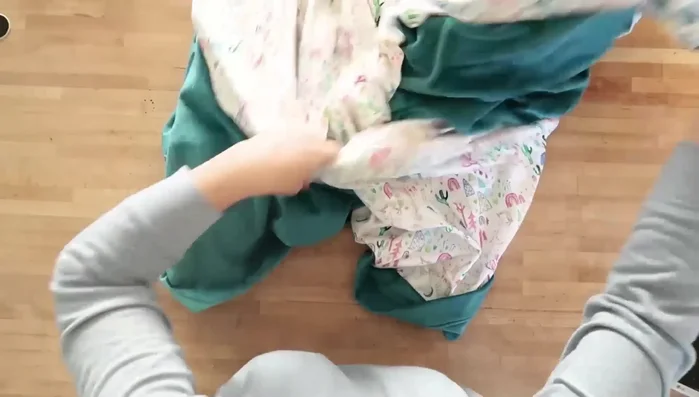
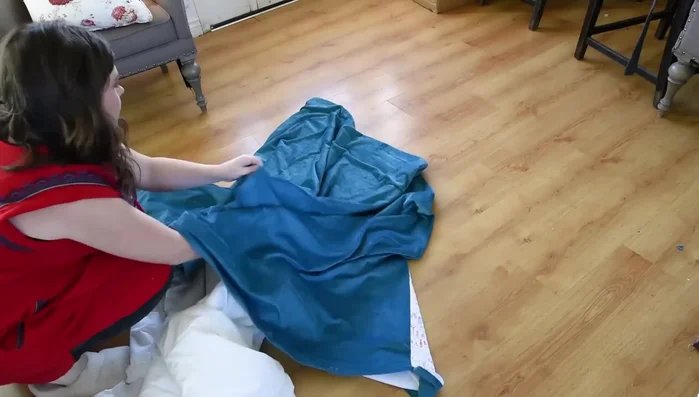
- Turn the duvet cover right-side out. Trim excess thread and clip corners for neat corners.
Finish and Detail Add Buttons and Buttonholes
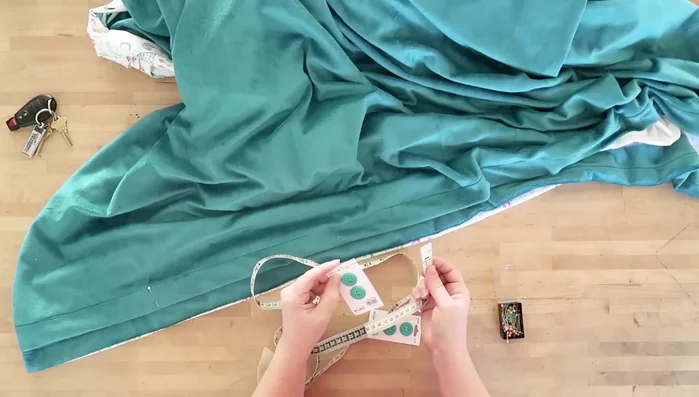
- Measure and mark buttonhole placements. Use the machine's buttonhole function to sew buttonholes.
- Using the buttonholes as guides, mark and sew buttons. Use a wide zigzag stitch on the machine for an easy alternative to hand sewing.
Add Buttons and Buttonholes Final Steps
- Cut open the buttonholes. Insert the duvet into the duvet cover and button it up.
Final Steps


Read more: DIY Super Cute Whale Shower Curtain: A Step-by-Step Tutorial
Tips
- For larger bed sizes, check the description box for adjusted measurements and consider piecing fabric together.
- Seam finish if using fraying fabric (e.g., woven cotton).
- Use a ruler or hard edge to ensure straight hems, especially with slippery fabrics like minky.
- A duvet rolling hack is available in the description box.