The tuxedo shirt, with its crisp lines and elegant fly front, is a cornerstone of formal menswear. Crafting one yourself, however, can seem a daunting task. But with careful planning and attention to detail, the seemingly complex construction of a fly front tuxedo shirt becomes surprisingly manageable. This detailed guide will equip you with the knowledge and techniques needed to successfully sew your own custom-fit shirt, allowing you to achieve a level of refinement and personalization unmatched by off-the-rack options. You'll learn how to select the right fabric, cut precise patterns, and master the intricacies of the fly front closure.
From choosing the perfect high-quality fabric to the final pressing, this comprehensive guide will walk you through each stage of the process. Prepare to be amazed by the satisfaction of creating a garment as sophisticated as a tuxedo shirt, tailored precisely to your measurements and style preferences. Let's begin with the step-by-step instructions below!
Preparation and Safety Guidelines
- Fabric
- Scissors
- Iron
- Sewing machine
- Pins
- Measuring tape
- Always use sharp, well-maintained shears or rotary cutter to prevent fabric from fraying and ensure clean cuts. Dull blades can lead to inaccurate cutting and injuries.
- Handle your sewing machine needles and pins with care to avoid accidental pricks. Keep your work area clean and organized to prevent snags and injuries.
- Before cutting your fabric, pre-wash and iron it to prevent shrinkage and ensure accurate pattern placement. Always double-check your measurements and markings before cutting.
Step-by-Step Instructions
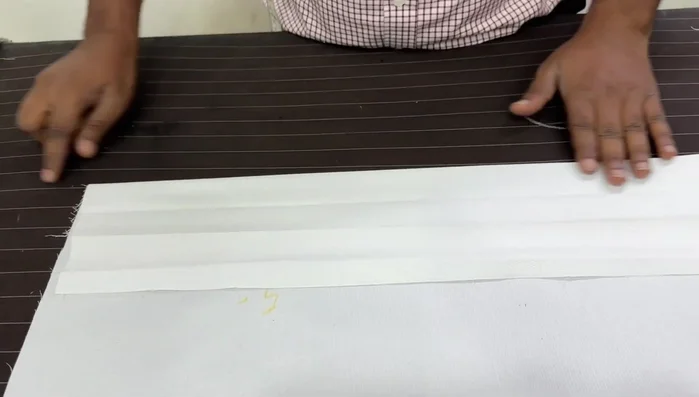
Marking and Folding the Fly Front
- Begin by marking 5 inches above the desired point, then mark 4 inches below for the fly. This 4-inch section will be folded and ironed.
- Iron the 4-inch section to create a crisp fold for the fly.
- Mark 1.5 inches above the top of the fly and 1.5 inches below the bottom of the fly. Fold and iron these sections to create the plate.

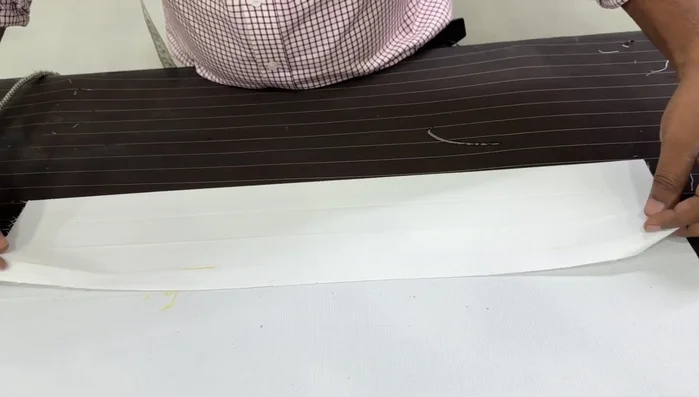
Marking and Folding the Fly Front Preparing the Samna Strip
- The samna strip (a strip of fabric used for the placket) is prepared with folds and pressing to create the desired shape. The folded edges are secured using pins or stitches to prevent unraveling.
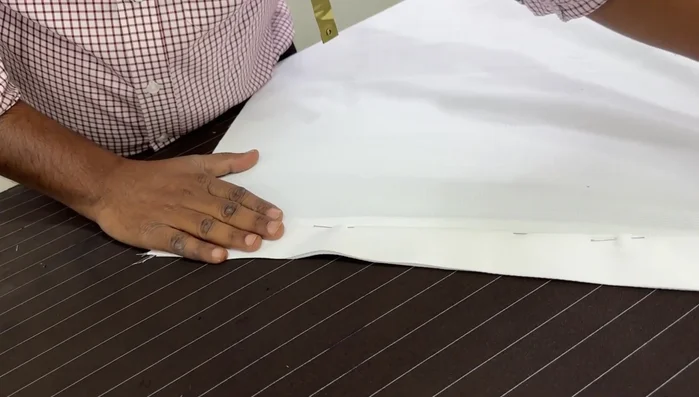
Attaching the Samna Strip
- Insert the samna strip inwards, aligning the middle mark with the top of the plate. Secure it using pins or stitches.
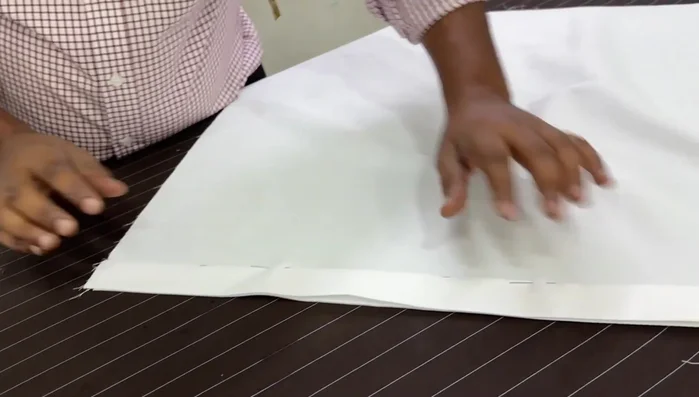
Preparing the Front Plate
- Mark and fold the fabric for the plate, creating a 1/2-inch or quarter-inch fold. This can be done by ironing or stitching.
Preparing the Front Plate Attaching the Front Plate
- Attach the prepared plate to the shirt front, ensuring proper alignment.
Final Stitching and Finishing
- Complete the stitching of the fly and plate, ensuring the stitching is neatly concealed.
Final Stitching and Finishing

Read more: Raglan Sleeve Sewing Tutorial: A Step-by-Step Guide
Tips
- Iron the folds carefully and repeatedly to create sharp, clean lines.
- Use pins to secure the fabric pieces before stitching to ensure accurate placement.
- Choose appropriate seam allowance (1/2 inch or 1/4 inch) according to your preference.
- Precise measurements are crucial for a well-fitting shirt. Take your time and double-check your markings.