Have you ever admired those impeccably pleated pillow corners, a hallmark of luxurious bedding and meticulous housekeeping? Often referred to as the "Turkish corner," this sophisticated detail elevates even the simplest bed linens, transforming a mundane task into a display of elegance. Achieving this sharp, crisp look might seem daunting, a secret known only to hotel maids and seasoned seamstresses, but it's surprisingly achievable with the right technique and a little practice. Forget frustratingly crumpled corners and embrace the satisfying precision of perfectly pleated pillows.
This guide will walk you through a step-by-step process, demystifying the art of the Turkish corner and equipping you with the skills to create flawlessly pleated pillowcases every time. From understanding the foundational folds to mastering the final tuck, we'll cover every detail ensuring you can confidently transform your bedroom with this simple yet elegant touch. Prepare to master the Turkish corner and elevate your bedding game!
Preparation and Safety Guidelines
- Fabric
- Pen
- Scissors
- Sewing Machine (optional)
- Pins
- Welt Cord (optional)
- Always use a sharp, clean pair of scissors to avoid fraying or tearing the fabric. Dull scissors can lead to uneven pleats and damage your pillowcase.
- Take your time and be patient. Perfectly pleated corners require precision. Don't rush the process, as this will affect the final look.
- Practice makes perfect! Don't be discouraged if your first attempt isn't flawless. Keep practicing until you achieve your desired result.
Step-by-Step Instructions
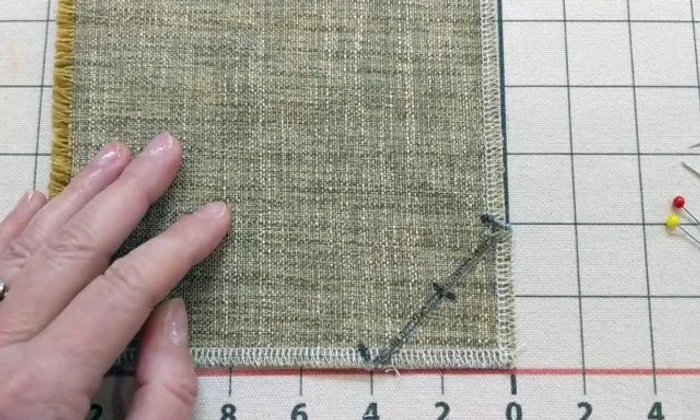
Marking and Cutting
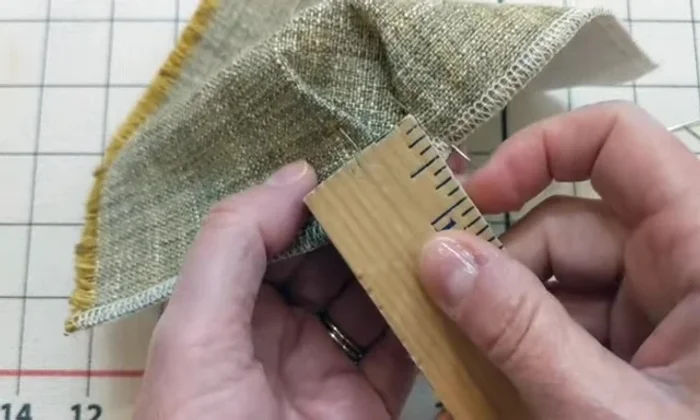
- Mark two inches from each corner of your pillow fabric. Draw a line from the corner to the two-inch mark.
- Mark the center point of the line you just drew. Cut along the drawn line.

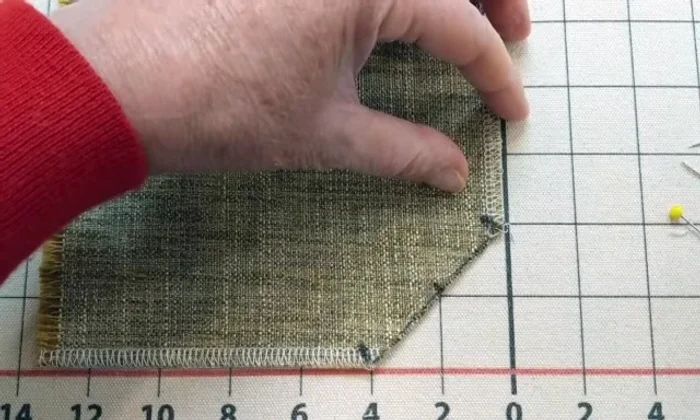
Marking and Cutting Creating the First Pleat
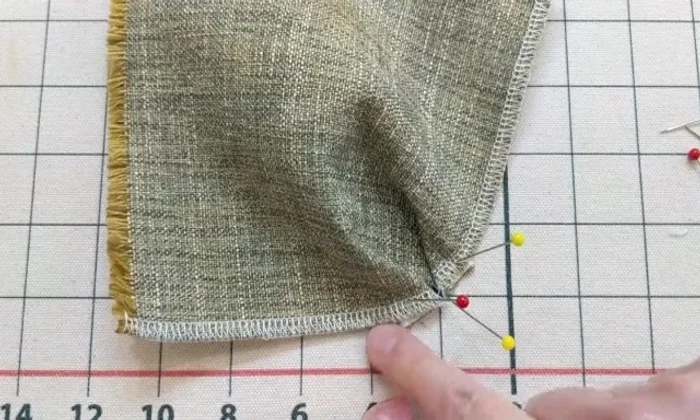
- Bring one corner of the cut to meet the center point. Hold it in place (e.g., with a pen).
- Fold the fabric back to create the pleat.
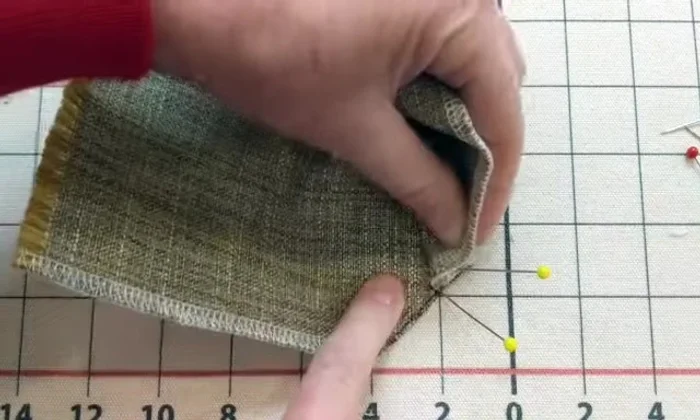
Creating the First Pleat Creating the Second Pleat
- Repeat steps 3 and 4 on the other side of the corner.
Creating the Second Pleat Straightening and Securing
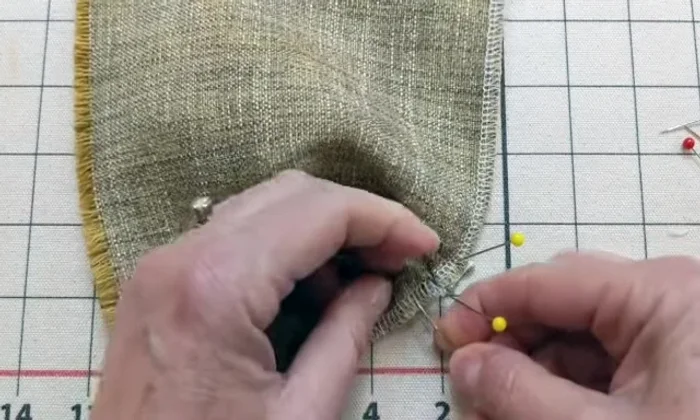
- Ensure that the pleats are straight and not drooping.
- Pin the pleats in place to secure them before sewing (optional, but recommended for beginners).
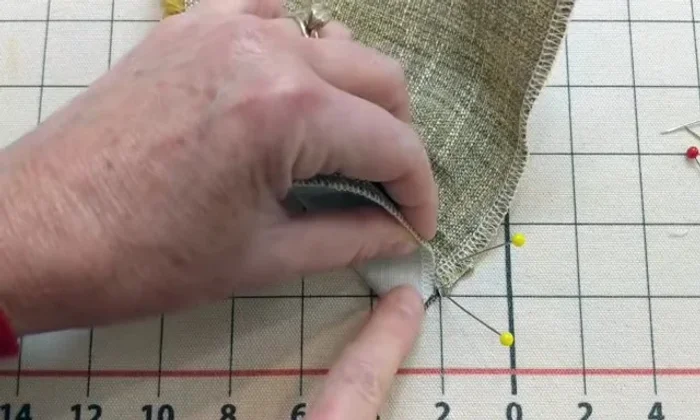
Straightening and Securing Adjusting for Seam Allowance
- Account for seam allowance (1/2 inch recommended) by overlapping the fabric sections in the center if necessary, to create a sharp point rather than a gap, prior to sewing.
Adjusting for Seam Allowance Sewing the Pleats
- Sew the pleats together using a sewing machine or by hand, depending on your preference.
Sewing the Pleats


Read more: King Size Quilt Tutorial: Efficient Chain Piecing Method
Tips
- To achieve a sharper point in the pleated corner, especially when using welt cord, ensure the fabric sections are slightly overlapped before sewing.
- Adjust the size of the initial cut (2 inches in the video, but can be larger or smaller) to achieve different pleat sizes and pillow thicknesses.
- For a cleaner V-shape when adding welt cord, ensure a slight overlap at the center point before sewing.
- Experiment with different cut sizes to achieve the desired pleat size and pillow thickness.