Boppy pillows are lifesavers for new parents, offering crucial support during feeding and playtime. However, their fabric covers can get stained, worn, or simply go out of style. Instead of replacing the entire pillow, why not refresh its look and feel with a custom-made cover? This tutorial will guide you through creating a beautiful, durable Boppy pillow cover using a simple zipper method – perfect for even beginner sewers. You'll learn how to achieve a professional finish without complicated techniques, ensuring a perfectly fitted and functional cover.
This DIY project is surprisingly easy and requires minimal sewing experience. We'll walk you through each step, from measuring your Boppy pillow to installing a reliable zipper closure. Ready to get started on your own personalized Boppy pillow cover? Let's dive into the step-by-step process below!
Preparation and Safety Guidelines
- Fabric (washed and dried)
- Sewing Machine
- Thread
- 24-inch Zipper
- Zipper Foot
- Ruler
- Iron
- Free Boppy Pillow Cover Pattern
- Always supervise young children around Boppy pillows, even with a new cover. The pillow itself presents a suffocation risk.
- Use high-quality zipper and thread appropriate for the fabric you're using to ensure durability and safety. A broken zipper could pose a choking hazard to small children.
- Ensure all seams are securely sewn and finished to prevent fraying, which could create a choking hazard for infants and small children.
Step-by-Step Instructions
Cut Fabric
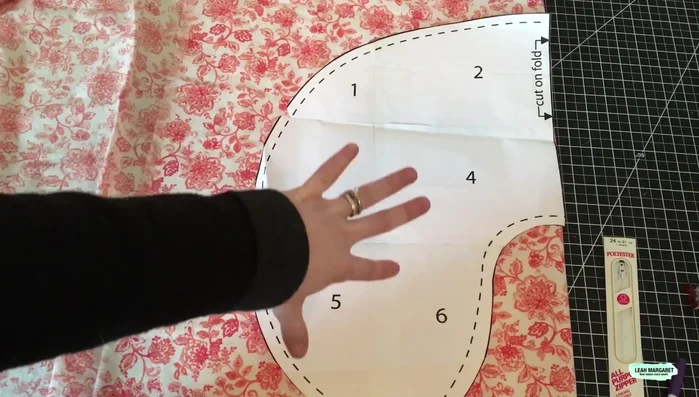
- Cut out pattern pieces. Cut all pattern pieces as directed, cutting both on the fold.

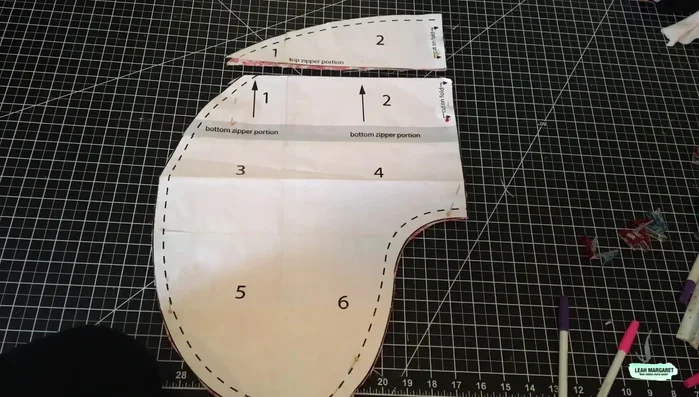
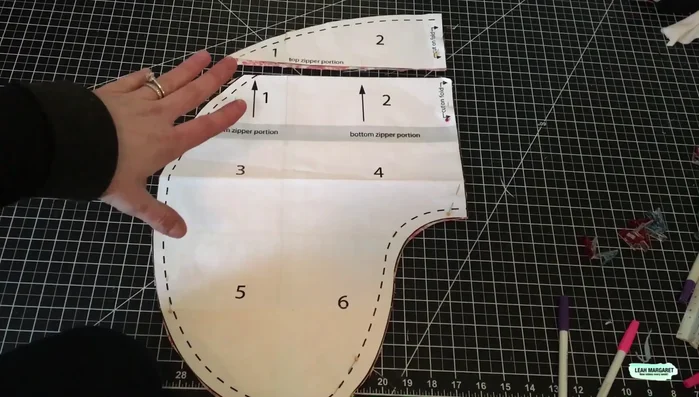
Cut Fabric Prepare for Zipper
- Prepare zipper insertion. Press down the seam allowance (1/2 inch) on both sides of the back pattern pieces.
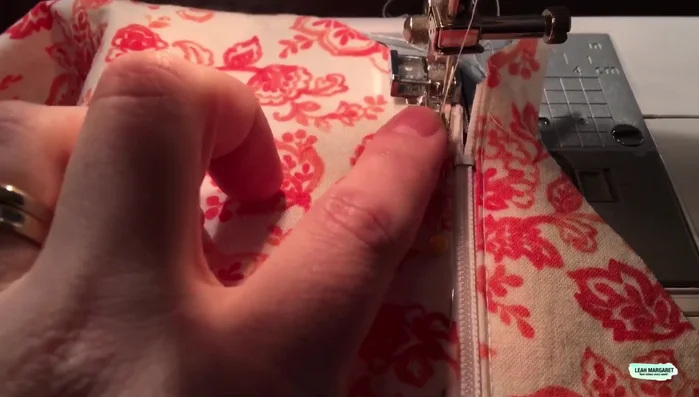
Prepare for Zipper Attach Zipper - Side 1
- Pin the zipper. Pin the 24-inch zipper along the seam allowance, starting with one end to be the closing section.
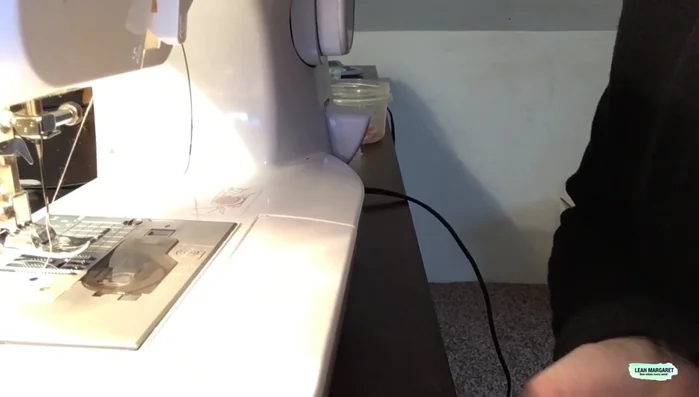
- Sew the zipper. Use the zipper foot, attaching it to the left side of the zipper when sewing the right side of the fabric, to sew the zipper to one side of the fabric. Remember to sew in the same direction on both sides for better alignment.
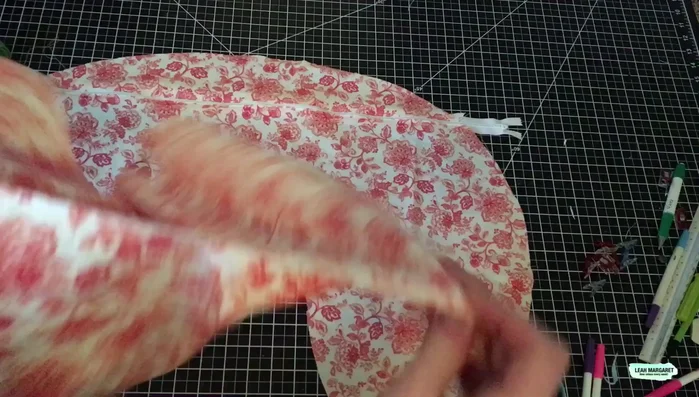
Attach Zipper - Side 1 Attach Zipper - Side 2
- Repeat for the other side. Sew the zipper to the other side of the fabric, ensuring the zipper foot is on the opposite side and sewing in the same direction as the first side.
Attach Zipper - Side 2 Close Cover
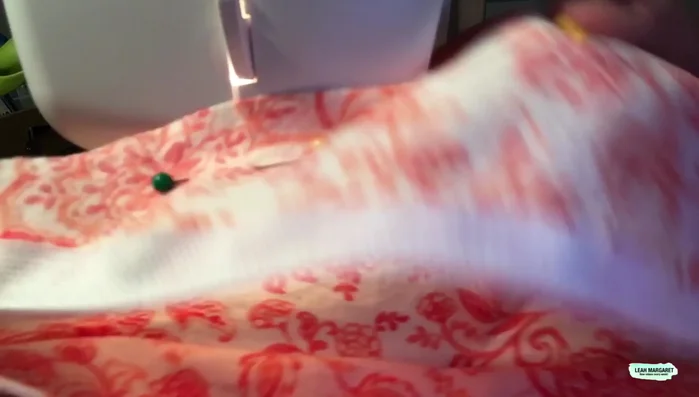
- Attach the front and back pieces. Place the opposite side of your cover and pin it in place.
- Sew the cover. Sew around the boppy cover with a 1/4-inch seam allowance, leaving the zipper open halfway to turn it right-side out.
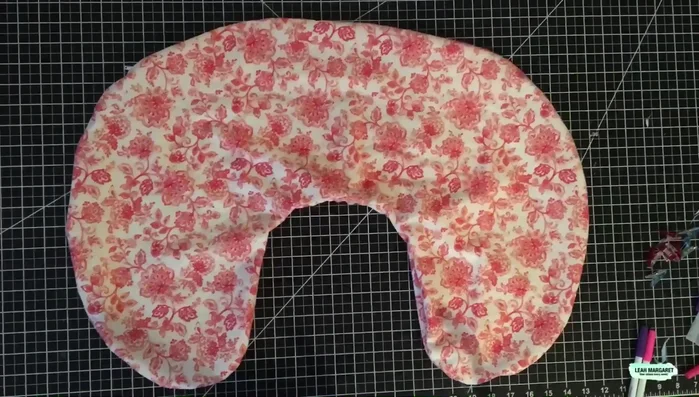
Close Cover Finishing Touches
- Finish. Turn the cover right-side out and place it on your Boppy pillow.
Finishing Touches
Read more: King Size Quilt Tutorial: Efficient Chain Piecing Method
Tips
- Use a zipper foot for neat zipper insertion.
- Sew in the same direction on both sides of the zipper for better alignment.
- Leave the zipper open halfway to easily turn the cover right-side out.