Traveling can be a wonderful experience, but long journeys often lead to uncomfortable neck aches and poor sleep. Expensive travel pillows are readily available, but why spend a fortune when you can craft your own perfectly customized, fillable travel pillow at home? This DIY project allows you to control the firmness, size, and even the fabric, ensuring maximum comfort tailored specifically to your preferences. Imagine sinking into your personalized pillow on your next flight or long car ride, feeling the difference a comfortable neck support makes.
This step-by-step guide will walk you through the simple process of creating your own fillable travel pillow, from selecting the right materials to carefully sewing the final product. We'll cover everything you need to know, ensuring that even beginners can create a comfortable and stylish travel companion. Get ready to embark on this rewarding project and experience the joy of customized comfort on your next adventure!
Preparation and Safety Guidelines
- Paper
- Fabric (main and lining)
- Zipper
- Sewing Machine
- Pins
- Scissors
- Seam Ripper
- Iron
- Always use a hypoallergenic and washable filling material, such as polyester fiberfill or buckwheat hulls, to avoid allergic reactions or skin irritation. Avoid using materials that could clump or shift unevenly.
- Ensure all seams are securely sewn to prevent leakage of filling material, especially during travel. Reinforce stress points like corners and seams with extra stitching.
- Choose a durable, outer fabric that can withstand repeated washing and wear and tear. Avoid delicate fabrics that might rip or tear easily.
Step-by-Step Instructions
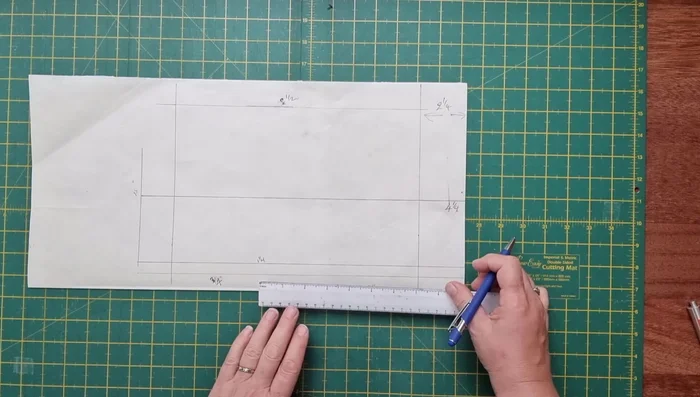
Draft the Pattern
- Draft the pattern on a piece of paper (at least 15 inches wide by 18 inches long). Mark various points according to the measurements provided in the video (detailed measurements are given in the transcript).

Draft the Pattern Create the Pillow Shape
- Create the curves by connecting the marked points freehand. This creates the shape of the travel pillow.
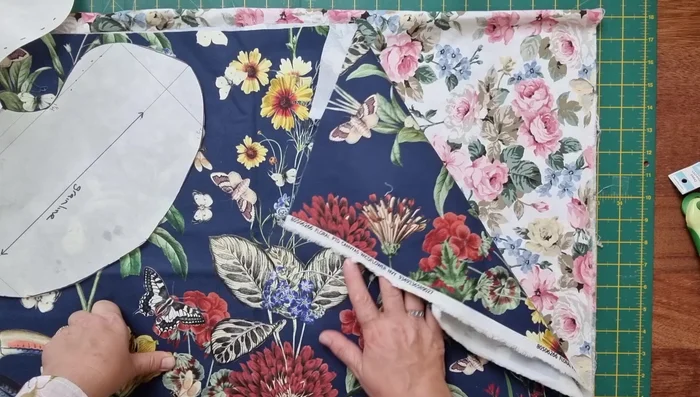
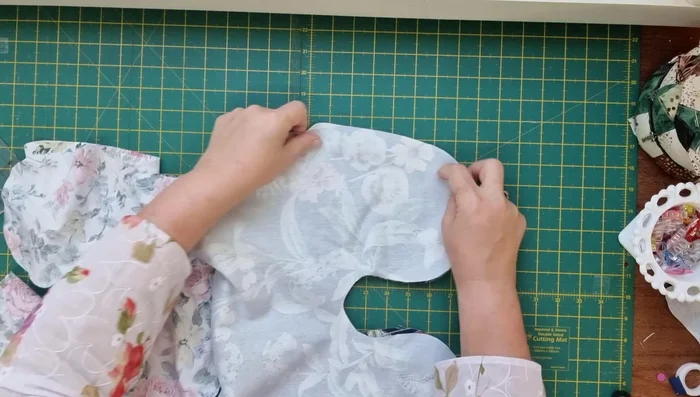
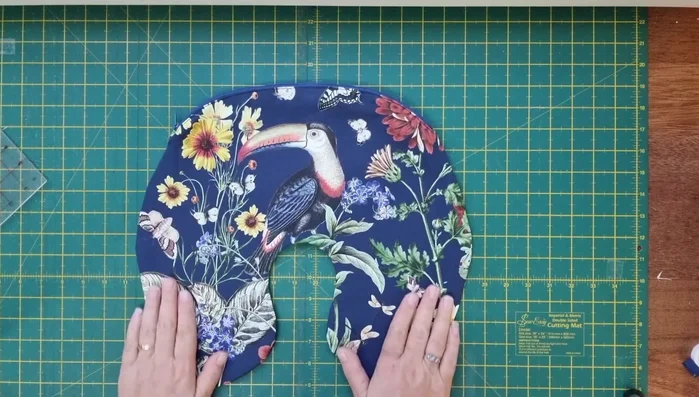
Create the Pillow Shape Cut Fabric Pieces
- Cut out two pieces for the main fabric and two for the lining, either by cutting on the fold or cutting two individual pieces depending on your preference.
Cut Fabric Pieces Prepare the Zipper
- Trim the metal ends and cover them with fabric scraps. Stitch the fabric to the zipper ends to enclose the raw edges.
Prepare the Zipper Attach First Zipper Side
- Place the zipper along the center point of one layer of the main fabric, aligning the notches. Pin and stitch the zipper to the main fabric and lining.
Clip Curves & Top Stitch
- To ensure a flat finish, carefully clip the curves up to the stitching line, but not beyond.
- Top stitch along the zipper edges on both sides of the main fabric to secure the zipper and enhance the look.
Clip Curves & Top Stitch Attach Second Zipper Side
- Pin and stitch the other layer of main fabric and lining to the zipper, matching up the notches.
Attach Second Zipper Side Stitch Outer & Lining
- Stitch the outer and lining layers together, leaving an opening for turning.
Stitch Outer & Lining Turn & Close Opening
- Clip the curves, press seams, turn the travel pillow right side out through the opening left in the lining.
- Close the opening in the lining by hand-stitching or machine stitching.
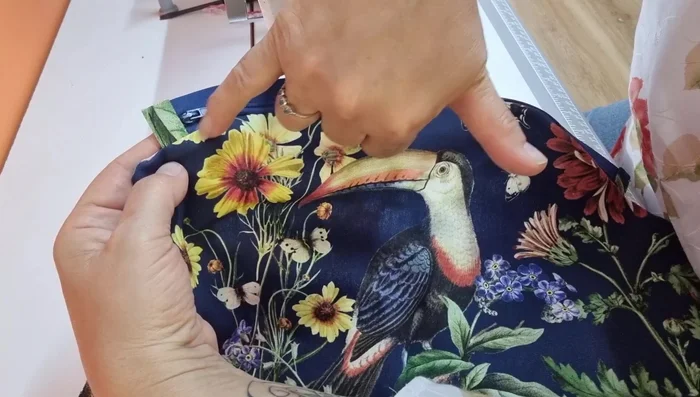
Turn & Close Opening Fill and Enjoy
- Fill and enjoy!
Fill and Enjoy


Read more: King Size Quilt Tutorial: Efficient Chain Piecing Method
Tips
- Consider adding a grain line to your pattern to ensure the fabric is cut correctly.
- Trim excess fabric from the inside after stitching to reduce bulk, especially around the zipper.
- Press the seams open, especially at curves, before turning right side out.
- Leave an opening in the lining to turn it right side out, making sure the zipper is open.