Sentimental shirts hold more than just fabric; they hold memories. That favorite, worn-out tee with the faded graphic, or the crisp button-down from a special occasion – these pieces often end up tucked away, gathering dust. But what if you could transform those cherished garments into something beautiful and functional? This easy no-sew tutorial will show you how to repurpose an old shirt into a comforting and personalized memory pillow, preserving those treasured memories in a new, cherished form. It’s a perfect project for beginners, requiring minimal supplies and absolutely no sewing skills!
Turning a beloved shirt into a cozy pillow is simpler than you might think. With just a few simple folds, some stuffing, and a little creativity, you can create a unique and meaningful keepsake. Ready to transform your sentimental shirt into a huggable memory? Let's dive into the step-by-step process and create your very own no-sew memory pillow.
Preparation and Safety Guidelines
- Shirt
- Iron
- Ruler
- Cutting Mat
- Scissors
- Pins or Clips
- Sewing Machine
- Always pre-wash the shirt fabric before starting. Shrinkage after making the pillow could ruin its shape.
- Use sharp fabric scissors to ensure clean cuts and prevent fraying. Dull scissors can lead to uneven edges and make it harder to create a neat finish.
- If using filling material like stuffing or fiberfill, ensure it's clean and hypoallergenic to prevent skin irritation or allergies. Avoid over-stuffing to prevent bursting the seams.
Step-by-Step Instructions
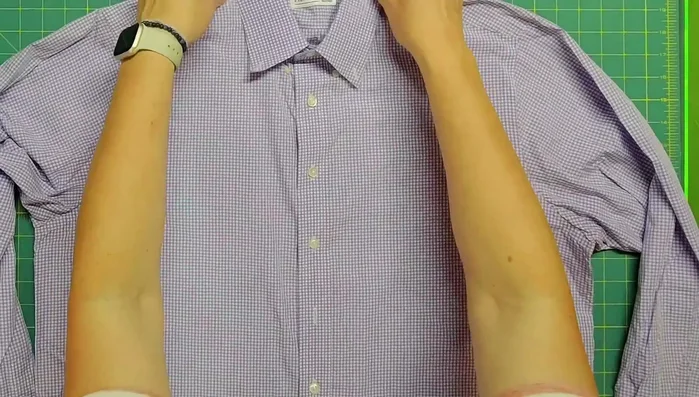
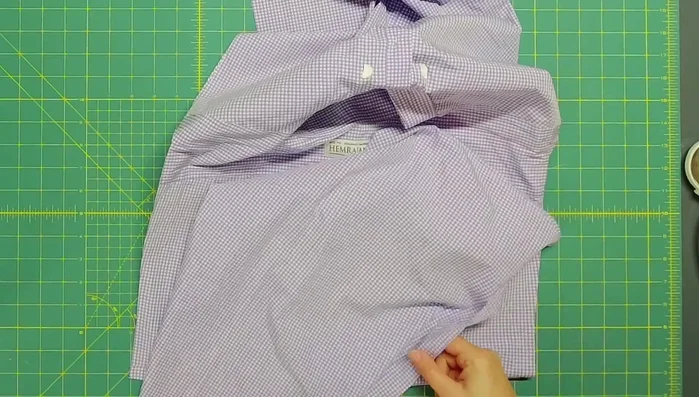
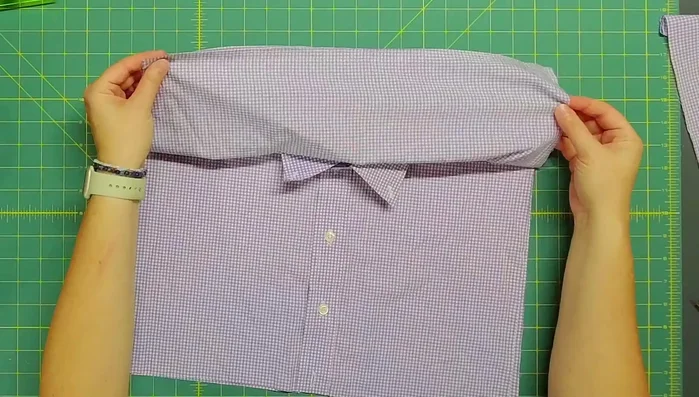
Prepare the Shirt
- Iron the shirt and lay it flat on a surface, smoothing it out as much as possible. Trim off sleeves if necessary.

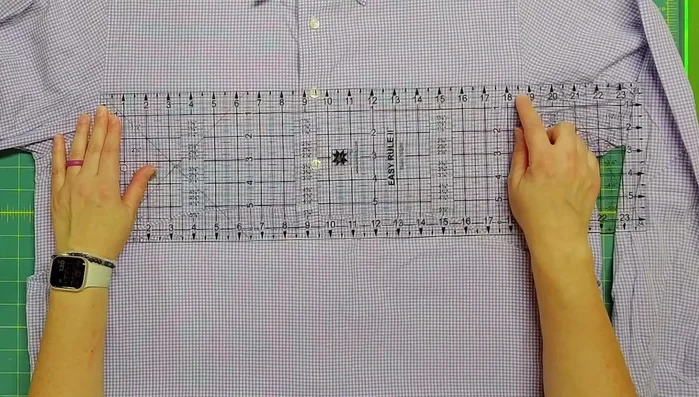
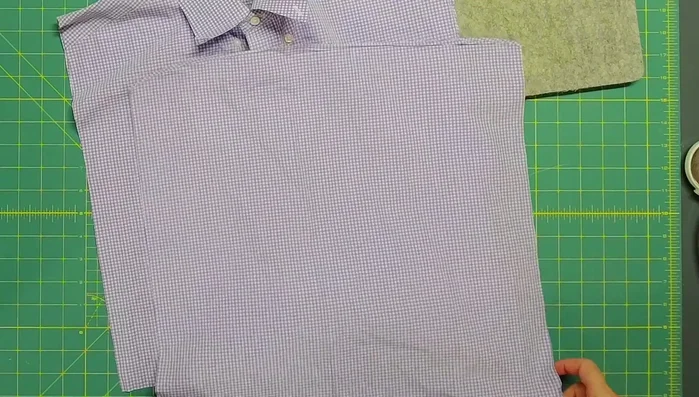
Prepare the Shirt Cut the Front Piece
- Measure the shirt's width to determine the pillow's width. Cut along the sleeve seams to create a rectangular front piece.
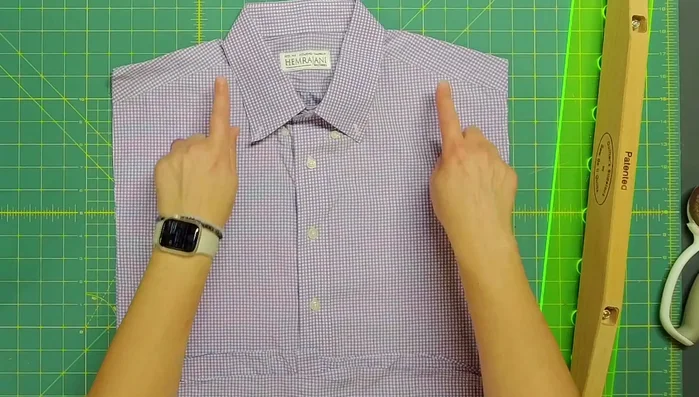
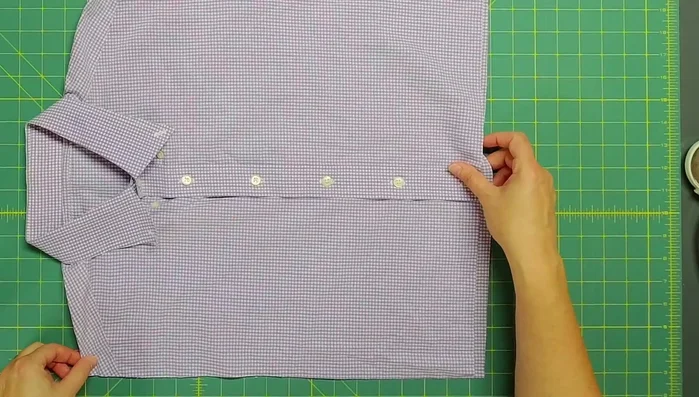
Cut the Front Piece Cut the Envelope Backing
- Cut the back piece of the shirt, creating an envelope backing. The top part of the back should be shorter than the front piece.
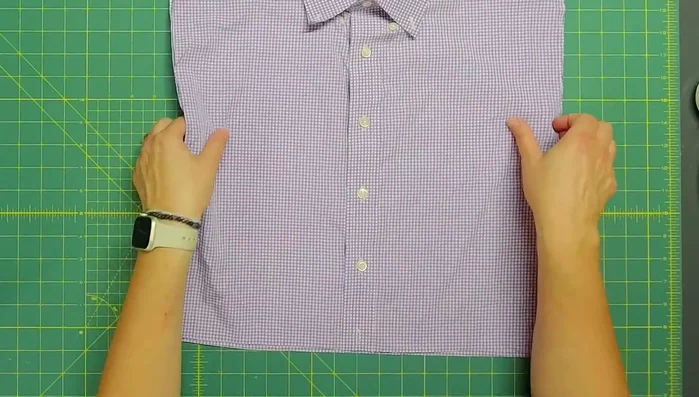
Cut the Envelope Backing Finish the Envelope Backing
- Fold and press the edges of the envelope backing to hide raw edges. Stitch along the folded edges to secure.
Finish the Envelope Backing Create and Attach Inner Flap
- Cut the remaining shirt fabric to create an inner flap to hide the buttons and raw edges. Insert this flap inside the envelope backing, aligning with the collar and edges.
- Pin or clip the flap in place, then stitch it to the envelope backing.
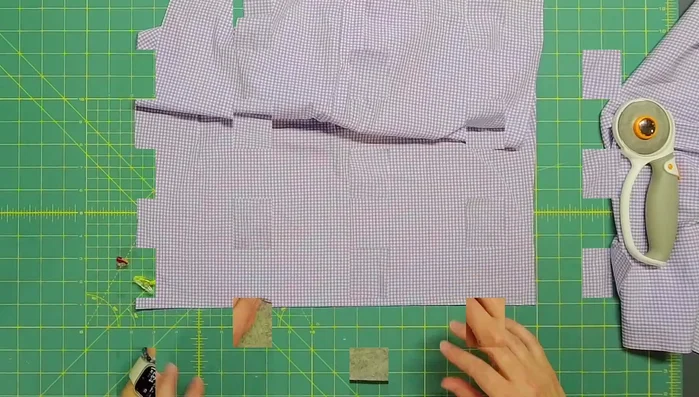
Create and Attach Inner Flap Trim Inner Encasing
- Trim the inner encasing to match the width of the front piece.
Trim Inner Encasing Create and Finish Second Envelope Piece
- Cut the bottom piece of the shirt to create the second part of the envelope back. Fold and press the edges to hide raw edges and stitch down the edge to secure.
Create and Finish Second Envelope Piece Assemble and Stitch the Pillow
- Place the front and back pieces right sides together, aligning the edges. Pin or clip, ensuring the inner flap is even with the front. Stitch around three sides with a quarter-inch seam allowance, and then a half-inch seam allowance to secure raw edges.
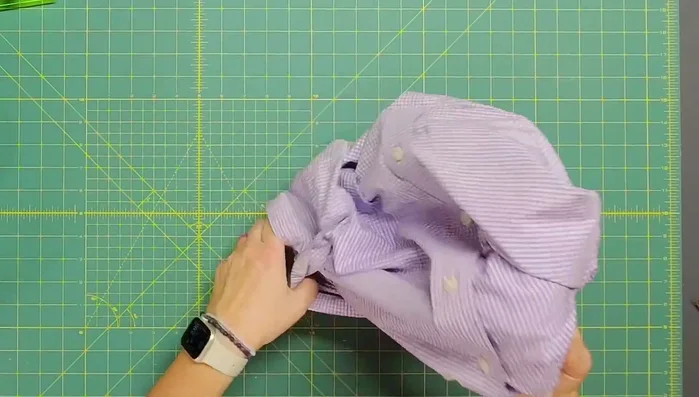
Assemble and Stitch the Pillow Finish the Pillow
- Turn the pillow right side out through the opening. Trim and adjust edges as needed.
Finish the Pillow
Read more: King Size Quilt Tutorial: Efficient Chain Piecing Method
Tips
- Shirt sizes vary; adjust measurements as needed.
- Not all shirt fabrics iron well; consider using clips instead of pressing.
- Some fabrics are stretchy; the method may be more challenging.
- Double stitching will help prevent unraveling. Alternatively, consider serging the edges.