Are you dreaming of a luxuriously large, handmade king-size quilt, but intimidated by the sheer scale of the project? Chain piecing offers a surprisingly efficient solution, significantly reducing sewing time and minimizing fabric waste. This technique, perfect for quilters of all skill levels, allows you to sew multiple seams in one continuous operation, making even the grandest quilt projects feel manageable. Forget tedious individual piecing – prepare to discover the joy of rapid progress and the satisfaction of creating a truly impressive heirloom.
This tutorial will guide you through the process of creating a stunning king-size quilt using the efficient chain piecing method. We’ll cover everything from choosing your fabrics and cutting your pieces to assembling the quilt top and finishing touches, all while maximizing your efficiency with this clever sewing technique. Ready to get started and transform your quilting experience? Let's dive into the step-by-step instructions below.
Preparation and Safety Guidelines
- Iron
- Ironing board
- Rotary cutter (implied)
- Cutting mat (implied)
- Sewing machine
- Design board (foam board with batting)
- Clapper
- Use sharp needles and rotary cutter blades to prevent fabric slippage and ensure clean cuts, reducing the risk of injury.
- Always unplug your sewing machine when making adjustments or cleaning. Never reach into the moving parts.
- Take breaks to avoid eye strain and fatigue. Improper posture and rushing can lead to injuries.
Step-by-Step Instructions
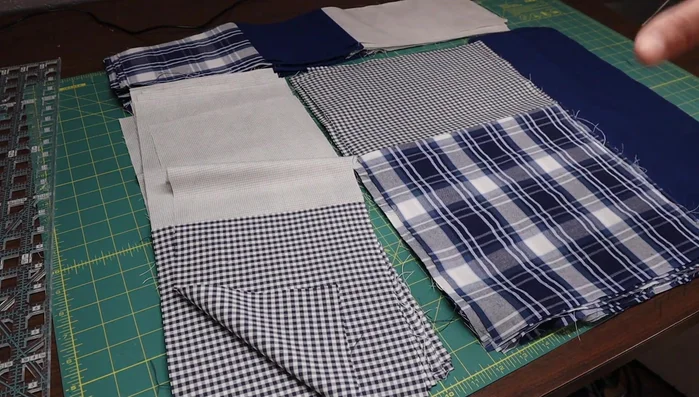
Prepare Fabric
- Cut and iron all fabric pieces.

Prepare Fabric Assemble Blocks
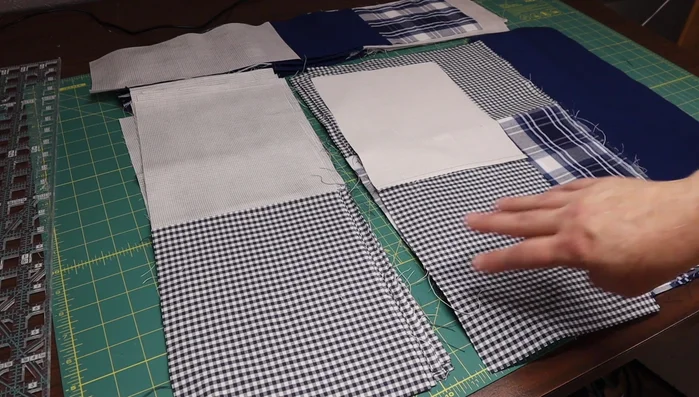
- Chain piece the individual blocks. Use a design board to arrange blocks before sewing.
- Press seams open (preferably).
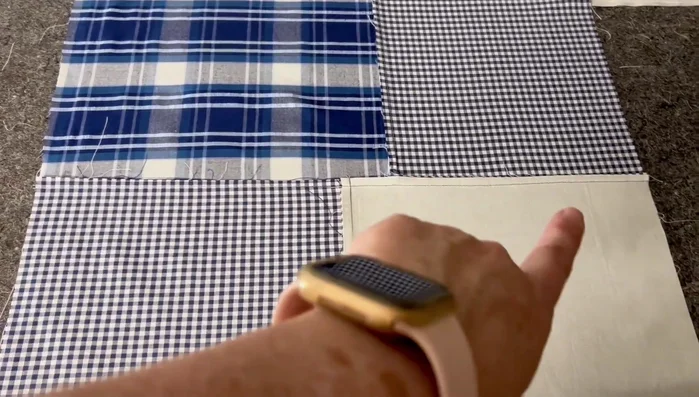
Assemble Blocks Assemble Quilt Sections
- Layout and chain piece larger sections of the quilt together.
- Iron seams flat. Use a clapper for extra flatness.
Assemble Quilt Sections Complete Quilt Top
- Sew all quilt blocks together to create the quilt top.


Read more: No-Sew Memory Pillow from a Shirt: Easy Envelope Tutorial
Tips
- Chain piecing is highly recommended for efficiency.
- Use a design board to visualize the quilt top layout before sewing.
- Pressing seams open creates a flatter, more stable quilt.
- Use a clapper to ensure flat seams after ironing.