Cozy up with a handmade pillow! Learning to sew doesn't have to be intimidating, especially with this fun and easy DIY fleece pillow project. Perfect for kids (with a little adult supervision, of course!), this tutorial uses the simple blanket stitch to create a wonderfully soft and snuggly pillow in no time. Forget complicated patterns and fiddly techniques; this project is designed to be accessible and enjoyable, even for beginners. We'll be using readily available fleece fabric, making it a budget-friendly crafting activity that allows for creative expression with different colours and designs.
This project is ideal for developing basic sewing skills while creating something beautiful and practical. You’ll be amazed at how quickly you can transform a piece of fleece into a personalized pillow. Ready to get started? Let's dive into the step-by-step guide and learn how to master the blanket stitch together!
Preparation and Safety Guidelines
- Fleece fabric (half a yard)
- Fiber fill
- Needle
- Embroidery floss (or thread)
- Ruler
- Grid (optional)
- Pins
- Scissors
- Pencil
- Adult supervision is required at all times, especially when using scissors and needles.
- Choose blunt-tipped needles to prevent accidental injury. Always point the needle away from yourself and others.
- Ensure the fleece fabric is securely pinned before stitching to prevent slippage and accidental pricks.
Step-by-Step Instructions
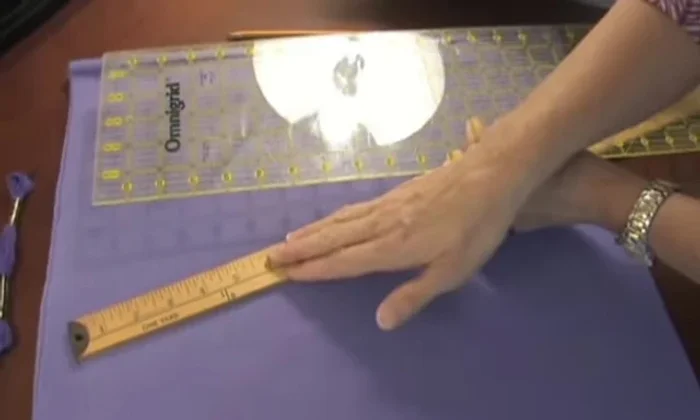
Prepare the Fabric
- Measure and cut the fabric. Cut a square of 18 inches from the fleece fabric.

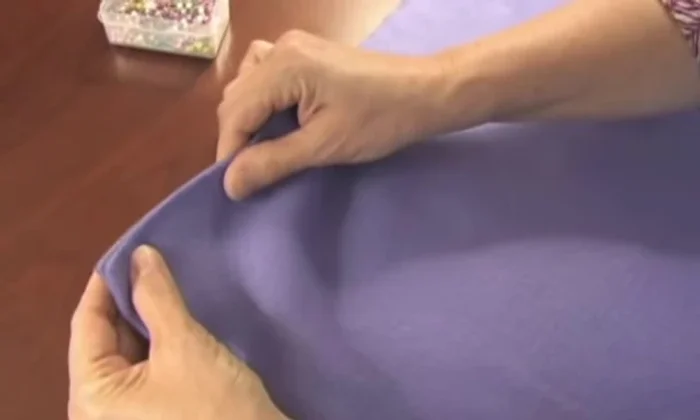
Prepare the Fabric Pin the Fabric
- Pin the fabric together. Pin the two layers of fabric together, leaving a gap for stuffing. Make sure the edges are lined up perfectly.
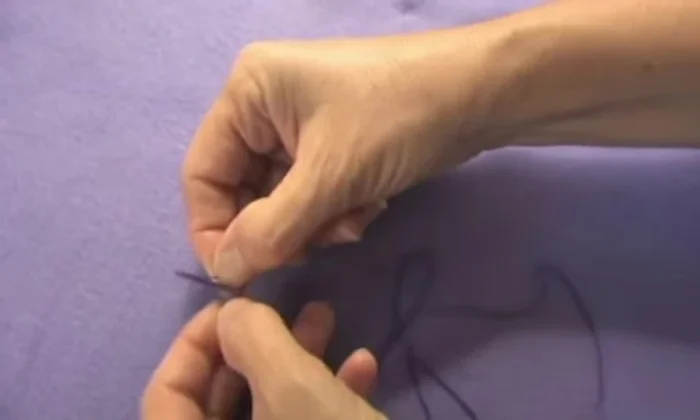
Pin the Fabric Prepare the Thread
- Prepare the embroidery floss. Separate three strands of embroidery floss and thread your needle.
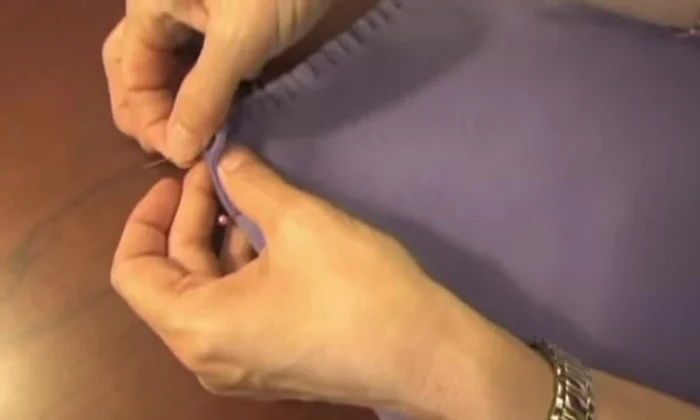
Prepare the Thread Begin Blanket Stitch
- Start the blanket stitch. Begin the blanket stitch, hiding the knot inside the fabric. Make consistent ¼-inch stitches.
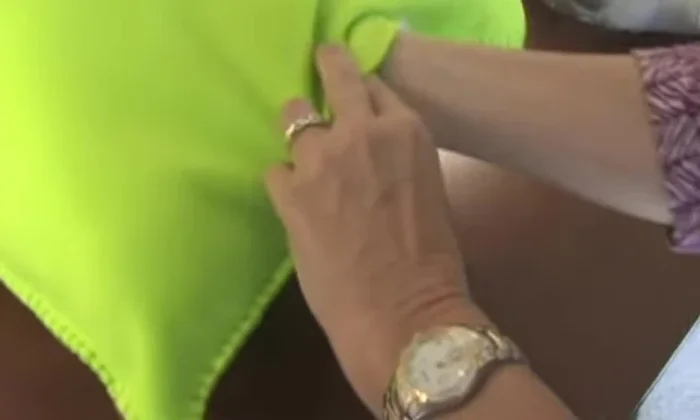
Begin Blanket Stitch Blanket Stitch Sides
- Blanket stitch around the edges. Continue the blanket stitch around all four sides of the fabric.
Blanket Stitch Sides Blanket Stitch Corners
- Corner blanket stitch. When approaching corners, make one stitch in the corner.
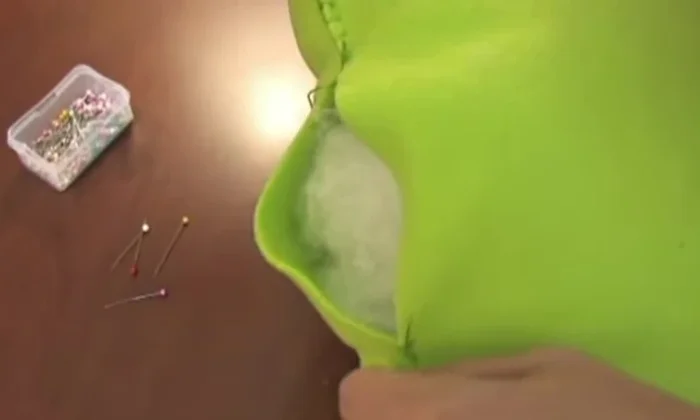
Blanket Stitch Corners Stuff the Pillow
- Stuff the pillow. Fill the pillow with handfuls of fiber fill. Distribute evenly.
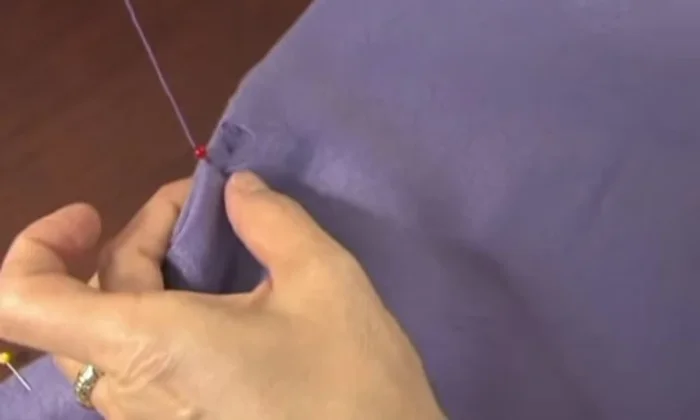
Stuff the Pillow Close the Pillow
- Pin and stitch the opening. Pin the opening closed and complete the blanket stitch to seal the pillow.
Close the Pillow

Read more: King Size Quilt Tutorial: Efficient Chain Piecing Method
Tips
- Use a grid for accurate measuring.
- Leave a space when pinning for stuffing.
- Keep the blanket stitch loose to allow for easy stuffing and sewing.
- Distribute the fiber fill evenly to avoid lumps.