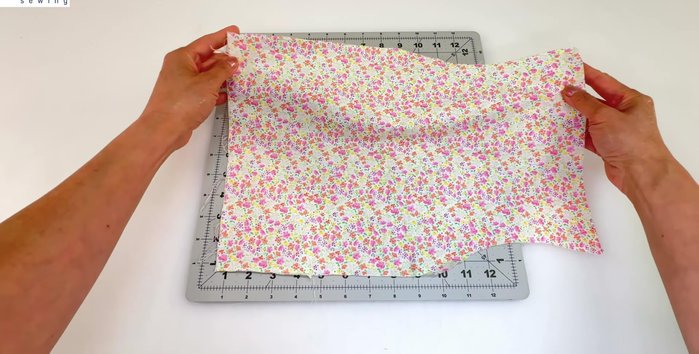
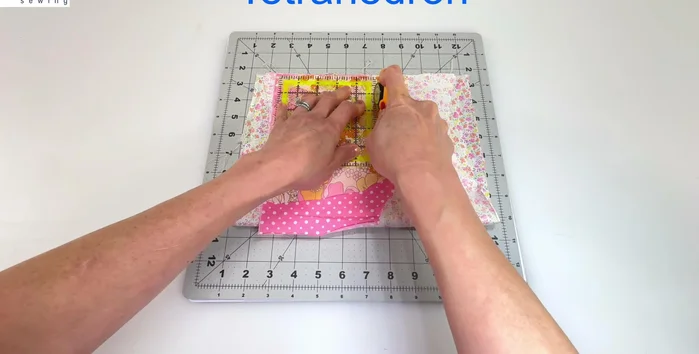
Are you drowning in fabric scraps, those little pieces left over from bigger projects? Do you wish there was a fun and practical way to use them up without adding to the textile waste problem? Then get ready to embrace the satisfying world of scrap-busting with this DIY tetrahedral zipper pouch! This surprisingly simple project transforms four fabric triangles into a unique, three-dimensional pouch perfect for storing small items like jewelry, makeup, or even sewing notions. The tetrahedron shape is both visually interesting and surprisingly sturdy, offering a fantastic alternative to traditional rectangular pouches. It’s a perfect project for confident beginners and seasoned sewists alike.
This tutorial focuses on effectively using up those pesky fabric scraps while creating something beautiful and functional. The unique shape is surprisingly easy to achieve, even for those new to zipper installation. We’ll guide you through each step, from cutting the fabric triangles to sewing the zipper and finishing the seams, ensuring a professional-looking result. Ready to transform your scrap bin into a collection of charming zipper pouches? Let’s dive into the step-by-step instructions!
Preparation and Safety Guidelines
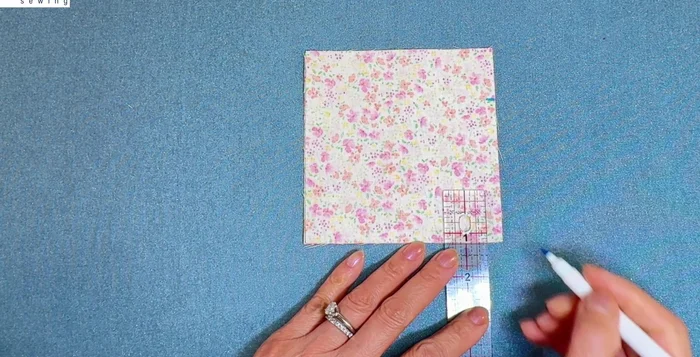
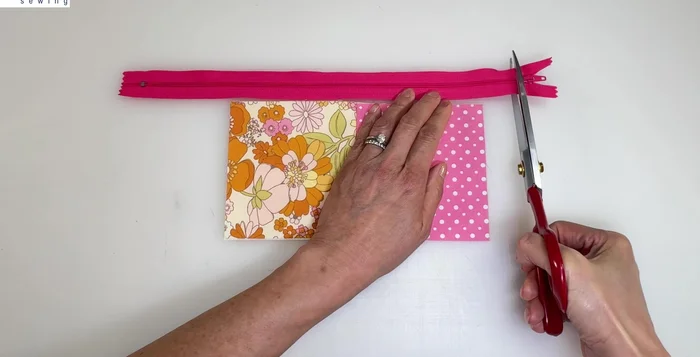
- Fabric squares (4 3/4 inches recommended)
- Extra Loft fusible fleece (or fusible interfacing/batting)
- Teflon pressing sheet
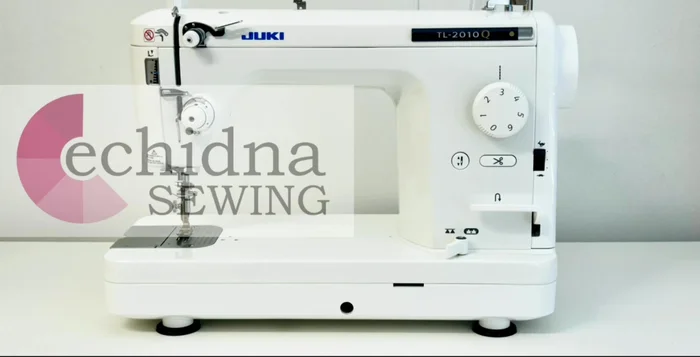
- Sewing machine (Juki TL2010Q recommended)
- Size 3 dress zipper (or heavier zipper)
- Contrast tape (or fabric/ribbon)
- Carabiner hook (optional)
- Point Turner or knitting needle
- Use sharp scissors or a rotary cutter to ensure clean cuts and prevent fabric from fraying excessively. Blunt tools can cause injury.
- Handle your sewing machine needle and pins with care to avoid accidental pricks. Always keep them away from children.
- When using a zipper, be mindful of the zipper teeth. They can catch on fabric or skin causing snags or injury. Be careful not to pull too hard on the zipper slider.
Step-by-Step Instructions
Prepare Fabric and Fleece
- Cut fabric squares and fuse fusible fleece.
- Cut out two pieces of fabric the same size and fuse fusible fleece to wrong side of fabric

Prepare Fabric and Fleece Sew Outer and Lining Fabrics
- Sew the outer layers together, backtacking at the start and finish.
- Sew the lining pieces together, leaving an opening.
Sew Outer and Lining Fabrics Prepare the Zipper
- Cut the zipper 1 inch longer than the fabric and remove the slider. Carefully unravel stitches to separate zipper teeth from tape.
Prepare the Zipper Create Zipper Loops
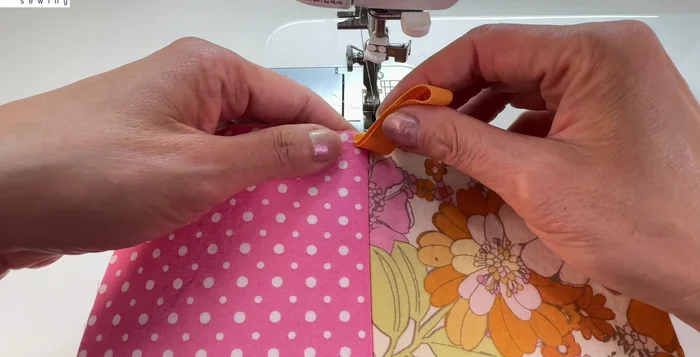
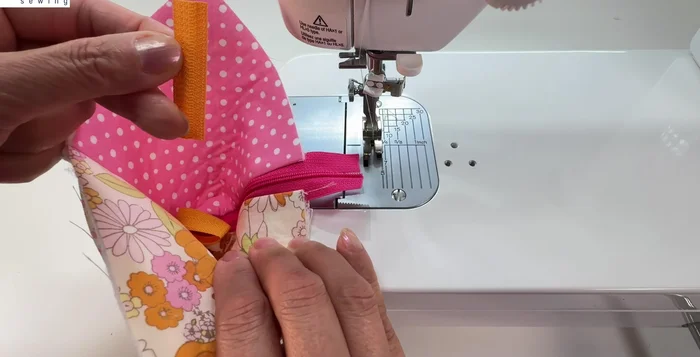
- Create zipper loops using zipper tape or fabric/ribbon.
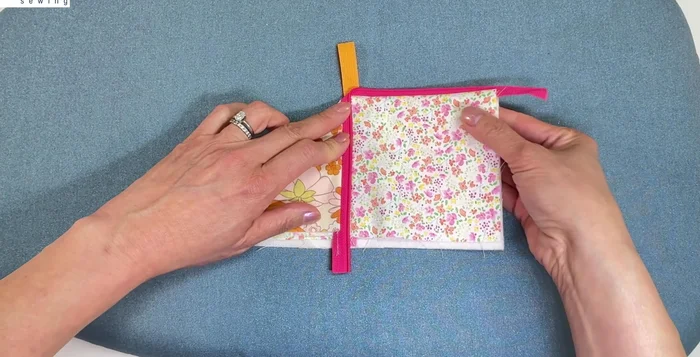
Create Zipper Loops Attach Zipper to Outer Fabric
- Attach the zipper to one outer fabric piece, centering it and stitching close to the teeth.
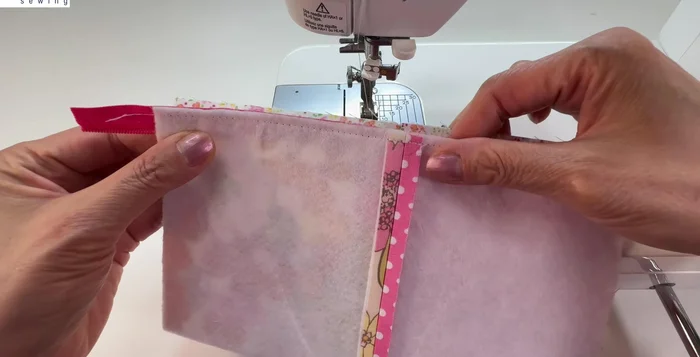
Attach Zipper to Outer Fabric Attach Lining to Zippered Outer Fabric
- Attach the lining to the zippered outer fabric piece, right sides together.
- Stitch across the lining and outer fabric, close to the zipper teeth.
Attach Lining to Zippered Outer Fabric Close Zipper and Install Slider
- Fold down both sides of the zipper to the middle, trim the bottom, and install the slider.
Close Zipper and Install Slider Attach Bottom Loop
- Attach the shorter loop of tape to the bottom of the zipper.
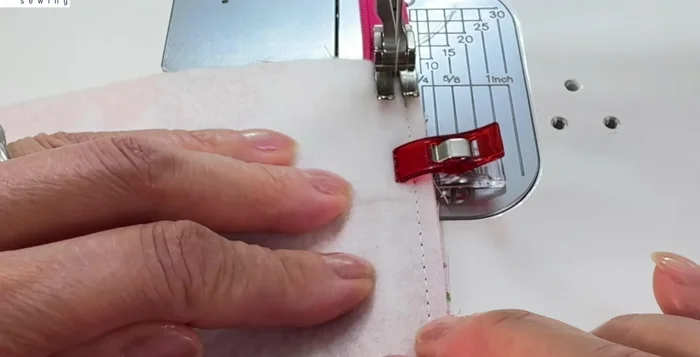
Attach Bottom Loop Sew Side Seams
- Match the sides of the pouch, fold down seam allowance, and stitch.
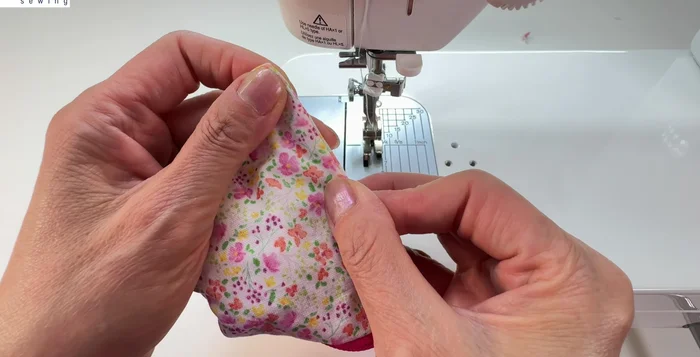
Sew Side Seams Sew Bottom Seam
- Trim corners, open up bottom seams, match and stitch together.
Sew Bottom Seam Finishing Touches
- Turn right side out, use a point turner to poke out corners.
Finishing Touches


Read more: DIY Quilted Makeup Pouch Tutorial: The Easiest and Fastest Method
Tips
- Use a Teflon pressing sheet to prevent glue from sticking to your iron.
- Backtacking at the beginning and end of seams ensures durability.
- A heavier zipper with a longer pull and coil teeth can be used instead of a size 3 dress zipper.
- If zipper teeth don't unravel easily, repeat the process of loosening stitches from the top of the teeth on the other end.
- Use a 1/4 inch seam allowance.