Transform your pile of cherished, worn-out T-shirts into a cozy and sentimental keepsake with this lightning-fast T-shirt quilt tutorial! Tired of those beloved band tees and vacation shirts languishing in a drawer? This method skips the fussy binding and intricate piecing often associated with quilt-making, offering a surprisingly simple route to a beautiful and durable throw blanket. Imagine snuggling up on the couch, wrapped in a quilt that tells the story of your life, adventures, and favorite memories – all created with minimal effort and maximum impact.
This streamlined approach focuses on efficiency, utilizing readily available materials and straightforward techniques. We'll walk you through each step, ensuring a stunning final product even for complete beginners. Ready to dive in and create your very own personalized T-shirt quilt? Let's get started with the step-by-step instructions below!
Preparation and Safety Guidelines
- T-shirts
- Rotary cutter (or scissors)
- Ruler (or cardboard template)
- Fusible stabilizer
- Iron
- Sewing machine
- Jersey needle (optional)
- All-purpose thread
- Fabric for borders
- Always pre-wash your t-shirts before cutting and sewing to prevent shrinkage and color bleeding after the quilt is completed.
- Use sharp fabric scissors to ensure clean cuts and prevent fraying. Dull scissors can cause uneven edges and make sewing more difficult.
- Handle your sewing machine and rotary cutter (if using) with care. Always follow the manufacturer's safety instructions and use appropriate safety measures like cutting mats and finger guards.
Step-by-Step Instructions
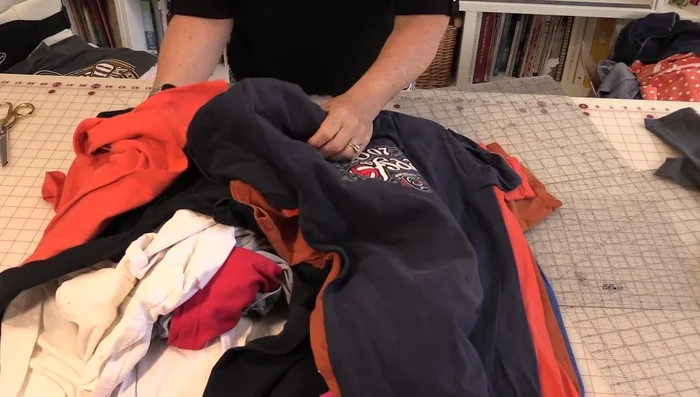
Prepare T-shirts
- Wash and dry t-shirts (no fabric softener or dryer sheets).
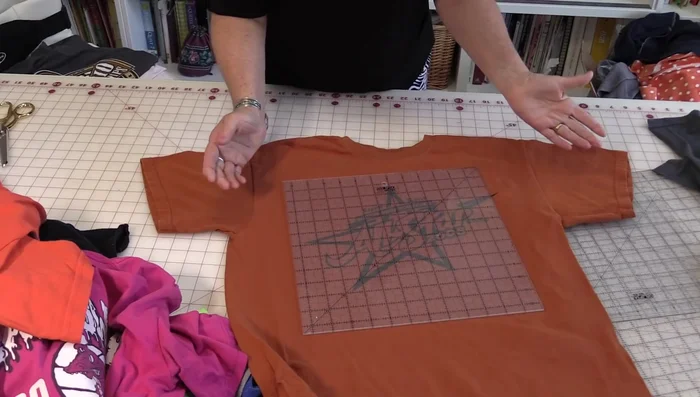
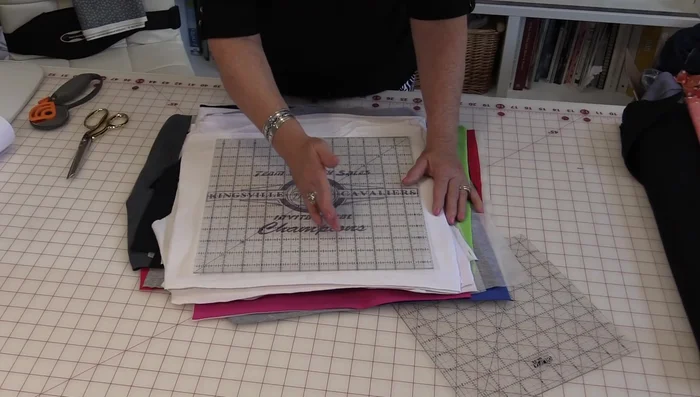
Determine Square Size and Cut
- Determine square size based on largest print (12.5 inches recommended).
- Cut out t-shirt squares, adding extra fabric for easier handling.

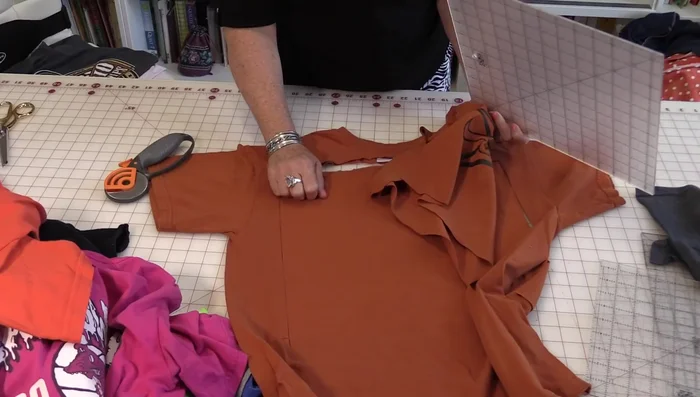
Determine Square Size and Cut Separate and Repair
- Separate prints and plain fabric. Address necklines as needed.
Separate and Repair Stabilize T-shirt Squares
- Press and fuse stabilizer to the back of each t-shirt square to prevent stretching.
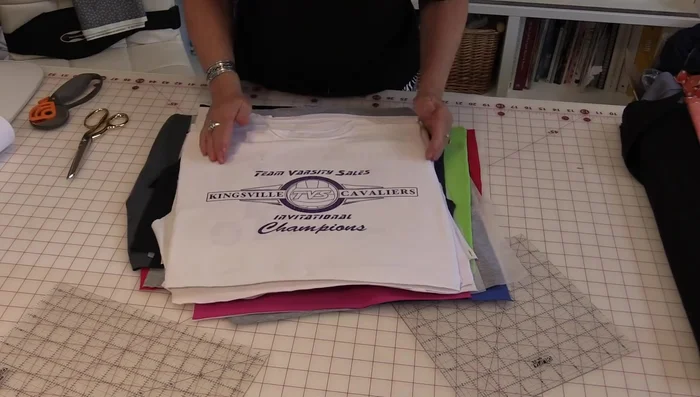
Stabilize T-shirt Squares Trim and Finalize Squares
- Trim squares to exact size.
Trim and Finalize Squares Assemble Quilt Blocks
- Assemble blocks with 5 t-shirts per row, 6 rows total.
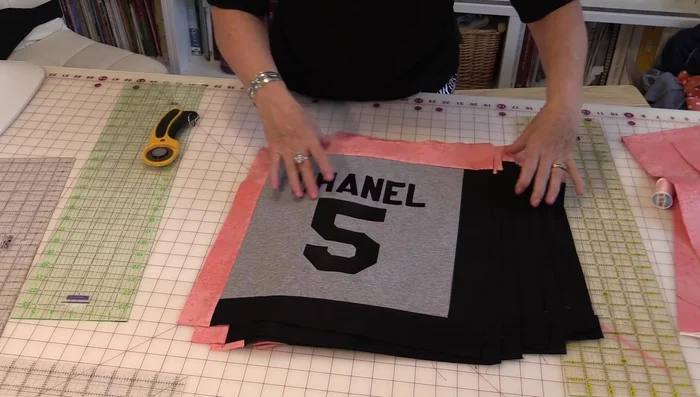
Assemble Quilt Blocks Frame Quilt Blocks
- Frame blocks using 2-inch borders (avoid white).
Frame Quilt Blocks Sew and Finish Quilt
- Sew blocks together in rows and add final borders to complete the quilt.
Sew and Finish Quilt

Read more: King Size Quilt Tutorial: Efficient Chain Piecing Method
Tips
- Use a rotary cutter for faster cutting.
- Create a cardboard template if you don't have a ruler.
- Press fusible stabilizer from the back to prevent melting ink.
- Avoid white border fabric due to fading.
- Use a jersey needle for better results.