Fall in love with the timeless elegance of the swing dress, effortlessly crafted from luxurious stretch velvet. This classic silhouette is surprisingly easy to sew, even for beginners, and the rich texture of the velvet adds a touch of undeniable glamour. Imagine yourself gliding through the autumn leaves or turning heads at a festive gathering in this beautiful, self-made creation. Forget complicated patterns and frustrating techniques – this tutorial simplifies the process, making it accessible to anyone with basic sewing skills and a desire to create something truly special.
Forget those daunting, overly complicated sewing projects. This step-by-step guide walks you through each stage of constructing your own stunning stretch velvet swing dress, from selecting the perfect fabric to finishing those professional-looking seams. Prepare to be amazed at how quickly and easily you can sew this iconic garment, leaving you with a wardrobe staple that's both comfortable and incredibly chic.
Preparation and Safety Guidelines
- sewing machine
- jersey/stretch needles
- walking foot (recommended)
- pins or spray adhesive
- 12in zipper
- coordinating thread
- Always use a sharp sewing machine needle appropriate for your fabric (stretch velvet). A dull needle will snag and damage the delicate fabric.
- Test your stitch length and tension on a scrap of stretch velvet before starting your project to avoid puckering or stretching the fabric unevenly.
- Handle stretch velvet carefully to avoid snagging or pulling the fibers. Use pins sparingly and consider using clips instead where possible.
Step-by-Step Instructions
Prepare Dress Pieces
- Apply stay stitching around the neckline of the front and back dress pieces.

Prepare Dress Pieces Assemble the Bodice
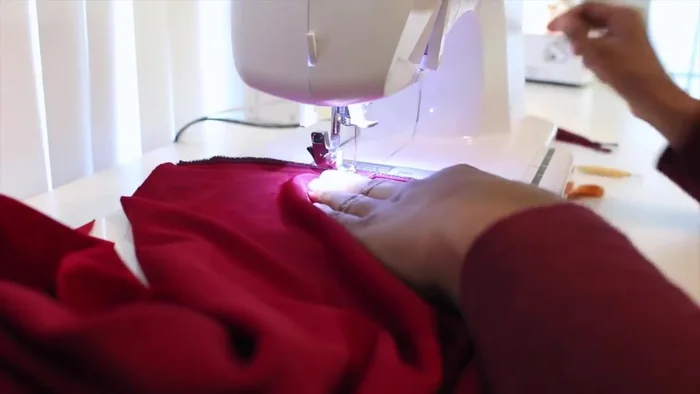
- Pin and sew the side seams of the dress together.
Assemble the Bodice Construct Sleeves
- Sew darts on the sleeves.
- Pin and sew the sleeve seams together, then hem the sleeves.
Construct Sleeves Attach Sleeves
- Attach the sleeves to the dress.
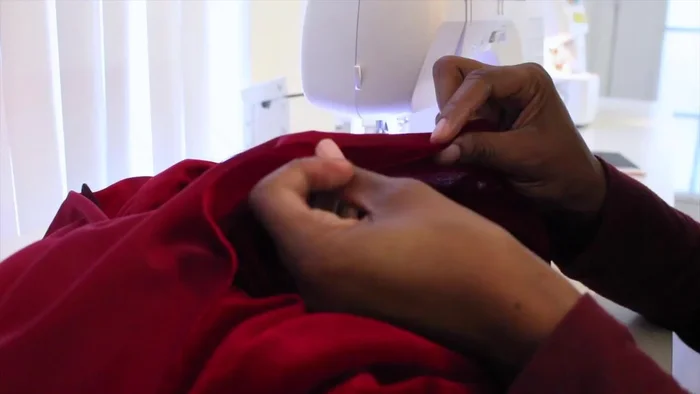
Attach Sleeves Attach Collar
- Pin and sew the collar to the neckline, stretching the collar to fit but being careful not to stretch the dress.
Attach Collar Install Zipper
- Install an invisible zipper. (Use your preferred method)
Install Zipper Close Back Seam
- Sew the center back seam of the dress.
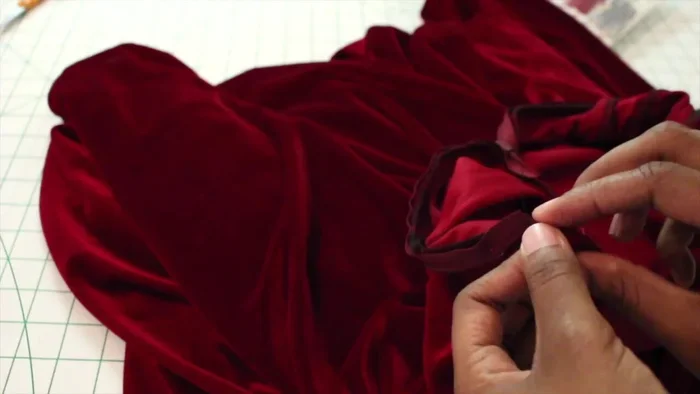
Close Back Seam Finish Collar
- Finish the collar by pressing under 3/8 inch of the raw edge, folding it over the seam allowance, and topstitching in the ditch.
Finish Collar Hem Dress
- Hem the bottom of the dress.
Hem Dress


Read more: Raglan Sleeve Sewing Tutorial: A Step-by-Step Guide
Tips
- Velvet has a nap, so ensure all fabric pieces are laid in the same direction to maintain consistent color and sheen.
- Use a ballpoint jersey needle for stretch fabric.
- A walking foot is recommended for sewing with velvet to prevent slippage.
- Use lots of pins or spray adhesive to baste seams before sewing, especially with slippery velvet.
- Spray adhesive is a great alternative to pinning, providing secure adhesion without residue. Apply it only to the seam allowance.