Free motion quilting opens up a world of creative possibilities, allowing you to transform a simple quilt top into a stunning work of art. Among the many captivating designs you can achieve with this technique, the sunburst pattern stands out for its radiant beauty and surprisingly straightforward execution. Whether you're a seasoned quilter looking to expand your skillset or a beginner eager to try something new, this vibrant pattern is a perfect choice to hone your free motion skills and add a touch of dazzling texture to your projects. The sunburst's dynamic lines create a focal point that draws the eye and adds depth and visual interest to any quilt.
This tutorial will guide you through each step of creating your own magnificent sunburst free motion quilting design. From prepping your quilt sandwich and selecting the right needle and thread to mastering the essential quilting movements, we'll cover everything you need to know to confidently stitch this captivating pattern. Let's dive in and unlock the radiant potential of free motion quilting!
Preparation and Safety Guidelines
- Domestic sewing machine
- 3-inch template
- Self-threading needle
- Always use a darning foot or free-motion quilting foot. A standard presser foot will hinder your ability to move the fabric freely and could damage your machine.
- Lower your machine's feed dogs. This allows you to move the fabric in any direction without the machine pulling it along.
- Practice on scraps first! Experiment with tension and speed to get a feel for your machine and desired look before quilting your final project.
Step-by-Step Instructions
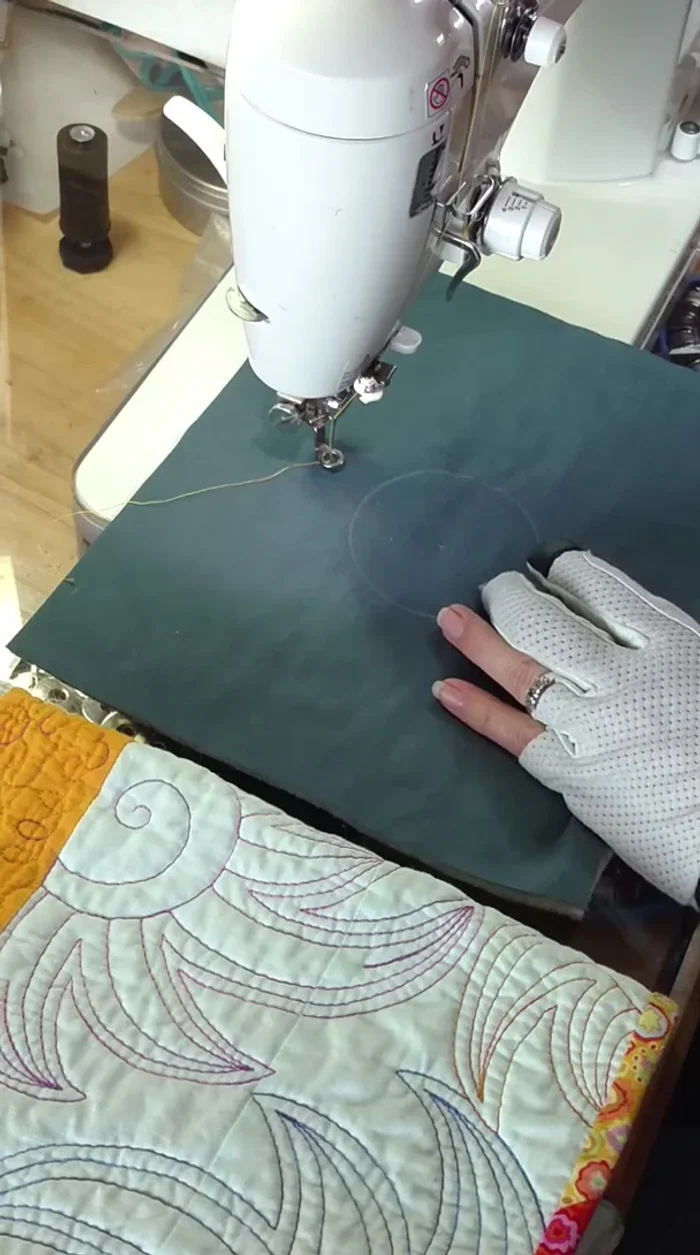
Prepare the Fabric
- Mark the center of your 3-inch template circle on the fabric.

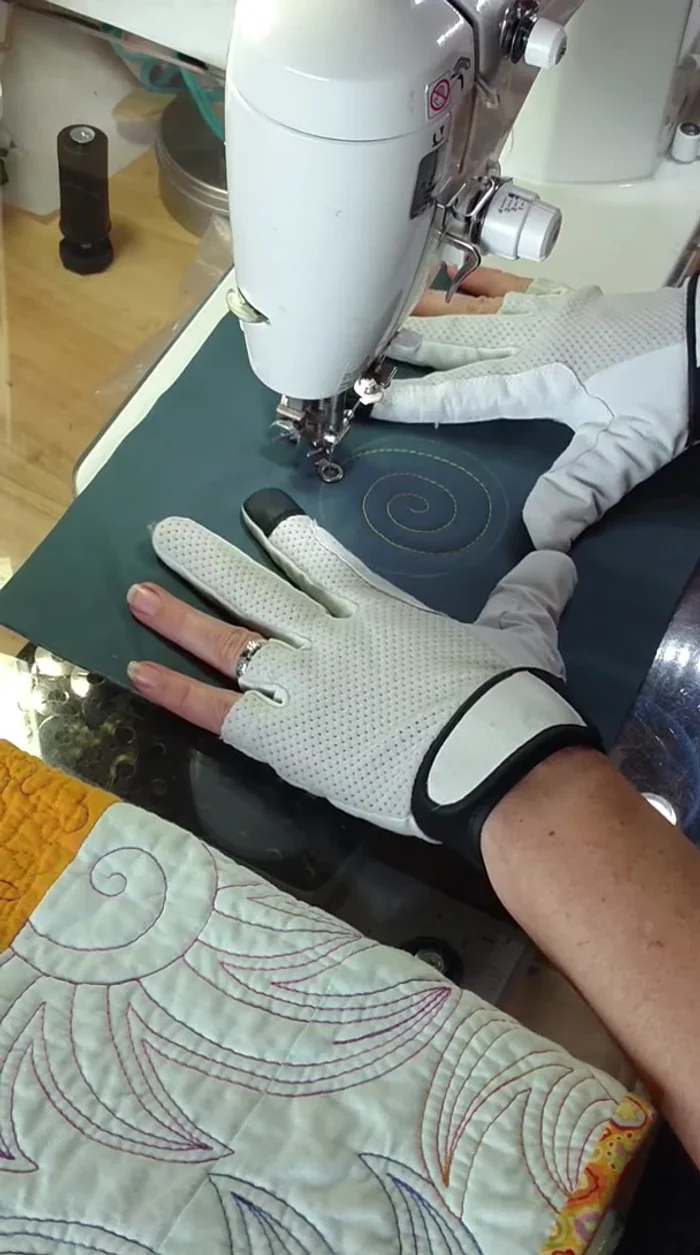
Prepare the Fabric Create the Center Spiral
- Start quilting with a spiral from the center outwards to the marked 3-inch circle. Adjust spiral tightness as desired.
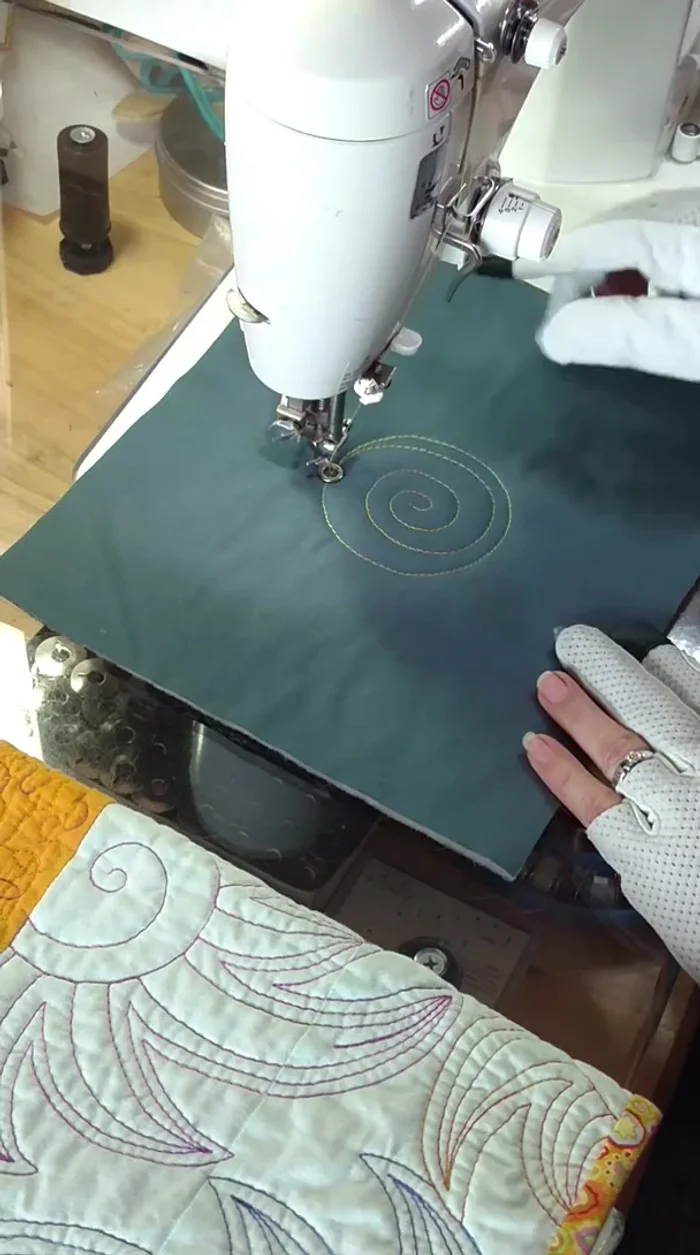
Create the Center Spiral Complete the Circle
- Follow the drawn circle line to complete the circle.
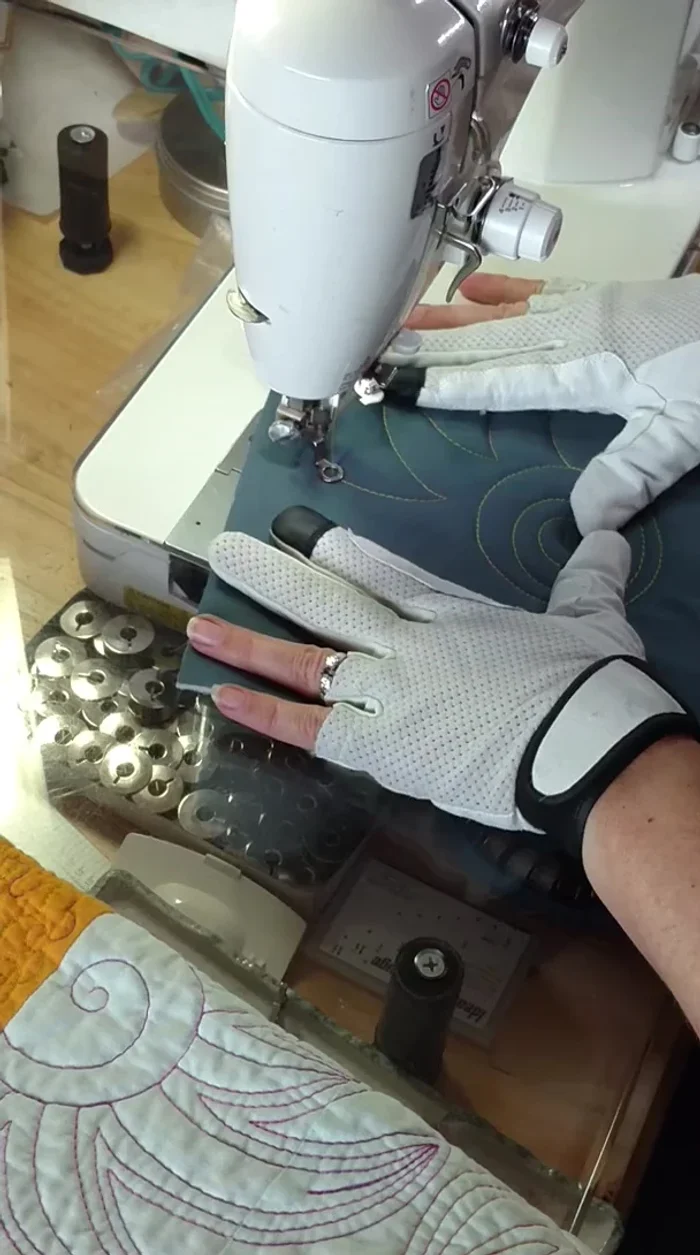
Complete the Circle Create the Outer Arcs
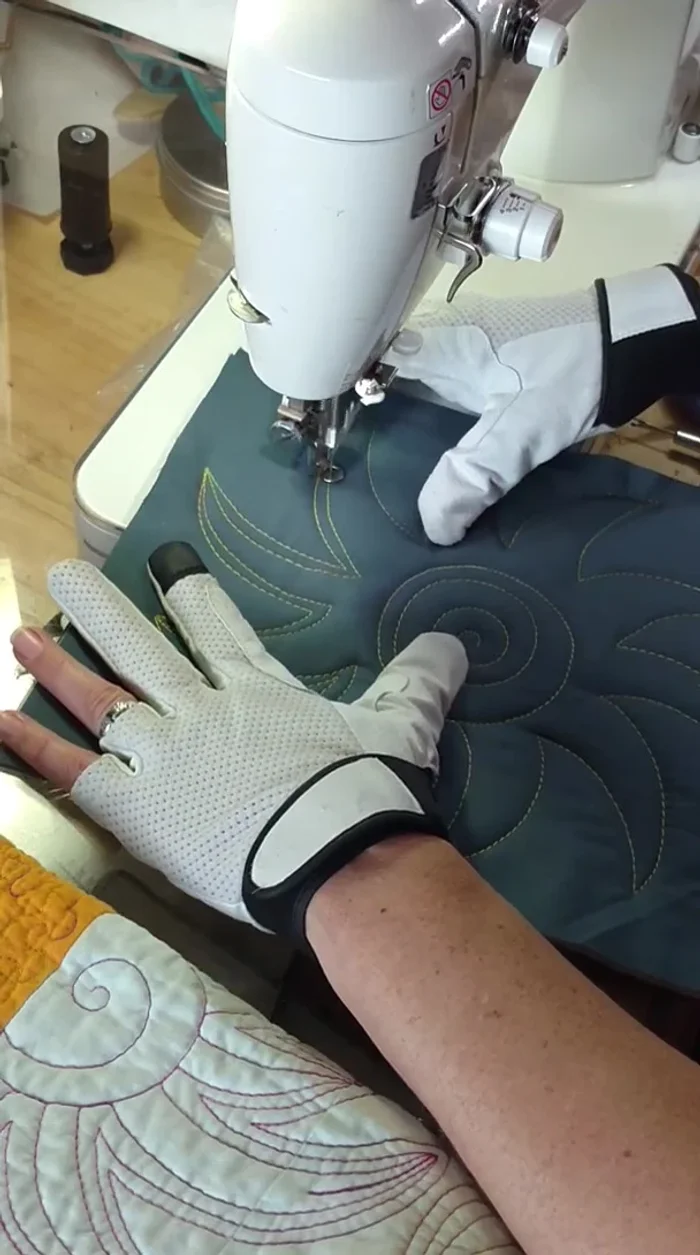
- Begin creating the outer arcs of the sunburst from where you finished the circle, forming large, arcing shapes.
- Vary the size and length of the arcs for a more natural look. Don't be afraid to experiment.
Create the Outer Arcs Echo the Arcs
- Echo the previous arcs on the inside of the initial arcs to add density and stability to the design.
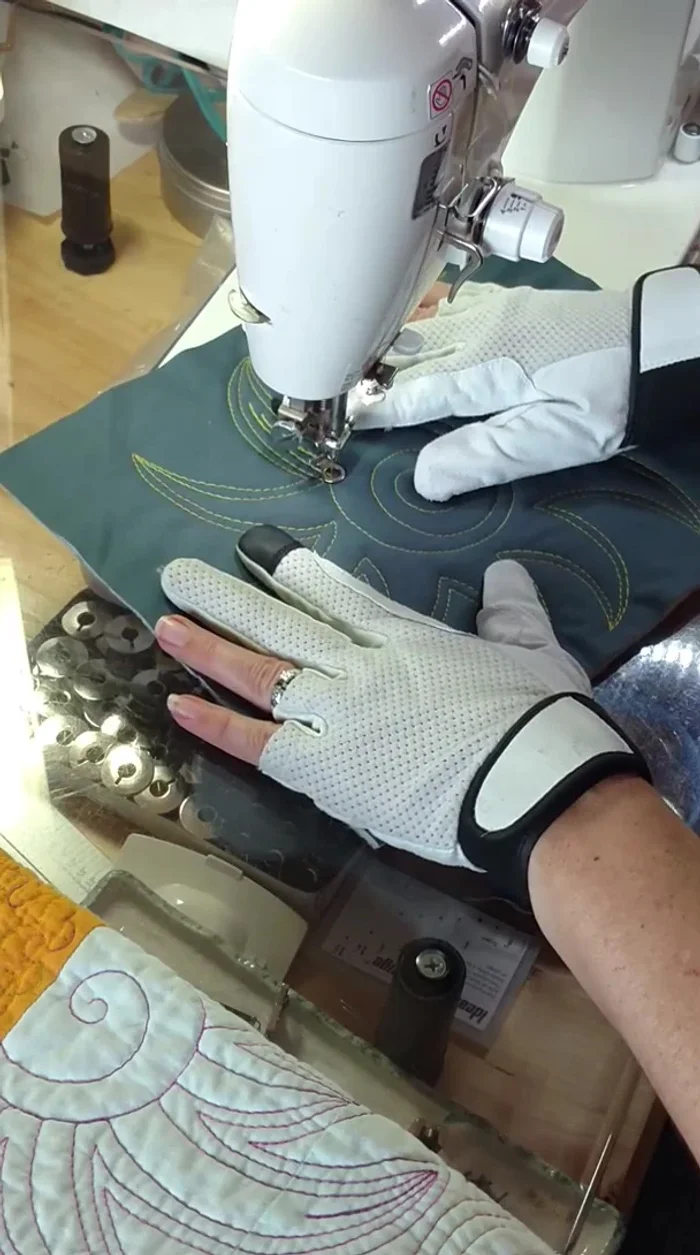
Echo the Arcs Add Center Lines
- Add some additional lines from the center to enhance the sunburst, using travel stitches or straight lines to connect them as desired.
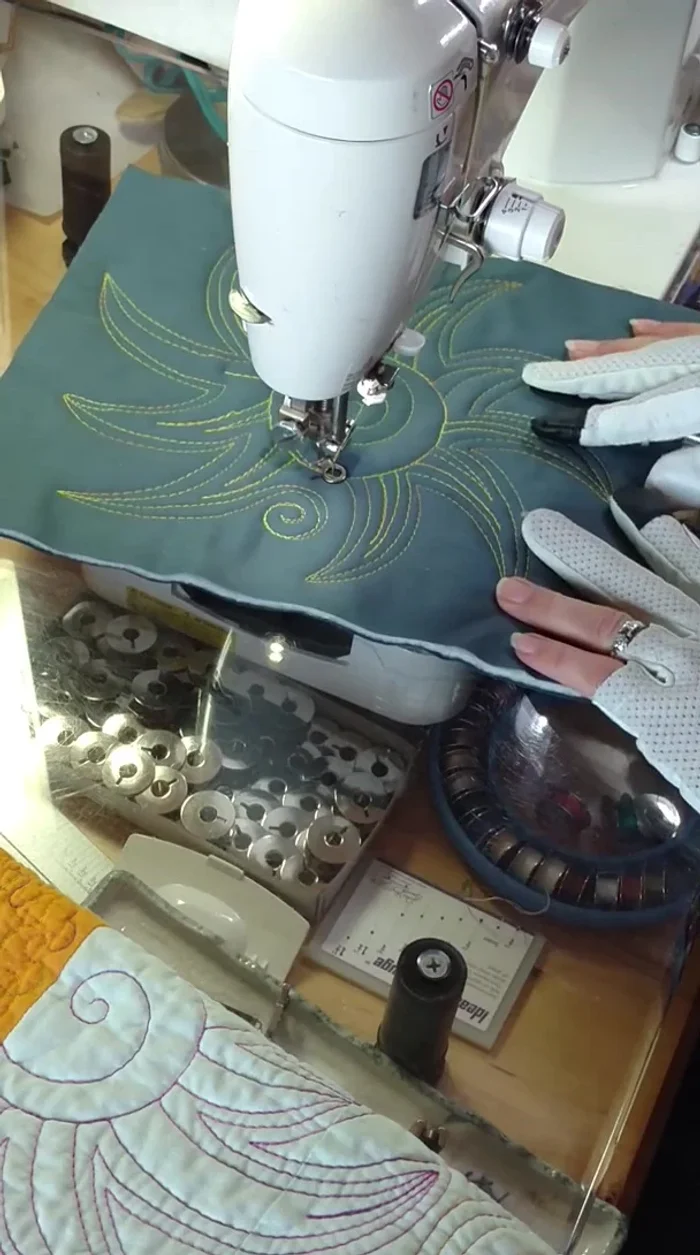
Add Center Lines Finish and Secure
- Finish by stitching a thicker line around the circle, bury the threads, and clip off the excess.
Finish and Secure

Read more: King Size Quilt Tutorial: Efficient Chain Piecing Method
Tips
- Use a self-threading needle to make the process easier.
- Don't be afraid to make the arcs of the sunburst different sizes and lengths for a more organic feel.
- Echoing the initial arcs adds density and stability, especially for quilt borders.
- You don’t have to perfectly backtrack; feel free to experiment with different stitching techniques.