Transform your outdoor space into a haven of comfort and style with the enduring beauty of DIY Sunbrella patio pillows. Sunbrella fabric, renowned for its exceptional fade resistance and weatherability, offers the perfect solution for creating luxurious cushions that withstand the elements. Imagine sinking into plush, custom-made pillows that not only look stunning but also maintain their vibrant colors and texture season after season, resisting the harsh effects of sun and rain. Forget about constantly replacing faded and worn outdoor cushions; this durable fabric allows you to invest in long-lasting comfort and beauty.
This guide will empower you to create your own bespoke Sunbrella patio pillows, providing a step-by-step process that's both manageable and rewarding. From choosing the perfect fabric and filling to sewing the final seams, we'll walk you through each stage, equipping you with the knowledge and confidence to craft stylish and durable outdoor seating. Let's get started!
Preparation and Safety Guidelines
- Scissors
- Thread nippers
- Seam ripper
- Acrylic ruler
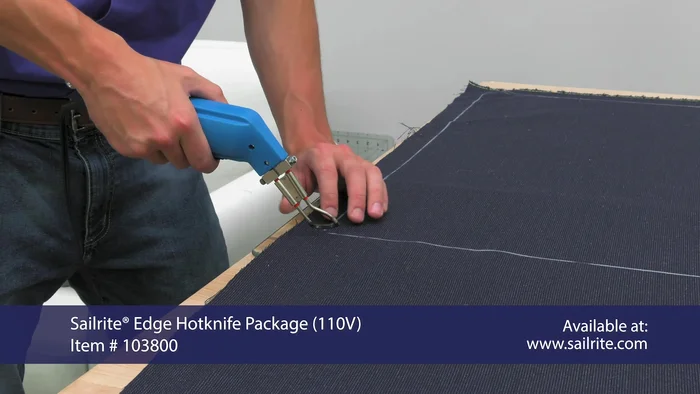
- Sailrite Edge Hotknife
- Tempered cutting glass
- Sailrite Ultrafeed LS-1 sewing machine
- Sailrite Ultrafeed sewing table
- Workhorse servomotor package
- Double-sided tape
- Wonder clips/Multi-use pins
- Left roping zipper foot
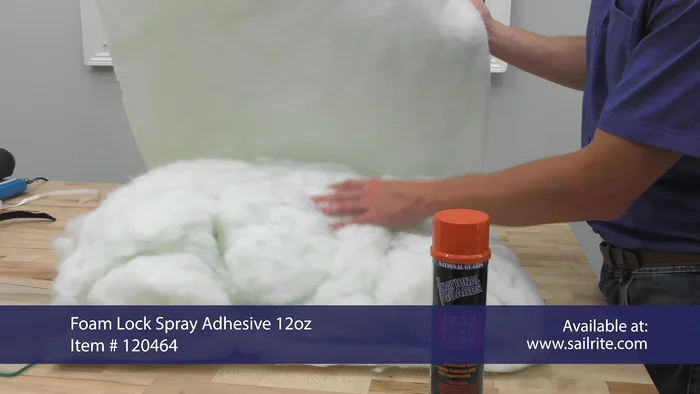
- Foam Lock spray
- Cardboard (for overspray)
- Always use sharp fabric shears or a rotary cutter for clean cuts on Sunbrella fabric. Dull blades will fray the fabric.
- Pre-wash Sunbrella fabric is not typically required, but check the manufacturer's care instructions before starting your project. Some fabrics may benefit from a quick rinse.
- When using a sewing machine, select a stitch appropriate for outdoor fabric. A strong, zig-zag stitch is recommended to prevent unraveling.
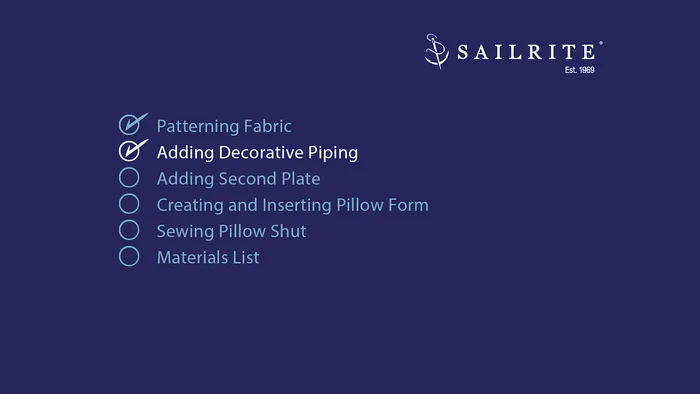
Step-by-Step Instructions
Prepare the Pattern
- Cut open the seams of the old pillow to use as a pattern.
- Remove the old batting and fiberfill if necessary. Assess its condition; replace if damaged.

Prepare the Pattern Cut Sunbrella Fabric
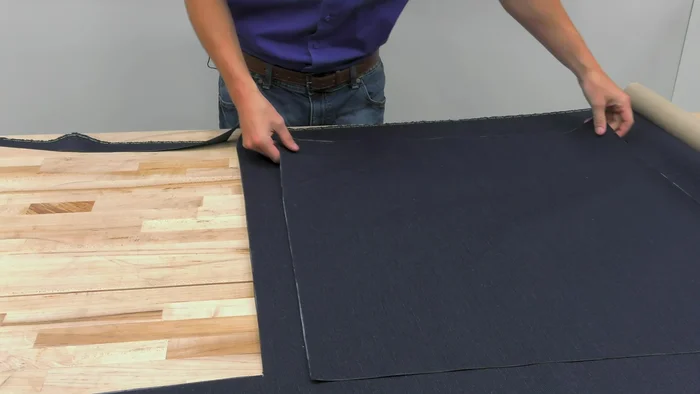
- Trace the old pillow panels onto your Sunbrella fabric using an acrylic ruler and a weight to hold the fabric in place.
- Cut out the fabric panels using the Sailrite Edge Hotknife and tempered cutting glass.
- Create a second panel, ensuring the fabric grain matches the first panel.
Cut Sunbrella Fabric Attach Piping to First Panel
- Apply decorative piping to the perimeter of the first panel using double-sided tape to hold it in place while basting. Make small slits at corners for easier turning.
- Baste the piping, leaving 3-4 inch tails at the beginning and end for overlapping.
- Sew the piping onto the panel using the Sailrite Ultrafeed LS-1 sewing machine with the cording foot.
Attach Piping to First Panel Sew Panels Together
- Sew the second panel to the first, right sides facing, leaving a 4-5 inch opening for stuffing. Reverse stitch at the beginning and end of the seam for added strength.
Sew Panels Together Prepare and Insert Filling
- Spray Foam Lock adhesive onto the fiberfill and attach to the batting. This prevents the filling from sinking to the bottom.
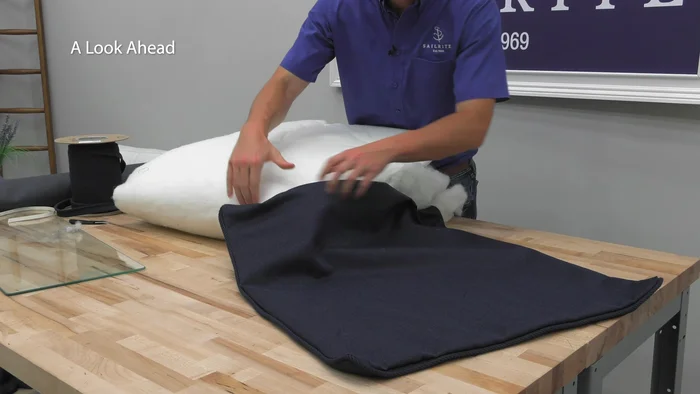
- Carefully stuff the pillow cover with the prepared filling. Start by stuffing the bottom edge of the polyester batting into the cover, then add the rest.
Prepare and Insert Filling Close the Opening
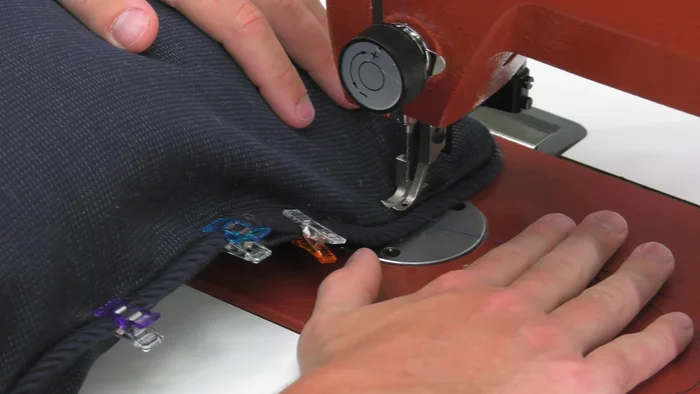
- Fold over the raw edge of the opening, creating a half-inch hem. Secure with wonder clips or pins.
- Sew the opening shut using the left roping zipper foot to sew close to the piping.
Close the Opening


Read more: DIY Super Cute Whale Shower Curtain: A Step-by-Step Tutorial
Tips
- Use a seam ripper, thread nippers, or scissors to carefully open the seams of the old pillow.
- If your batting and fiberfill are damaged, replace them.
- Match the fabric grain when creating the second panel, especially with patterned fabrics.
- Use a sandbag to keep your fabric from moving while tracing.
- Make small slits at the corners of your piping to allow for easy turning.