Have you ever dreamed of cuddling a fluffy, adorable penguin of your very own? Well, dream no more! This easy-to-follow sewing tutorial will guide you through creating your own charming stuffed penguin companions, perfect for adding a touch of whimsy to your home or gifting to a loved one. Forget expensive, mass-produced toys – crafting your own stuffed animals is a rewarding experience that allows for personalization and creative expression. You'll be surprised at how simple it is to bring these delightful creatures to life, even if you're a complete beginner to sewing.
This project requires minimal materials and skills, making it ideal for both seasoned crafters and enthusiastic novices. We'll walk you through each step, from selecting your fabrics to adding the finishing touches, ensuring a smooth and enjoyable process. Get ready to unleash your inner artisan and prepare for hours of fun! Let's dive right into the step-by-step instructions so you can begin creating your own adorable, huggable penguin.
Preparation and Safety Guidelines
- sewing machine
- fabric (felt or similar)
- stuffing material
- scissors
- needle
- thread
- pattern (optional, available on creator's website)
- Adult supervision is required, especially when using needles and scissors. Keep these tools out of reach of children.
- Always use a sharp needle to prevent accidental pricks and ensure clean stitching. Blunt needles require more force, increasing the risk of injury.
- If using small parts like buttons or beads for eyes, ensure they are securely attached to prevent choking hazards, particularly if the finished penguin is intended for a young child.
Step-by-Step Instructions
Prepare the Pattern
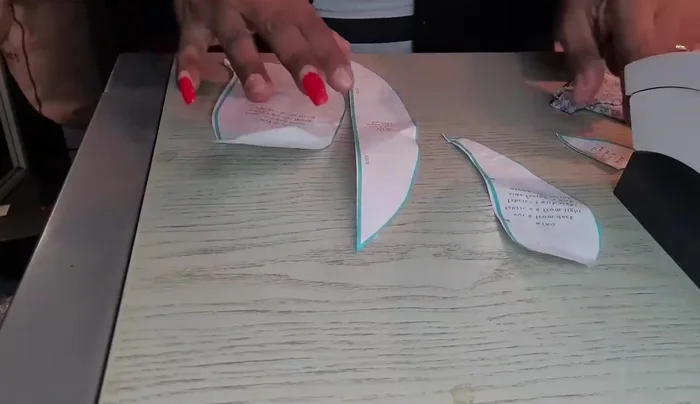
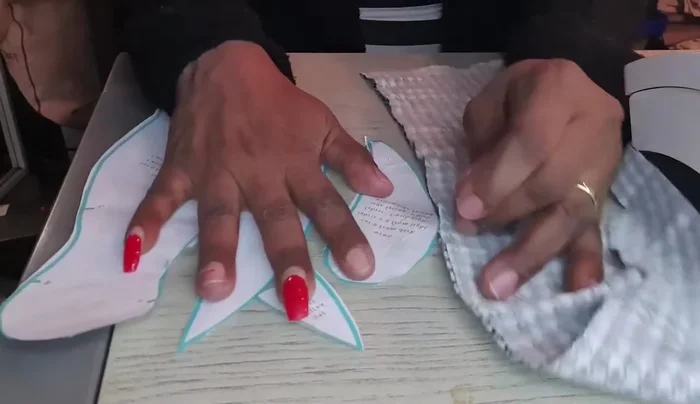
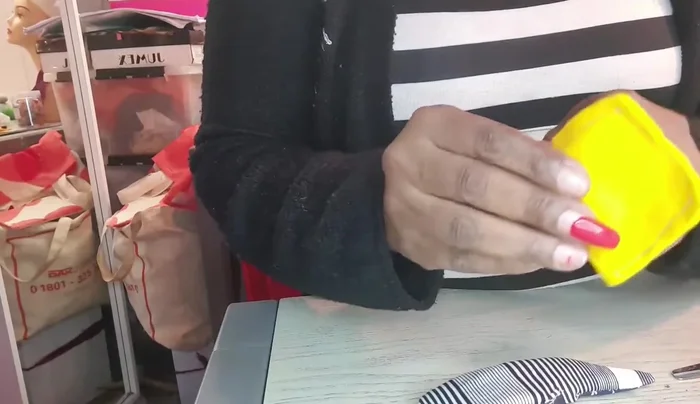
- Cut out two pieces each for the body (front and back), arms, feet, and beak following the pattern.

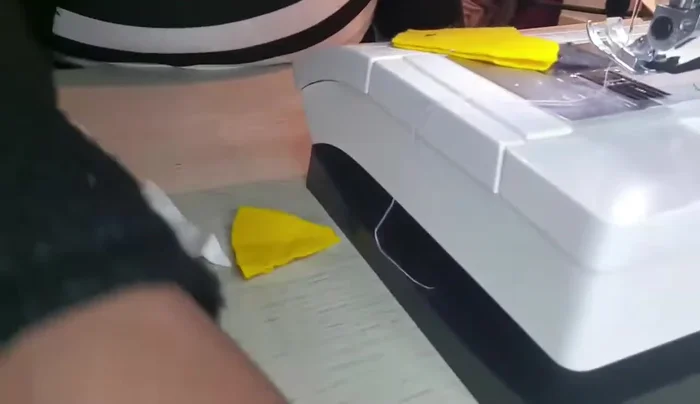
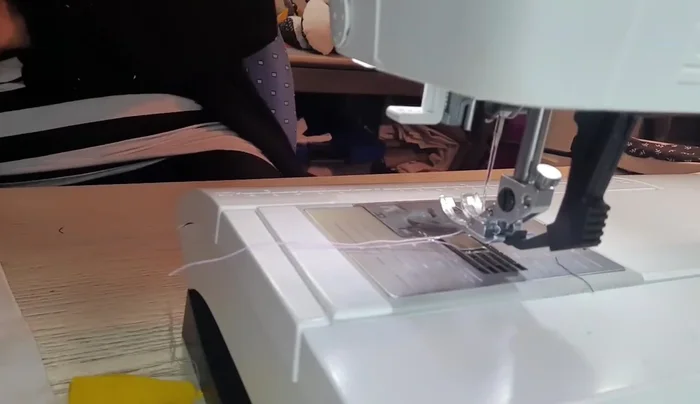
Prepare the Pattern Sew the Main Pieces
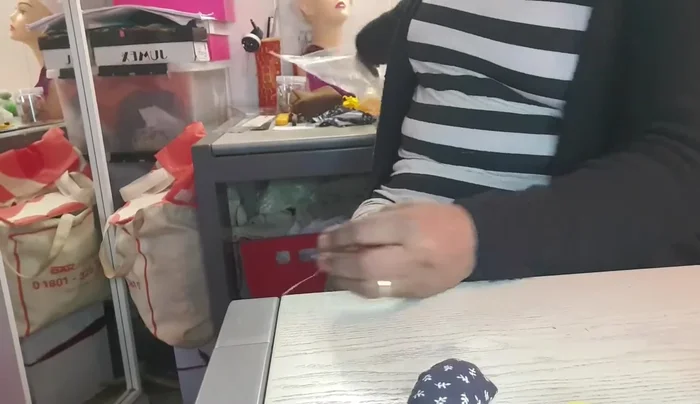
- Sew the front and back body pieces together, leaving a gap for stuffing.
- Sew the feet pieces together, leaving a gap for stuffing.
- Sew the arm pieces together, leaving a gap for stuffing.
Sew the Main Pieces Stuff the Pieces
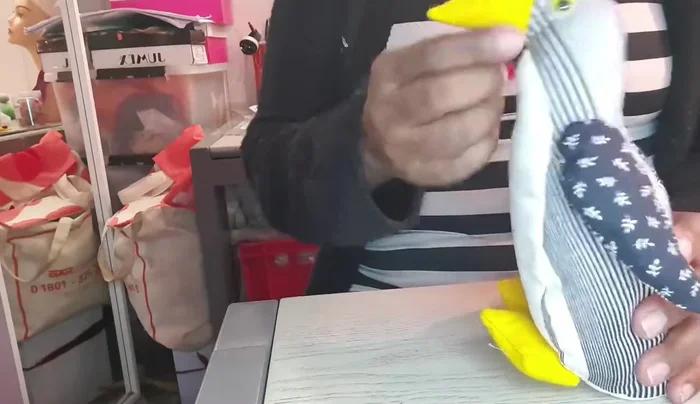
- Turn the body, feet, and arms right-side out and stuff them firmly with stuffing material.
Stuff the Pieces Assemble the Penguin
- Attach the arms and feet to the body. Hand-sew the opening on the back of the body closed.
Assemble the Penguin Add the Finishing Touches
- Attach eyes and beak.
Add the Finishing Touches
Read more: DIY Fluffy Duck Plushie Tutorial: A Step-by-Step Guide
Tips
- Leave gaps for stuffing when sewing the body parts. This allows you to easily turn the pieces right-side out and fill them with stuffing.
- Use a fabric that is easy to sew and sturdy enough to hold its shape after stuffing, such as felt.
- Stuff the penguin firmly to give it a nice shape.
- Get creative with the eyes and beak! Use different colors and sizes to personalize your penguin.