Are you looking for a charming and unique handmade gift? This tutorial offers a delightful way to craft an adorable stuffed fox, perfect for children, collectors, or anyone who appreciates handcrafted treasures. Forget complicated patterns and hours of intricate sewing; Pattern 1081 provides an easy-to-follow design that even beginners can master, resulting in a beautifully crafted fox plush. This simple yet effective pattern emphasizes clean lines and achievable techniques, focusing on creating a lovely, huggable friend. The endearing design lends itself to personalization, allowing you to adapt the colors and features to match your recipient's preferences.
This tutorial for Pattern 1081 will guide you through each step of the process, from selecting your fabrics and cutting the pieces to the final stitching and finishing touches. Prepare to be surprised by how quickly and effortlessly you can bring this sweet fox to life, using readily available materials and simple hand-sewing techniques. Let's get started and create a truly special handmade gift!
Preparation and Safety Guidelines
- Cotton fabric
- Coordinating cotton fabric
- Black and white felt
- Paper-backed fusible web
- Embroidery floss (black)
- Embroidery needle
- Washable fabric marking pen or pencil
- Polyester fiber fill
- Scissors (all-purpose and precision)
- Sewing pins
- Sewing thread
- Bobbins
- Iron
- Ironing board
- Wooden stick
- Simplicity sewing machine
- Adult supervision is required, especially when using needles and scissors. Keep these tools out of reach of children.
- Always use stuffing material that is appropriate for toys and safe for children. Avoid using materials that could pose a choking hazard.
- Ensure all seams are securely stitched to prevent stuffing from escaping and the toy from falling apart. A double stitch is recommended.
Step-by-Step Instructions
Prepare Materials and Patterns
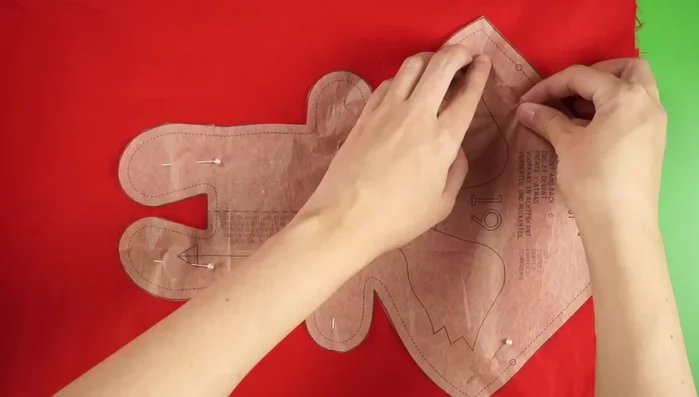
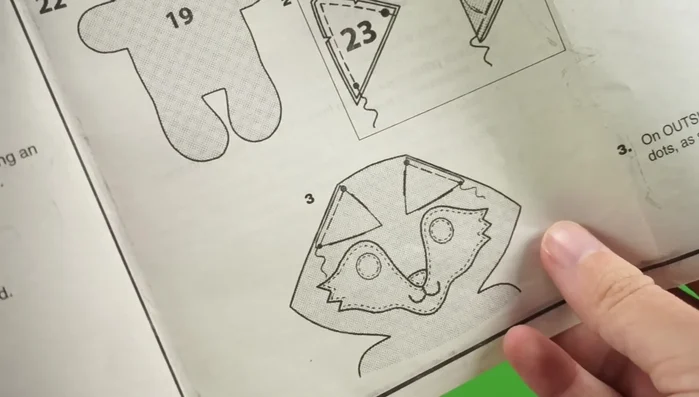
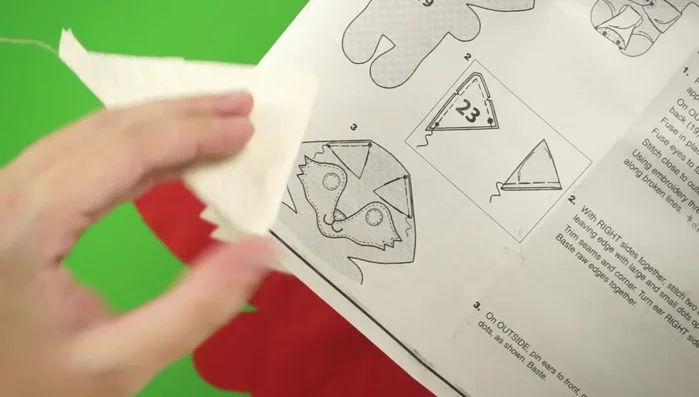
- Open your pattern and check the guide sheet to see which pieces you'll need. Cut out the pattern pieces along the solid lines.
Cut Fabric Pieces
- Fold your cotton fabrics in half with right sides together. Pin and cut the fox's body and ears according to the pattern and guide sheet.

Cut Fabric Pieces Prepare and Attach Appliqué
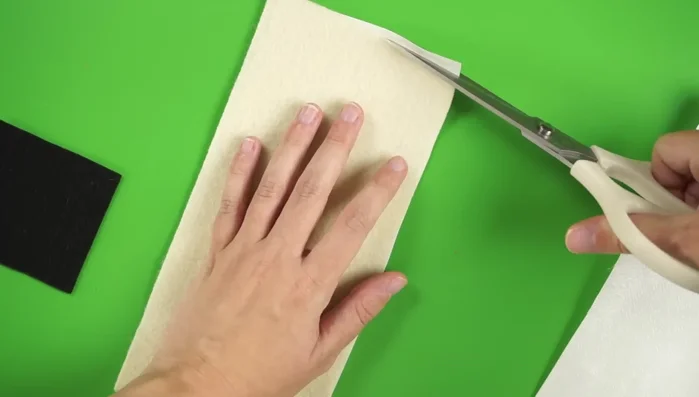
- Iron paper-backed fusible webbing onto felt. Cut out eyes, nose, and face shapes.
- Peel the paper backing off the felt pieces and iron them onto the fox's body.
- Stitch the applique pieces down using your sewing machine.
Prepare and Attach Appliqué Embroider Facial Features
- Draw the mouth and embroider it using a back stitch.
Embroider Facial Features Assemble Fox Ears
- Sew the ears together, leaving the edge with the large and small dots open. Clip notches and turn right side out.
Assemble Fox Ears Attach Ears to Body
- Pin the ears to the front body piece, then place the back body piece on top. Pin everything together, leaving a gap for turning and stuffing.
Attach Ears to Body Sew and Assemble the Body
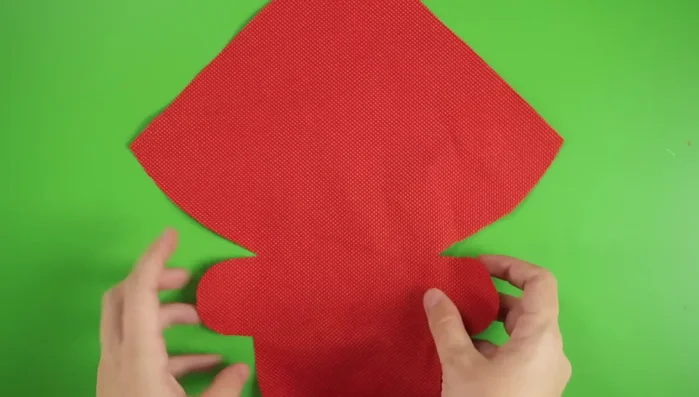
- Sew around the edges of the body pieces, leaving a gap for turning and stuffing. Clip curves and corners.
Stuff and Finish
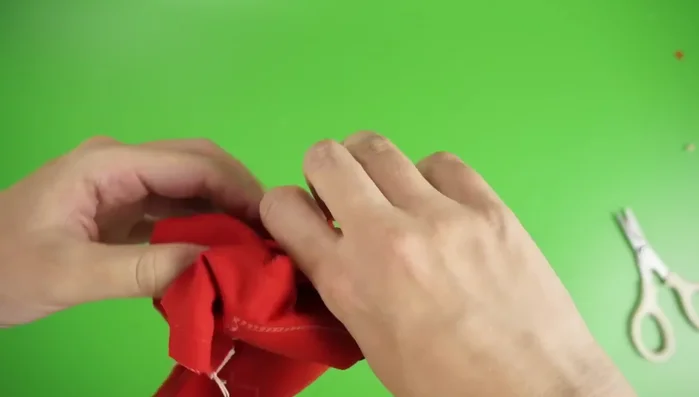
- Turn the fox right side out and stuff it with polyester fiber fill.
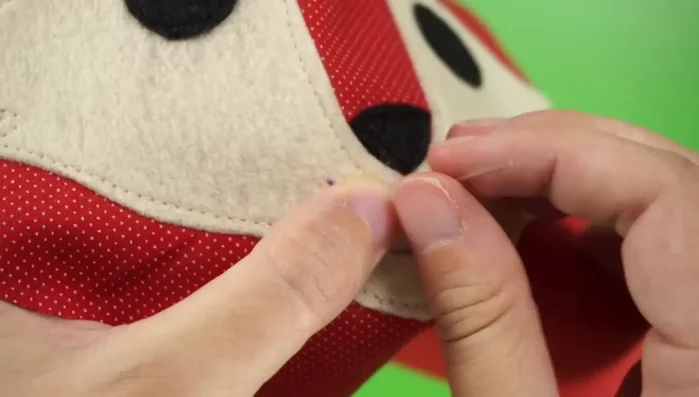
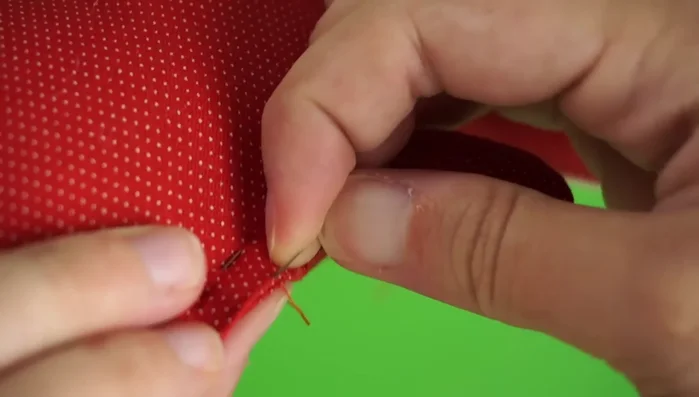
- Use a ladder stitch to close the gap.
Stuff and Finish
Read more: DIY Fluffy Duck Plushie Tutorial: A Step-by-Step Guide
Tips
- Iron patterns to remove folds and help them lie flat.
- Use sewing pins to hold applique in place before ironing.
- Go slowly when sewing small applique pieces, raising the presser foot to help turn the fabric.
- Use a wooden stick or similar tool to help push out the corners and limbs when turning the fox right side out.
- Leave a larger gap than shown in the video for easier turning and stuffing.