Unleash your inner seamstress and create a show-stopping ensemble with this comprehensive tutorial on sewing a breathtaking strapless cherry-red dress and matching corset! This two-in-one project is perfect for those looking to elevate their sewing skills and craft a truly unique garment. Imagine the compliments you'll receive wearing this vibrant, figure-flattering creation, expertly tailored to your exact measurements. The rich color and classic silhouette make this dress ideal for special occasions, from romantic dinners to glamorous nights out. The included corset adds a touch of vintage allure and provides exceptional support and shaping.
This tutorial will guide you through each step, from selecting the perfect fabric and creating the precise patterns to the final touches that bring this stunning outfit to life. Prepare to be amazed as we break down the process into manageable sections, complete with detailed instructions and helpful tips for achieving professional results. Let's begin the journey to crafting your own beautiful strapless cherry dress and corset!
Preparation and Safety Guidelines
- Sewing machine
- Serger (optional, zigzag stitch or pinking shears as alternative)
- Iron
- Ironing board
- Scissors
- Pins
- Tape
- Card stock (optional)
- Packing tape (optional)
- Invisible zipper
- Zipper foot
- Bias tape (or materials to make your own)
- Boning
- Boning casing
- Eyelets
- Eyelet tool (optional)
- Ribbon or string for lacing
- Always use sharp needles and pins to avoid pricking yourself. Handle fabric shears carefully and keep them away from children.
- When working with the corset boning, handle it gently to avoid breakage or injury. Consider using protective gloves if you are concerned about sharp edges.
- Ensure your sewing machine needle is the correct size and type for your chosen fabric to prevent damage to the machine or fabric and ensure proper stitching.
Step-by-Step Instructions
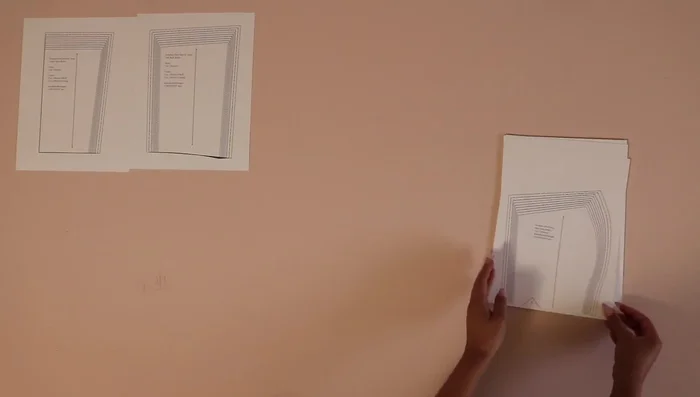
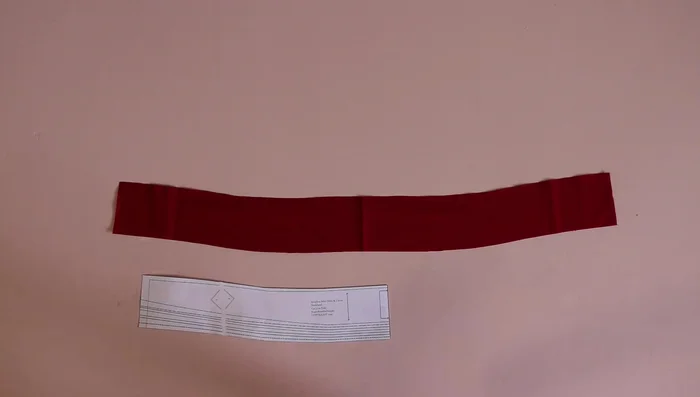
Prepare the Pattern
- Print and assemble the pattern at 100% scale, matching letter diamonds.
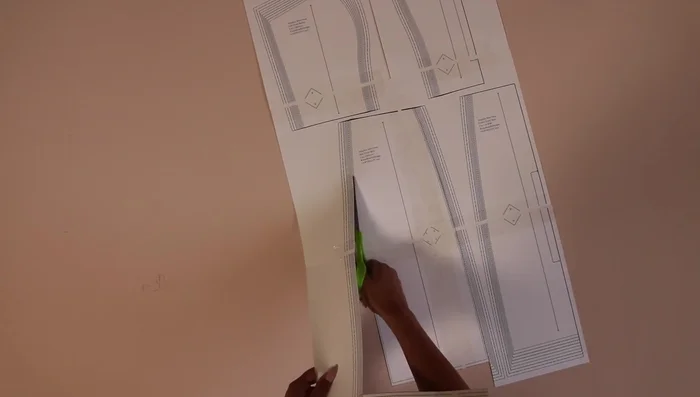
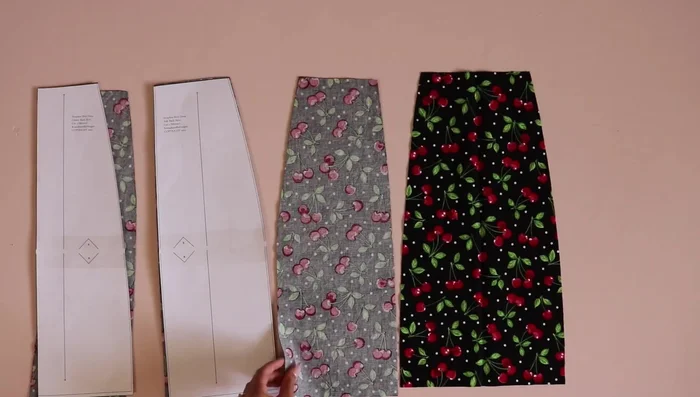
- Cut out the pattern pieces according to your size and instructions.

Prepare the Pattern Construct the Dress Bodice
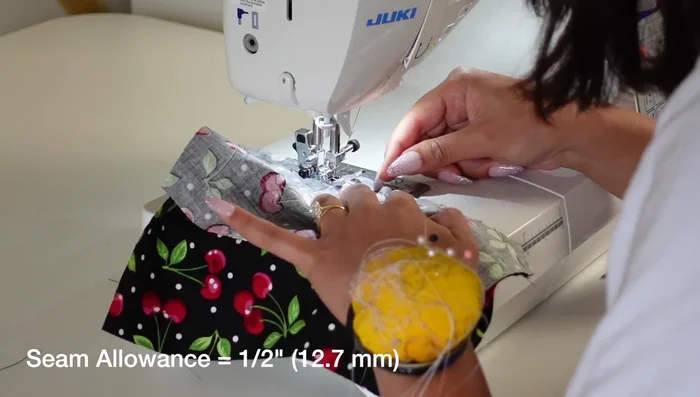
- Sew the bodice vertical seam lines, paying attention to curves at the bust. Finish seams with serger, zigzag stitch, or pinking shears. Press seams.
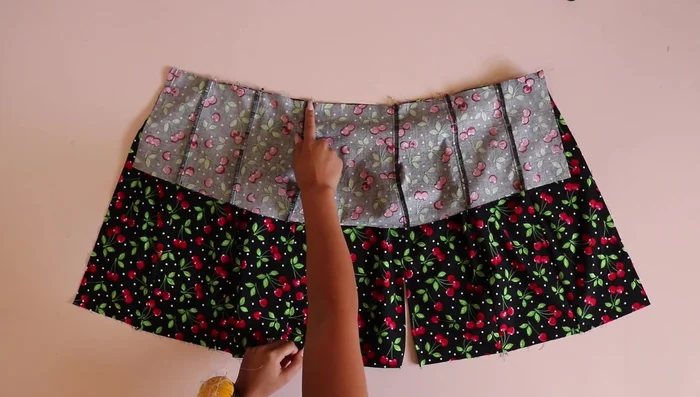
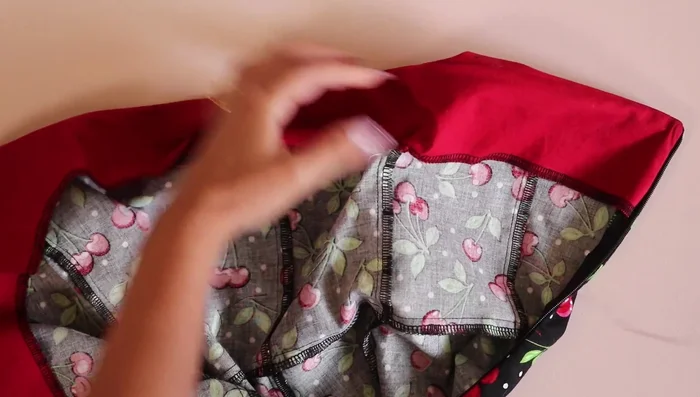
Construct the Dress Bodice Construct the Dress Skirt
- Sew the skirt vertical seam lines. If making a slit, finish the slit edges and sew from the top to the desired slit length. Press seam open, fold under, and stitch down.
Construct the Dress Skirt Assemble the Dress
- Sew the bodice and skirt together along the waistline seam, matching vertical seam lines. Finish and press.
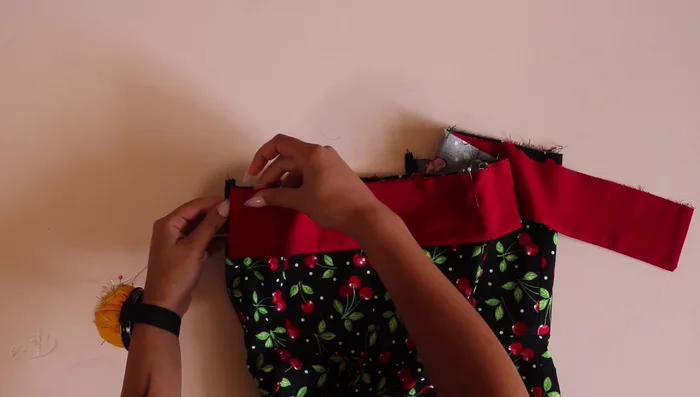
Assemble the Dress Create and Attach the Neckline Band
- Sew the neckline band sides and bottom. Finish, clip corners, turn right side out, and press.
- Attach neckline band to dress neckline, leaving about a quarter inch from the center back. Pin. Attach the facing, right sides together, and sew.
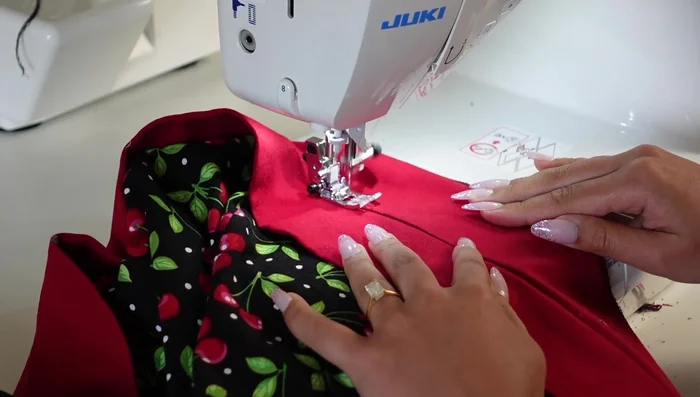
Create and Attach the Neckline Band Install Zipper and Finish Dress
- Install the invisible zipper, using a zipper foot. Sew close to zipper teeth.
- Understitch the neckline facing to prevent it from rolling out. Hem the dress with a 1-inch seam allowance, pressing and top stitching.
- Tack down the facing and neckline band at each vertical seam line to secure. Add a hook and eye closure at the top of the zipper (optional).
Install Zipper and Finish Dress Construct the Corset Shell and Lining
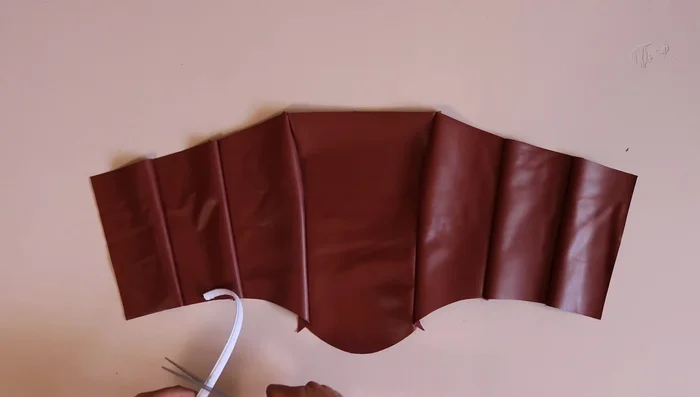
- Cut out corset shell and lining. Sew vertical seam lines on both. Press seams open.
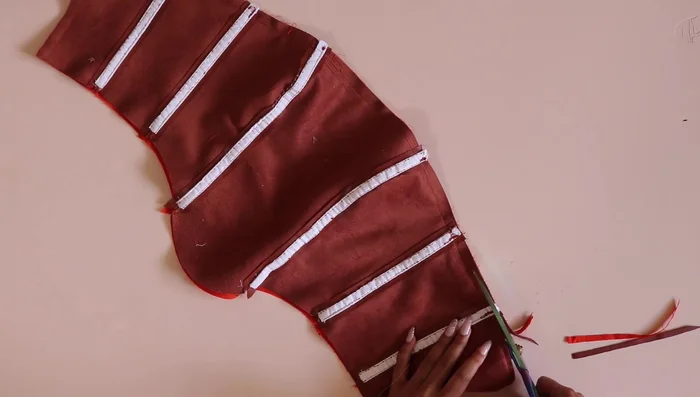
Construct the Corset Shell and Lining Prepare and Attach Boning
- Prepare boning casing, cut to seam size, and sew onto the corset seams. Insert boning.
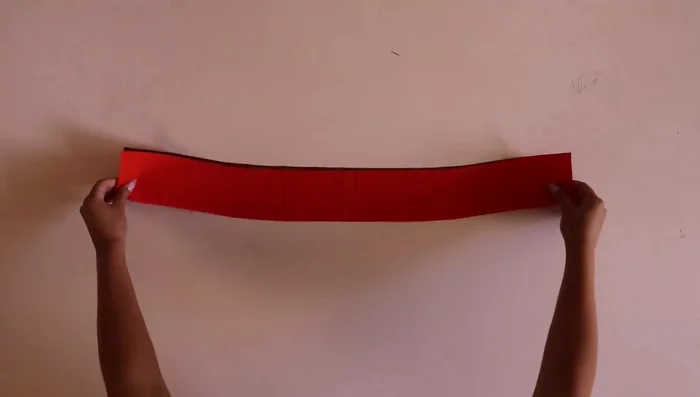
Prepare and Attach Boning Create and Attach Corset Neckline Band
- Sew the neckline band for the corset. Top stitch around the edge.
- Attach neckline band to corset shell and lining, sew, trim, and press.
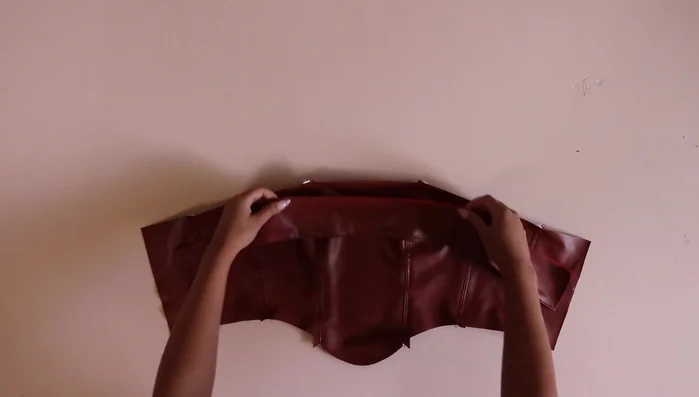
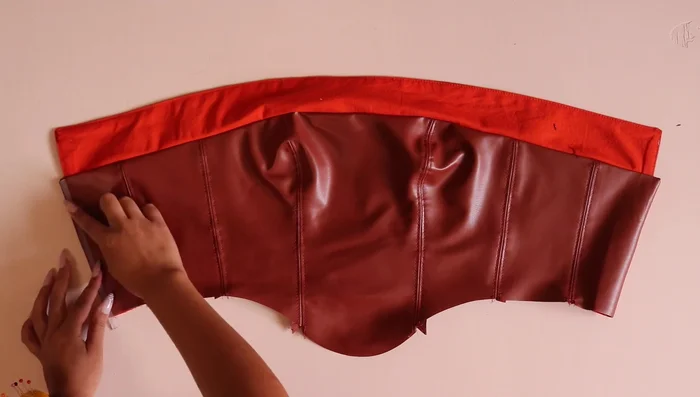
Create and Attach Corset Neckline Band Fuse Interfacing and Top Stitch Corset
- Fuse interfacing to center back of corset shell and lining. Turn right side out and top stitch.
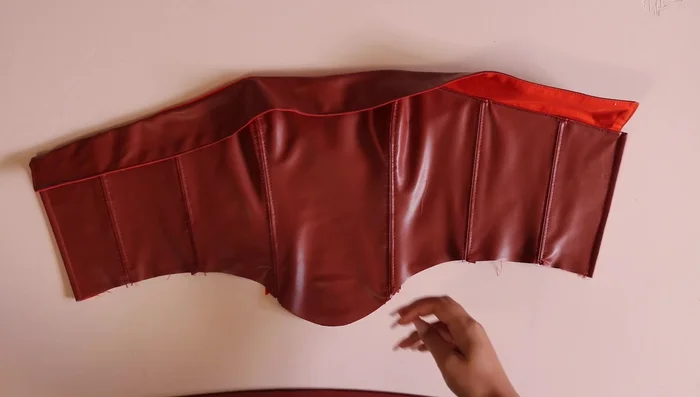
Fuse Interfacing and Top Stitch Corset Create and Install Center Back Boning Channels
- Create channels for center back boning and insert boning.
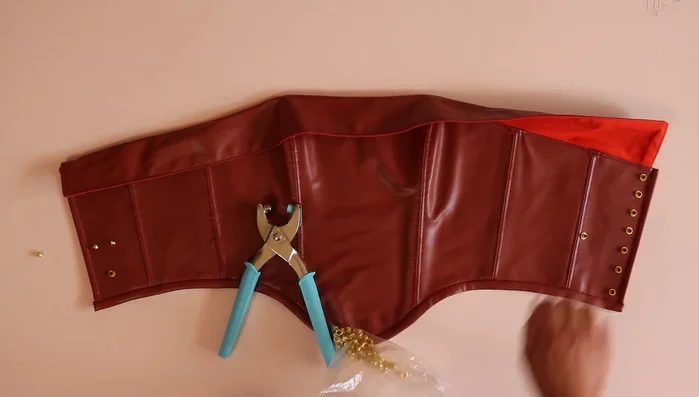
Create and Install Center Back Boning Channels Hem and Add Closure to Corset
- Add bias tape to hem; sew, fold, and top stitch.
- Add eyelets and lace up.
Hem and Add Closure to Corset


Read more: Raglan Sleeve Sewing Tutorial: A Step-by-Step Guide
Tips
- Use card stock and packing tape for durable patterns.
- Always check the instruction pamphlet before you start cutting and sewing.
- Take your time and be careful when sewing the bust area of the bodice.
- Don't skip pressing steps, especially for this garment.
- Match vertical seam lines between the bodice and skirt for a professional finish.