Straight skirts, with their timeless elegance and versatility, are a wardrobe staple. Whether you prefer a classic A-line or a sleek pencil silhouette, mastering the art of sewing a perfectly straight skirt is a valuable skill for any sewist. This tutorial provides a comprehensive guide, taking you from selecting the right fabric and pattern to achieving professional-looking finishes, all while focusing on the often-overlooked element of creating a beautifully finished backlit seam. We’ll explore techniques to ensure a smooth, clean, and even finish that elevates your handmade garment.
This detailed, step-by-step tutorial will equip you with the knowledge and confidence to sew a flawless straight skirt with a perfectly executed backlit seam, a feature that adds both strength and aesthetic appeal. Get ready to transform your fabric into a stunning piece of clothing; let's begin!
Preparation and Safety Guidelines
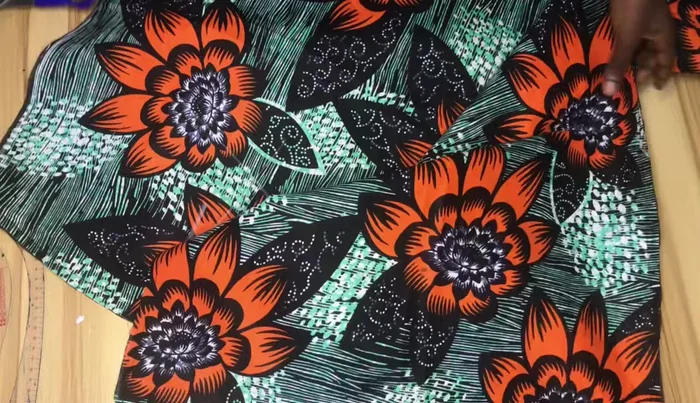
- Fabric
- Scissors
- Tape measure
- Sewing machine
- Pins
- Chalk
- Pattern Master (optional)
- Always use sharp sewing machine needles and pins to prevent fabric from stretching or tearing. Dull needles can cause skipped stitches and increase the risk of injury.
- Before cutting your fabric, pre-wash and iron it to remove any shrinkage or wrinkles. This ensures an accurate fit and prevents distortion after the skirt is sewn.
- When using a sewing machine, keep your fingers away from the needle and presser foot to avoid accidental pricks or injuries. Always unplug the machine before making adjustments or cleaning.
Step-by-Step Instructions
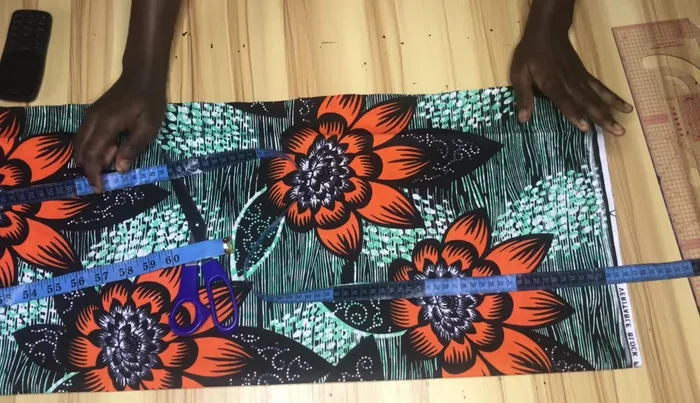
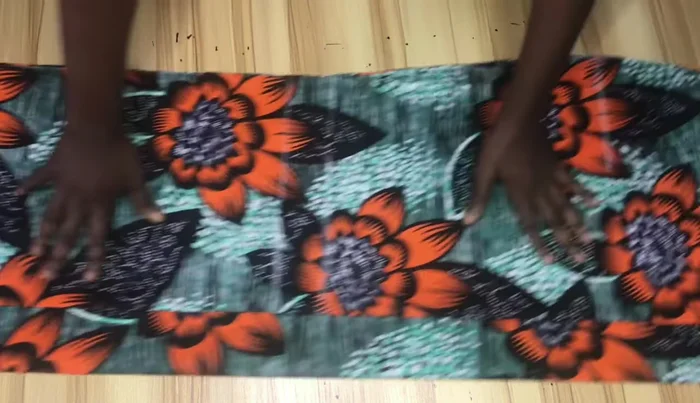
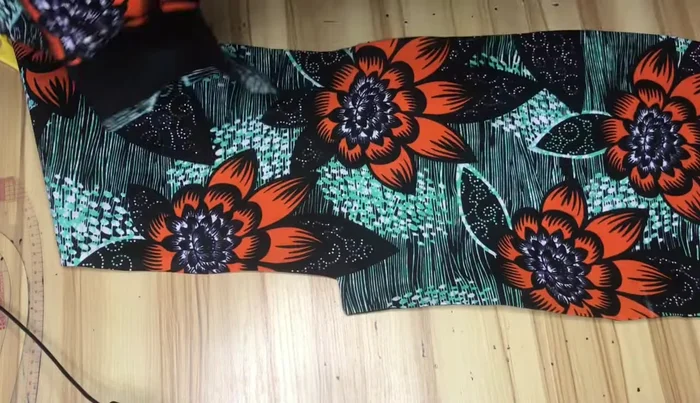
Cutting the Fabric
- Cut the front fabric piece. Determine the fabric length by dividing your hip measurement by two and adding your sewing allowance (e.g., 4 inches).
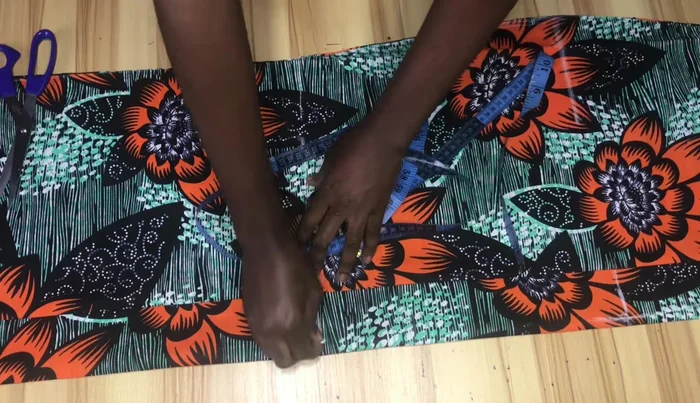
- waistline, hipline, knee line, and full length.
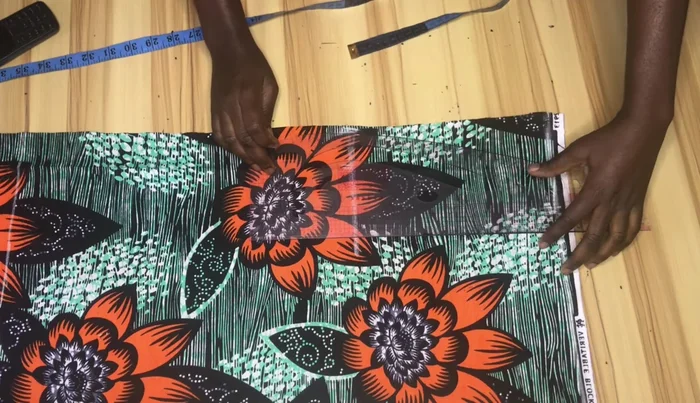
- Connect the waist and hip points on the front piece using a pattern master or freehand.
- Mark points 2 inches above the knee line and subtract 1.5-2 inches from your hip measurement for the knee and hemline.

Cutting the Fabric - Connect the marked points on the knee and hemline with a straight line. Connect the hip line to these new points.
- Cut out the front piece.
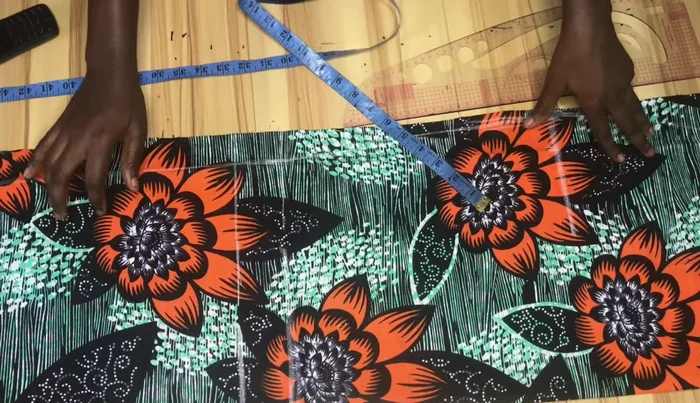
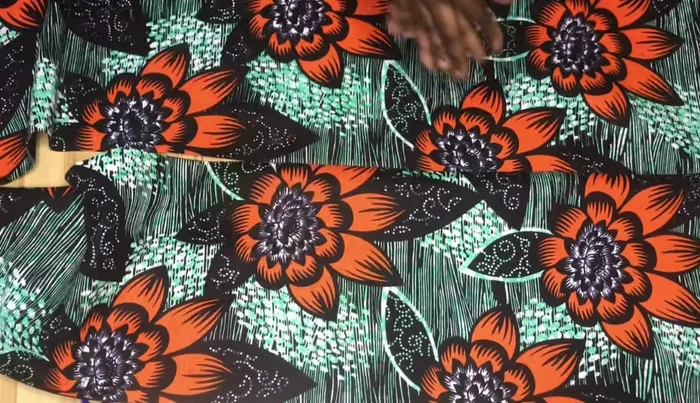
- Cut the back piece. Fold the fabric in half and place the front piece on it to determine the required length.
- Mark zip allowance (1.5 inches at the waist, 2 inches at the hip, 1.5 inches at the knee). Curve the zip allowance lines.
Cutting the Fabric - Cut the back piece, creating the slit.
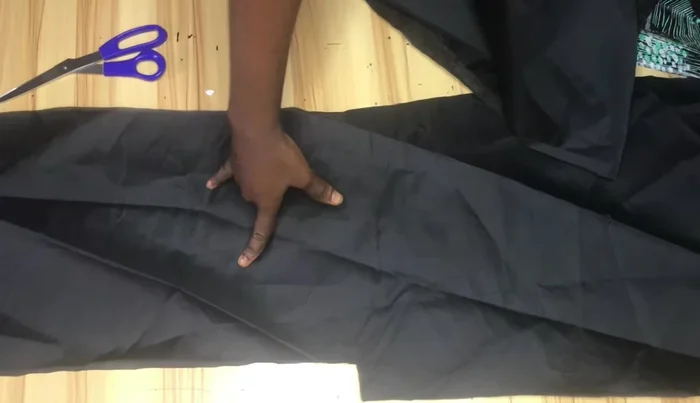
- Cut the lining pieces, matching the front and back pieces. Trim the lining hemline by 1 inch.
Cutting the Fabric Attaching the Lining
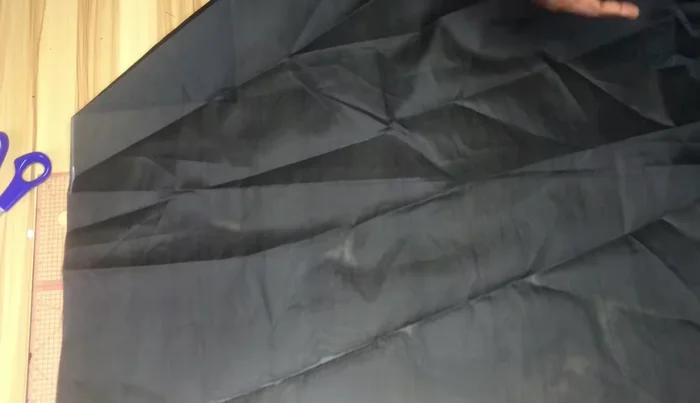
- Attach the lining to the main fabric pieces (front and back), topstitching the seam.
- Trim and press the seams.
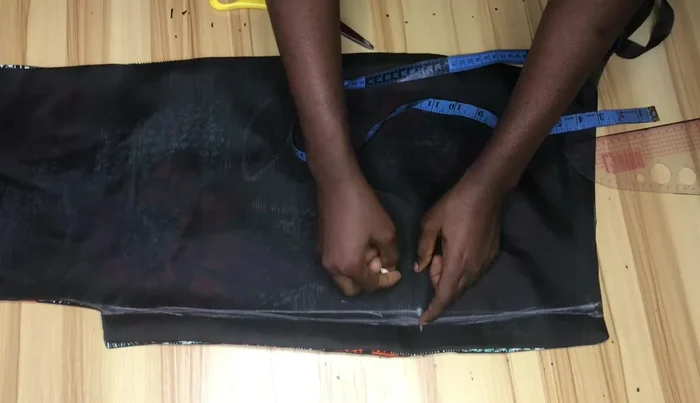
Attaching the Lining Sewing the Back Pieces
- Join the back pieces. Measure and mark points for shaping. Create a curve for the back zip allowance.
- Sew the back pieces together, using a loose stitch for the zip allowance and a tight stitch for the rest of the seam.
Sewing the Back Pieces Joining Front and Back Pieces
- Shape the skirt by joining the front and back pieces, ensuring accurate measurements. Sew the seams.
Joining Front and Back Pieces Zipper Installation and Finishing
- Attach the zipper.
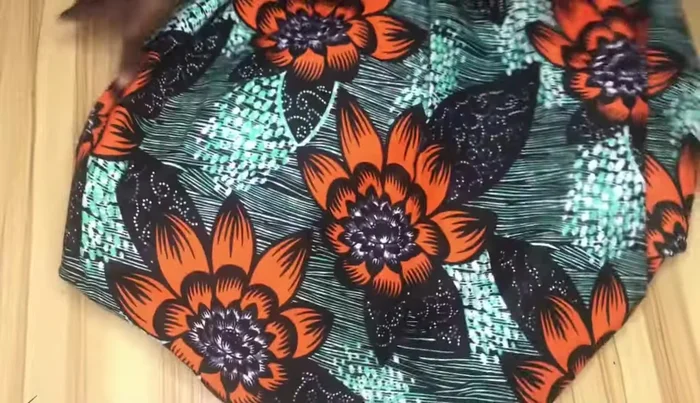
- Press the seams for a clean finish.
Zipper Installation and Finishing


Read more: Raglan Sleeve Sewing Tutorial: A Step-by-Step Guide
Tips
- Add extra fabric for sewing allowance.
- Notching helps with seam allowance and finishing.
- For a dress with a separate bodice, adjusting the back waistline for better fit is crucial.
- Backstitch several times at the slit to prevent it from opening easily.
- Accurate measurements are essential for a well-fitted skirt.