Are you ready to elevate your wardrobe with a stylish and timeless square neck top? This simple yet chic design is surprisingly easy to sew, even for beginners! Forget complicated patterns and hours of frustrating stitching; this tutorial will guide you through the fastest and easiest method to create a beautiful square neck top, perfect for any skill level. We'll utilize clever techniques that minimize seams and maximize efficiency, resulting in a professional-looking garment in a fraction of the time.
This streamlined approach utilizes minimal fabric manipulation, focusing on clean lines and a quick construction process. Ready to get started and craft your own stunning square neck top? Let's dive into the detailed, step-by-step instructions below, complete with helpful diagrams and tips to ensure your sewing success.
Preparation and Safety Guidelines
- sewing machine
- iron
- interfacing
- pins
- marking tool (chalk liner recommended)
- scissors
- Always use sharp sewing machine needles and pins to prevent fabric from stretching or tearing. Dull needles increase the risk of skipped stitches and accidents.
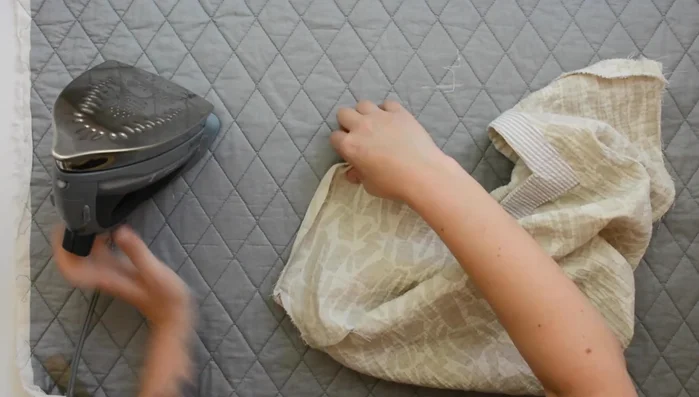
- Before cutting your fabric, pre-wash and iron it to prevent shrinkage and ensure accurate measurements. This also eliminates any potential for uneven seams.
- When working with sharp tools like scissors and rotary cutters, always pay attention and cut away from yourself and others to avoid injury.
Step-by-Step Instructions
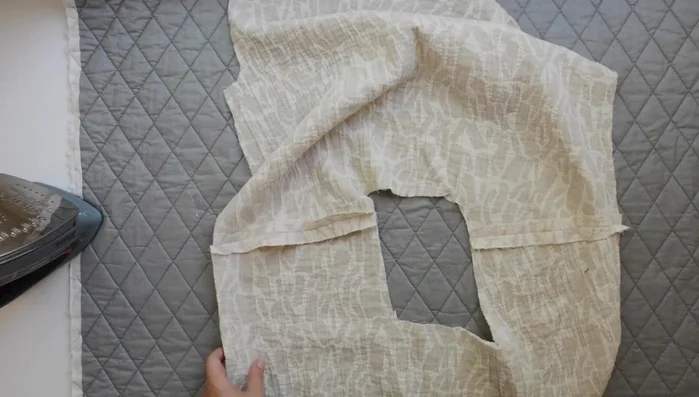
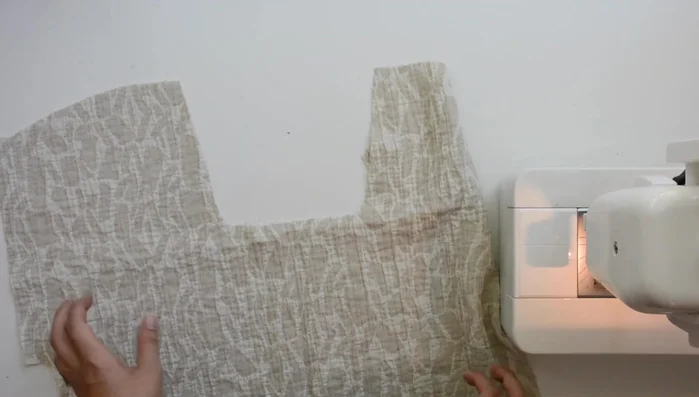
Prepare Pattern Pieces
- Mark dart placement on front pattern pieces.
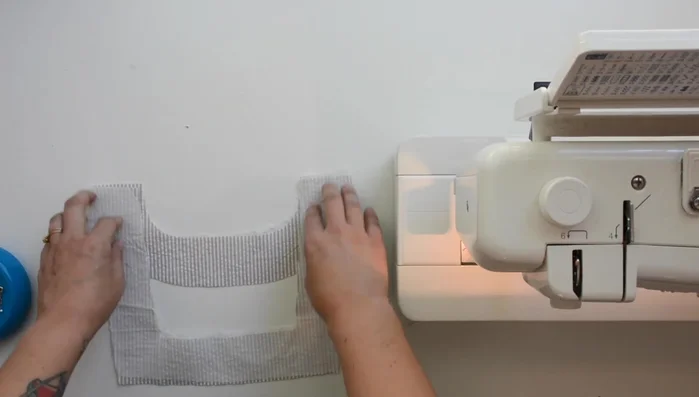
- Fuse interfacing onto the wrong side of front and back neckline facings.

Prepare Pattern Pieces Construct Front Bodice
- Sew darts on front pieces (using the quick-finish method described below).
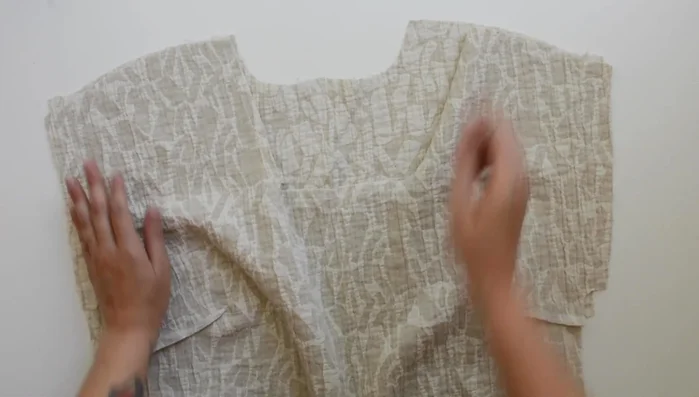
Construct Front Bodice Assemble Shoulder Seams
- Sew front and back pieces together at shoulder seams.
- Press shoulder seams open and finish raw edges (zigzag stitch recommended).
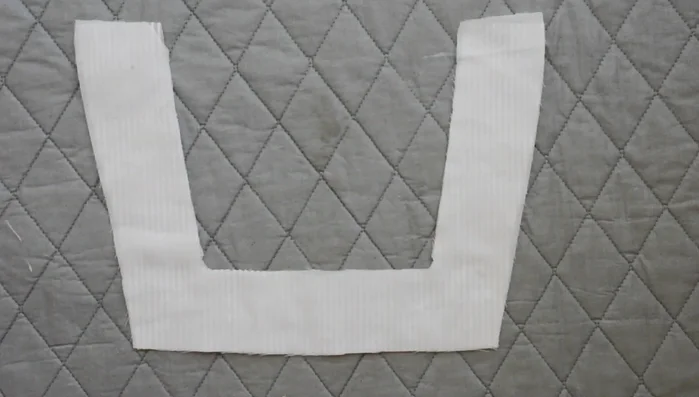
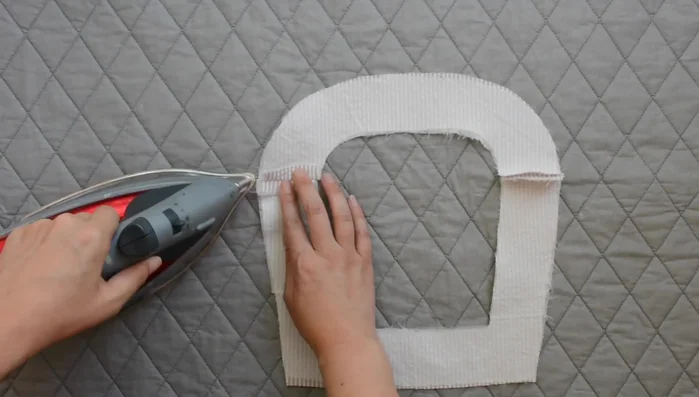
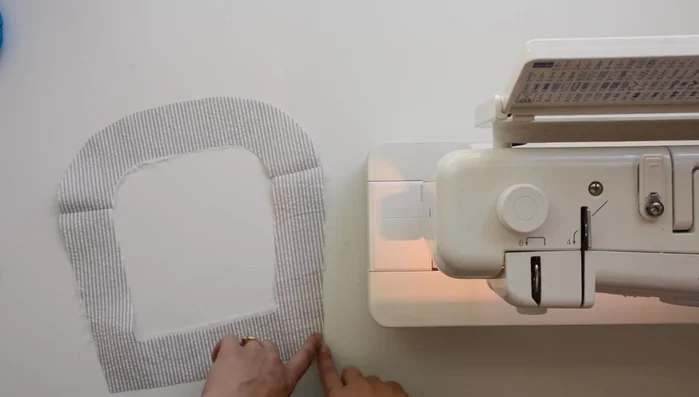
Assemble Shoulder Seams Prepare Neckline Facings
- Sew neckline facings together at shoulder seams.
- Press neckline facing seams open.
- Stitch around the outer edge of neckline facing (1/4 inch seam allowance).
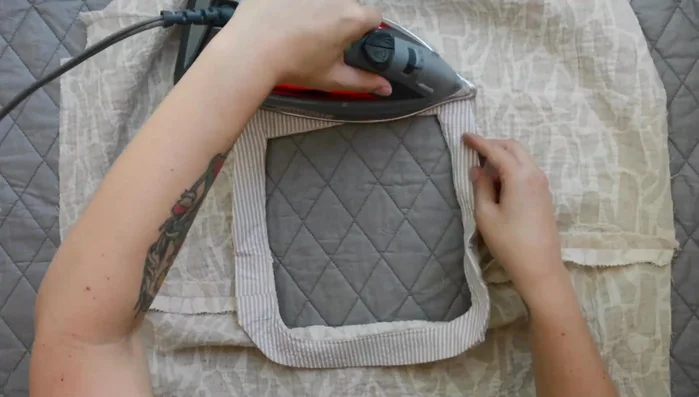
- Press outer edge of facing under 1/4 inch, using the previous stitch as a guide.
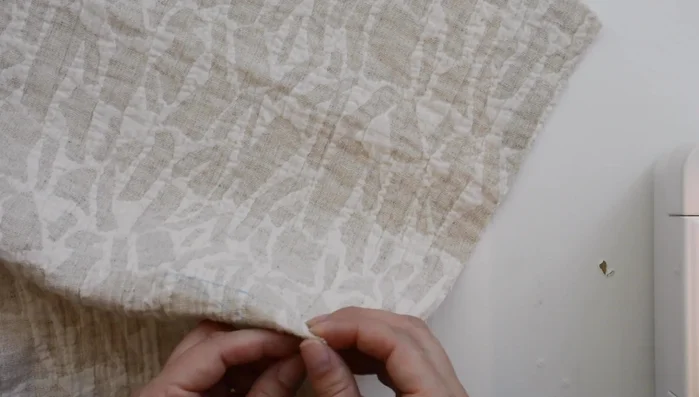
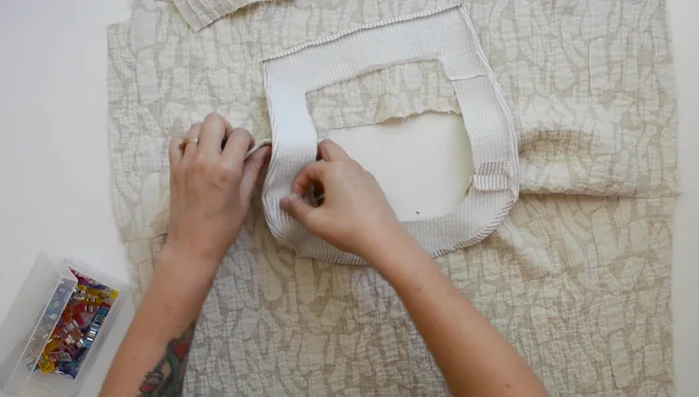
Prepare Neckline Facings Attach Neckline Facing
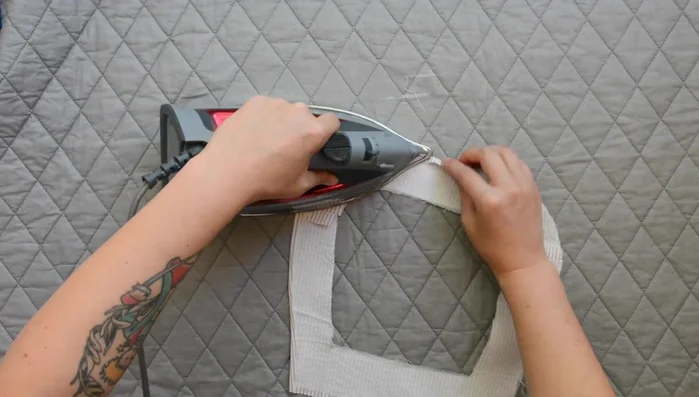
- Join neckline facing to the main fabric, matching shoulder seams, notches, and square corners.
- Sew all the way around neckline (5/8 inch seam allowance).
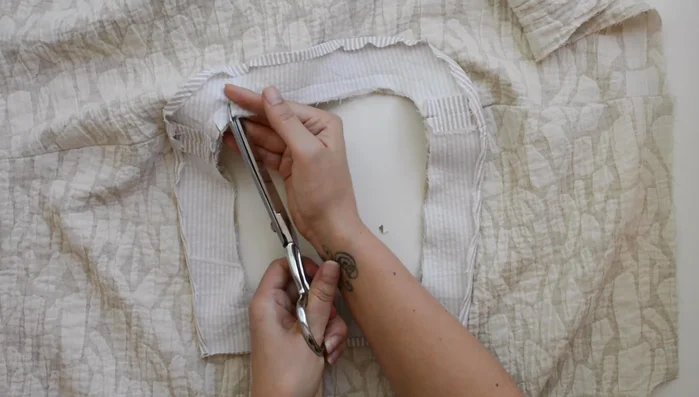
- Clip and trim neckline seams for a smooth finish.
- Understitch seam allowance to neckline facing.
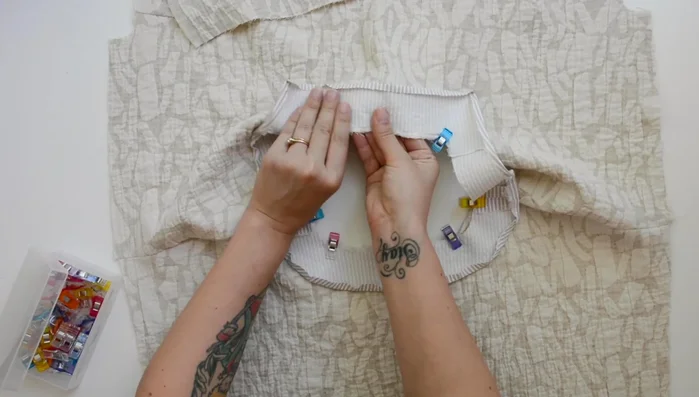
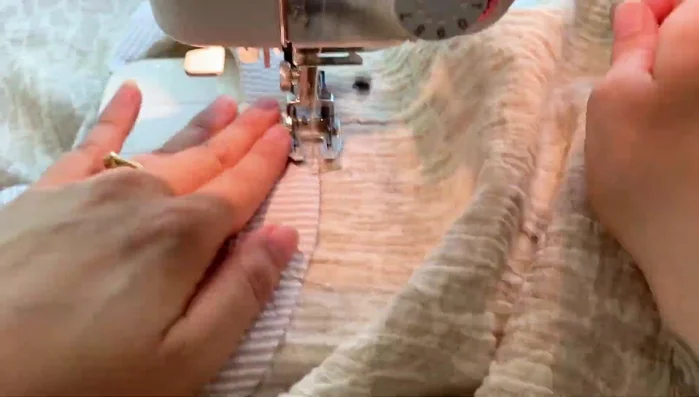
Attach Neckline Facing - Press facing to wrong side of top and pin in place.
- Edgestitch facing in place (1/8 inch from folded edge).
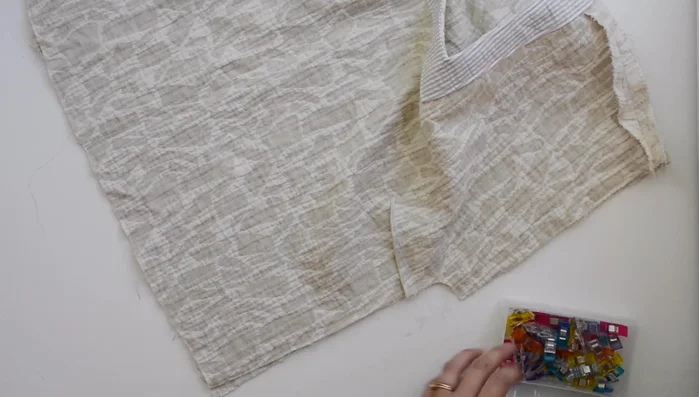
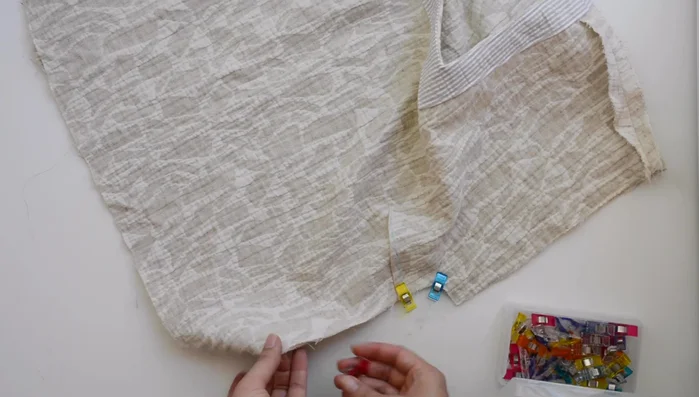
Attach Neckline Facing Sew Side Seams
- Sew side seams (5/8 inch seam allowance).
- Press side seams open and finish edges.
Sew Side Seams Finish Garment
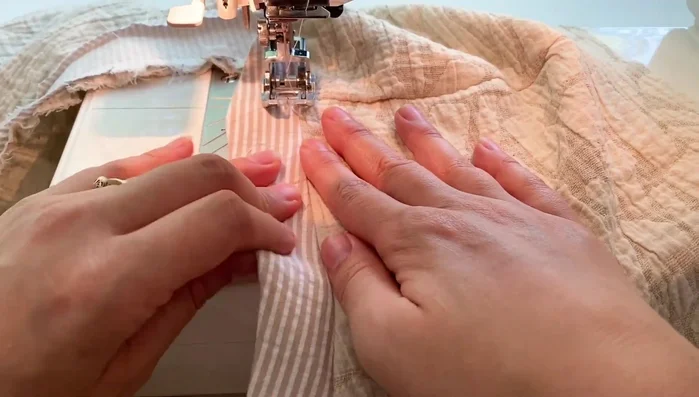
- Hem sleeves and bottom of top (3/8 inch double fold, then edge stitch).
Finish Garment Stay Stitch Neckline
- Stay stitch front and back necklines.
Stay Stitch Neckline

Read more: Raglan Sleeve Sewing Tutorial: A Step-by-Step Guide
Tips
- Use a chalk liner for accurate dart marking.
- For a secure dart finish, use a method where you take last few stitches catching only a tiny bit of fabric and sew off the end. The machine will twist the thread, making it secure.
- Use plenty of pins to hold the neckline facing in place before edge stitching.
- Clip curves carefully to avoid cutting through the seam line. Clip into the seam allowance, up to the seam line, approximately every inch.