Are you ready to add a touch of whimsical charm to your next quilting project? Spider web quilt blocks, with their intricate yet surprisingly simple design, are a timeless favorite among quilters of all skill levels. This tutorial will guide you through creating stunning spider web blocks using the vibrant and beautiful fabrics from Bloom Fabrics, perfect for adding a pop of color and personality to your quilts, blankets, or even wall hangings. The unique patterns and textures of Bloom Fabrics will elevate your spider web design to a whole new level of artistry.
We'll break down the process into easy-to-follow steps, complete with helpful illustrations and tips to ensure success, even for beginner quilters. Get ready to be amazed by how quickly and effortlessly you can create these captivating blocks; let's dive into the step-by-step instructions below and start weaving your own magical spider web masterpiece!
Preparation and Safety Guidelines
- 12-in square of solid fabric
- scrap strips (1-2 inches wide, 6 inches long)
- Use sharp rotary cutters and cutting mat to prevent injury. Always cut away from yourself.
- Handle your sewing machine needles carefully to avoid needlestick injuries. Keep fingers clear of the needle while sewing.
- Pre-wash your Bloom fabrics before cutting and sewing to prevent shrinkage and color bleeding in your finished quilt.
Step-by-Step Instructions
Prepare Triangles
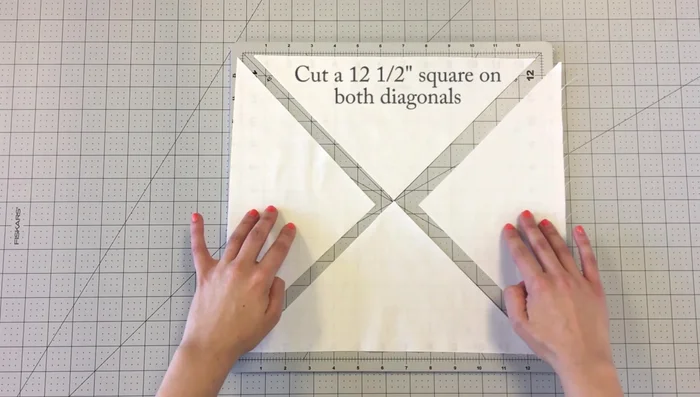
- Cut your 12 1/2-inch square diagonally to get four triangles.
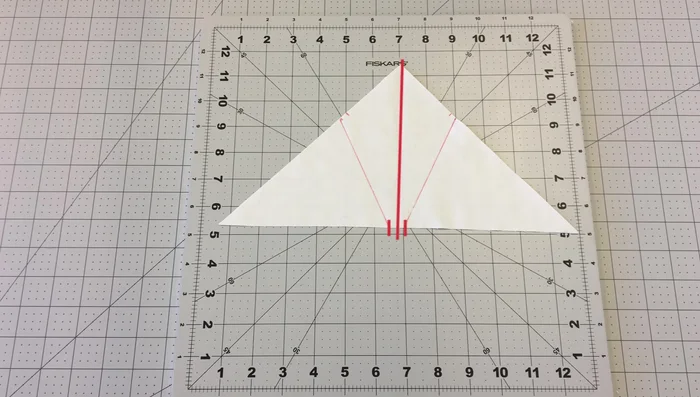
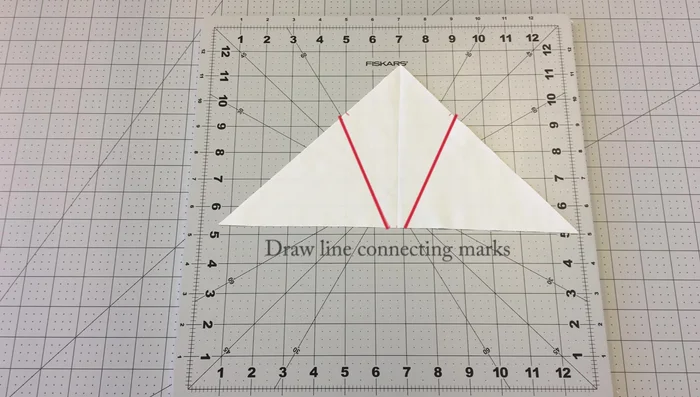
- Find the center of each triangle and mark 1/4 inch away on each side. Measure 6 inches from the end of the triangle on both sides and mark. Then, measure 1/4 inch away from that line.
- Repeat step 2 with the remaining triangles.

Prepare Triangles Add Strips to One Side
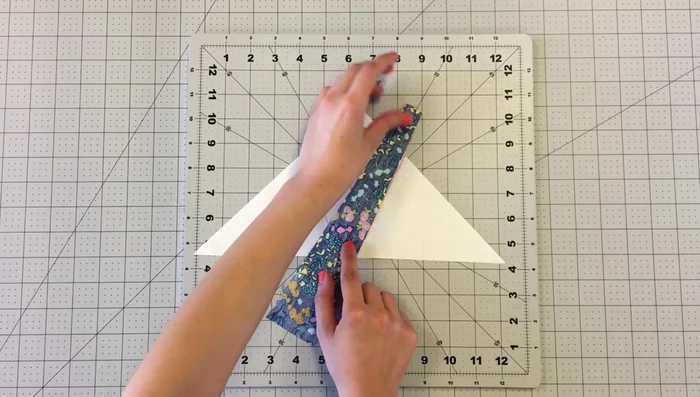
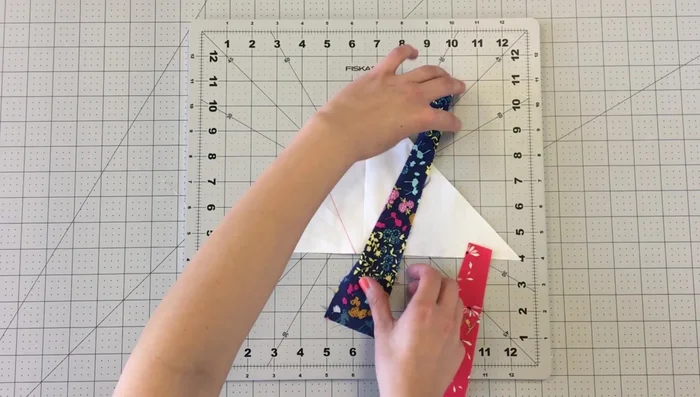
- Place your first strip right sides together with the triangle, aligning the fabric edge with the drawn line. Stitch at 1/4 inch.
- Flip open the piece and finger press. Take your next strip and place right sides together, tucking the triangle out of the way. Stitch at 1/4 inch.
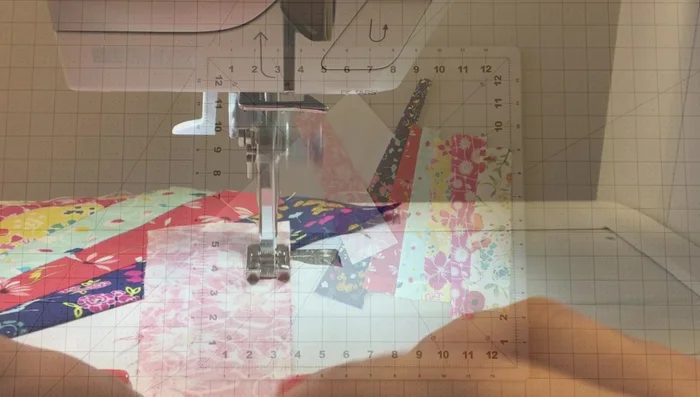
- Repeat this process until the entire triangle is covered with strips.
Add Strips to One Side Add Strips to the Other Side
- Repeat steps 4-6 on the other side of the triangle.
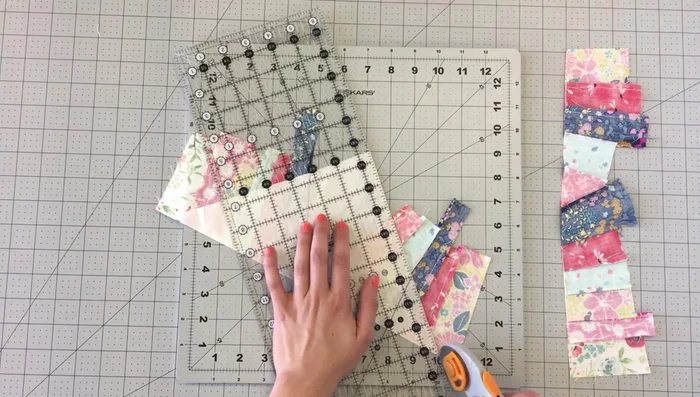
Add Strips to the Other Side Trim and Assemble
- Use the triangle as a guide and trim off excess fabric. Repeat with all triangles.
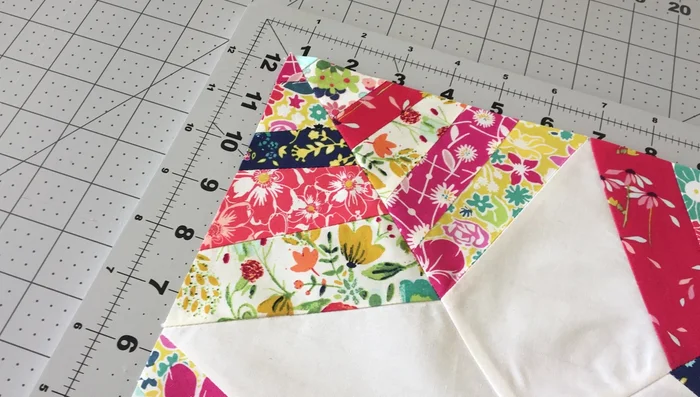
- Sew the triangles together, matching seams.
Trim and Assemble
Read more: King Size Quilt Tutorial: Efficient Chain Piecing Method
Tips
- N/A